
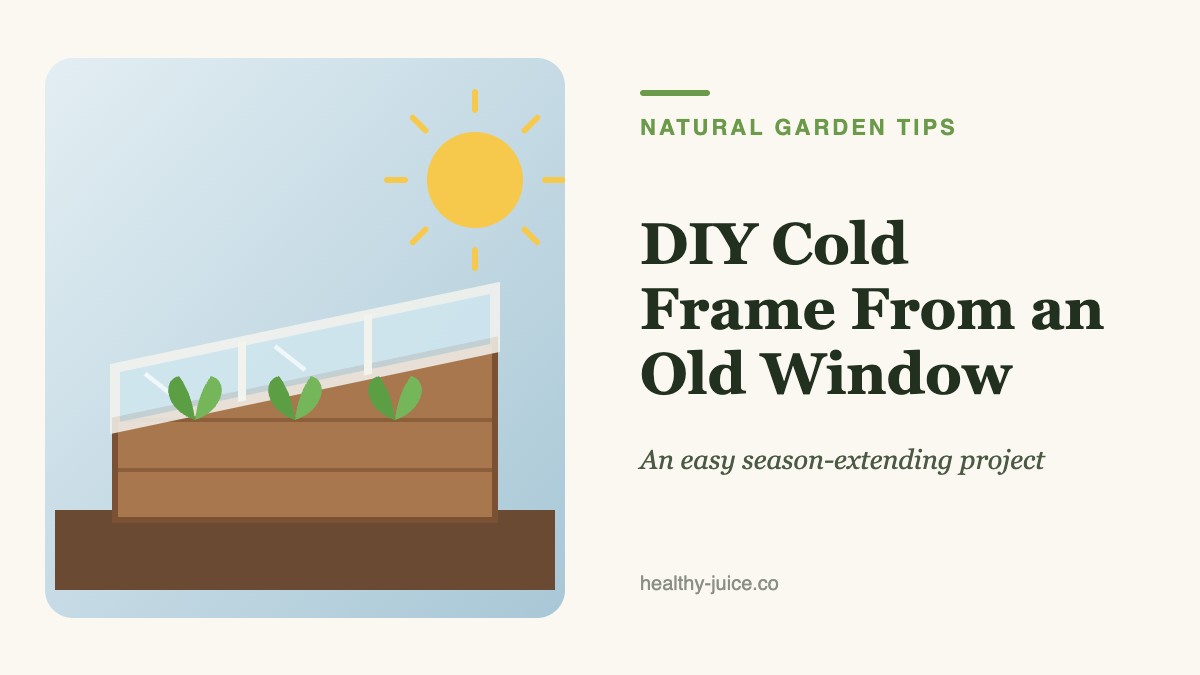
An old window may be finished with the house and still have years of useful life in the garden. With four boards and two hinges, it can become a cold frame: a small, unheated space that captures sunlight and shelters plants from cold weather.
Cold frames are one of the simplest ways to extend the growing season. They let you harvest greens later into fall, start seedlings earlier in spring, and protect young plants while they adjust to outdoor life. This guide shows you how to build one from a salvaged window and how to use it successfully.
What Is a Cold Frame?
A cold frame is a bottomless box with a clear, sloped lid. It works like a miniature greenhouse:
- Sunlight passes through the glass or clear lid and warms the soil and air inside.
- The box blocks wind and holds in some of that warmth.
- The soil stores heat during the day and releases it at night.
Unlike a heated greenhouse, a cold frame has no external power or heat source. It simply moderates conditions, often keeping plants several degrees warmer than the surrounding air and protecting them from frost, wind, and heavy rain.
Materials You Will Need
- One old window, single or double pane
- Four boards for the sides of the box (untreated, rot-resistant wood such as cedar works well)
- Two hinges and screws
- Wood screws or corner brackets
- A sturdy prop, such as a notched stick or wooden block, to hold the lid open
- Optional: handles, weatherstripping, and an inexpensive thermometer
Tools: saw, drill/driver, measuring tape, pencil, and safety glasses.
Safety note: Many older windows, especially those from homes built before 1978, may have lead-based paint. If you are unsure, test the paint, avoid sanding or scraping it, and consider sealing it or choosing a different window. Handle glass carefully and wear gloves.
How to Build a Cold Frame From an Old Window
1. Let the Window Set the Dimensions
Measure your window. The box should match its outer dimensions so the window rests neatly on top.
2. Cut the Boards
Cut boards for a bottomless box:
- Back: Make the back taller than the front, for example around 18 inches.
- Front: Make the front shorter, for example around 12 inches.
- Sides: Cut the side boards at an angle so they slope from the tall back to the short front.
This slope helps the glass face the sun and lets rainwater run off.
3. Assemble the Box
Screw the corners together, using corner brackets or small blocks of wood inside the corners for extra strength.
4. Attach the Window
Hinge the window to the tall back side so it opens from the front. Make sure it closes snugly. Weatherstripping along the top edge of the box can help seal out drafts.
5. Add a Prop and Handle
Keep a sturdy prop nearby to hold the lid open at different heights for ventilation. A handle on the front of the window makes opening easier.
Where to Place Your Cold Frame
- Sun: Choose a location with as much winter sun as possible. In the Northern Hemisphere, face the slope toward the south.
- Drainage: Place the frame over well-drained soil. Avoid low spots where water collects.
- Shelter: A spot against a south-facing wall or fence offers extra warmth and wind protection.
- Access: Put it somewhere convenient so you remember to check and vent it.
Ventilation Matters as Much as Warmth
Ventilation is the most important part of cold frame management. Even on a cool day, strong sun can heat the enclosed space quickly, sometimes enough to wilt or cook plants.
- Open the lid when temperatures rise. On sunny days, prop it open, even in winter.
- Close it before a cold night to trap stored warmth.
- Use a thermometer inside the frame to learn how quickly it heats up.
- Consider an automatic vent opener, which uses a heat-sensitive cylinder to lift the lid as temperatures rise.
On very cold nights, add insulation by covering the frame with an old blanket, burlap, or straw bales around the sides.
What to Grow in a Cold Frame
A cold frame is useful for:
Cool-season greens: Lettuce, spinach, arugula, kale, mâche (corn salad), mizuna, and other hardy salad greens thrive in a cold frame during fall, winter, and early spring.
Root crops and alliums: Radishes, scallions, and small carrots can also do well.
Starting seedlings: Start cold-hardy crops earlier in spring than you could in open ground.
Hardening off seedlings: Seedlings started indoors need time to adjust to outdoor conditions. A cold frame offers a gentle transition, protecting them from wind and cold while exposing them to sun and fresh air.
Extending the shoulder seasons: Keep harvesting into late fall and begin earlier in spring.
Watering and Care
- Check moisture regularly. Because the lid blocks rain, soil inside can dry out.
- Water in the morning so plants and soil surfaces dry before cool nights.
- Watch for pests, such as slugs and aphids, which enjoy sheltered conditions.
- Clean the glass occasionally to let in as much light as possible.
Common Cold Frame Mistakes
- Forgetting to vent on sunny days, the most common cause of plant loss.
- Placing the frame in shade, which limits warmth and light.
- Letting soil dry out.
- Growing warm-season crops too early, since a cold frame protects plants but does not create summer conditions.
Frequently Asked Questions
How much warmer is a cold frame than outside?
It varies with sunlight, insulation, and how well it is sealed, but a cold frame commonly stays several degrees warmer than the outside air at night and can get much warmer on sunny days.
Can I use plastic instead of glass?
Yes. Clear polycarbonate panels or heavy greenhouse plastic are lighter and safer than glass, though they may let in slightly less light or wear out sooner.
Do I need to water plants in a cold frame in winter?
Less often than in summer, but yes. Check the soil regularly, since the lid keeps out rain and snow.
Final Thoughts
That discarded window does not need to become waste. In one afternoon, it can become a small season-extending garden. With good placement, regular ventilation, and the right crops, your DIY cold frame can provide fresh greens long after the main garden has gone quiet, and give your spring seedlings a head start.