
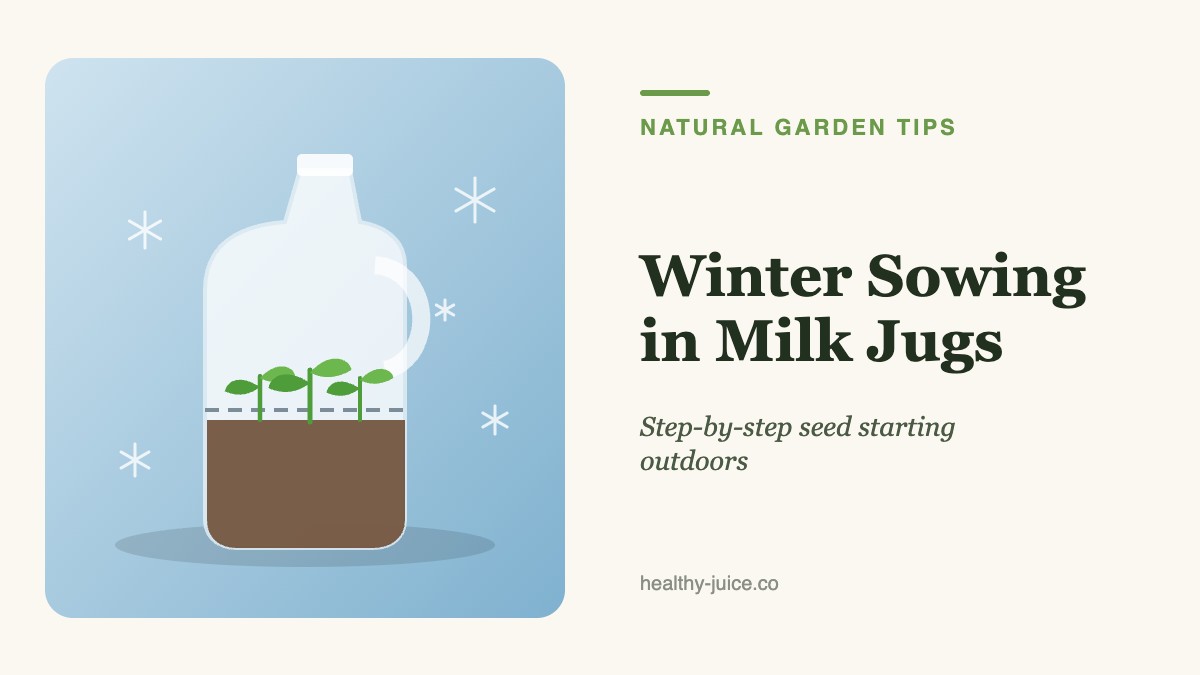
Every fall, empty milk jugs start looking less like trash and more like tiny greenhouses waiting for winter. Winter sowing is one of the simplest and cheapest ways to start seeds: no grow lights, no heat mats, and no crowded windowsills. You sow seeds into recycled containers, set them outside, and let the seasons do most of the work.
In this guide you will learn how winter sowing works, how to turn a milk jug into a mini greenhouse, which seeds respond best, and how to care for your seedlings until they are ready for the garden.
What Is Winter Sowing?
Winter sowing is a method of starting seeds outdoors during the cold months inside covered, ventilated containers. The container acts like a miniature greenhouse. It protects the soil from drying winds and heavy downpours, collects a little extra warmth on sunny days, and still lets the seeds feel the natural rhythm of freezing, thawing, rain, and snow.
That rhythm matters. Many native wildflowers and hardy perennials need a period of cold, moist conditions, called cold stratification, before they will germinate. Indoors, gardeners imitate this by putting seeds in the refrigerator. With winter sowing, nature handles stratification for you, and the seeds sprout when the conditions are right.
Seedlings grown this way are also exposed to real outdoor light, temperature swings, and air movement from day one. They tend to be sturdy and compact, and they usually skip the tricky hardening-off step that indoor seedlings need.
Why Milk Jugs Work So Well
Translucent gallon milk jugs are almost perfect for winter sowing:
- They let light through, so seedlings get the sunlight they need.
- They are deep enough to hold 3–4 inches of potting mix, which gives roots room to grow.
- The opening at the top provides ventilation and lets rain and melting snow in.
- They are free and easy to collect all year.
Clear plastic water jugs, juice jugs, and clear salad or rotisserie containers also work. Avoid opaque or colored containers because they block too much light.
How to Prepare a Milk Jug for Winter Sowing
- Wash the jug thoroughly. Rinse it with warm, soapy water to remove milk residue, which can encourage mold.
- Remove the cap. The open spout is your ventilation and watering hole. Keep the cap off all winter.
- Add drainage holes. Poke or drill several holes in the bottom so excess water can drain. Standing water leads to rot.
- Cut around the middle. Cut horizontally around the jug a few inches above the base, leaving a small section uncut beneath the handle. This becomes a hinge so the top can flip open like a lid.
- Add potting mix. Fill the bottom with 3–4 inches of moist potting mix. A light, well-draining mix works better than heavy garden soil.
- Sow your seeds. Plant at the depth recommended on the seed packet. Tiny seeds can simply be pressed onto the surface. Sow a little more thickly than you would in the garden, since you can thin or divide seedlings later.
- Label clearly. Write the plant name and sowing date on the jug with a paint pen or permanent marker, and consider adding a plastic tag inside as a backup. Sunlight can fade ink over a long winter.
- Tape it closed. Close the lid and wrap durable tape, such as duct tape or packing tape, around the cut line.
Where to Place Winter-Sown Containers
Set your jugs outdoors in a spot that gets sun and where rain and snow can reach them. A sheltered area against a fence, on a patio, or along a south-facing wall works well. Grouping jugs together inside a shallow bin or crate helps keep them from blowing over in strong winds.
Do not bring them into a garage or shed. The jug provides shelter without turning winter into summer, and that is exactly the point: cold-hardy seeds need to experience the moisture and temperature changes of the season.
When to Start Winter Sowing
Timing depends on the seed and your climate. A useful way to think about it:
- Early winter (after the holidays through midwinter): Hardy perennials, native wildflowers, and seeds that need cold stratification, such as milkweed, coneflower, black-eyed Susan, columbine, and many native grasses.
- Mid to late winter: Cool-season vegetables and hardy annuals, such as kale, lettuce, spinach, broccoli, cabbage, poppies, larkspur, and calendula.
- Late winter to early spring: Warm-season plants such as tomatoes, peppers, basil, and zinnias. They will not germinate until temperatures warm up, so there is no advantage to sowing them early.
If your winters are mild, start later and focus on hardy seeds. In very cold regions, you can sow perennials as early as late fall.
Caring for Winter-Sown Jugs
Winter sowing is low-maintenance, but not no-maintenance.
Check moisture. Keep the mix damp but not waterlogged. Snow and rain usually handle watering in winter, but during dry spells, open the jug or water gently through the spout. Condensation inside the jug is a good sign that moisture levels are healthy.
Watch for germination. Depending on the seed, sprouts may appear anywhere from late winter to mid-spring. Do not worry if seedlings experience a frost after germinating; plants started this way are usually tougher than indoor seedlings.
Increase ventilation as it warms. On sunny spring days, the inside of a closed jug can overheat quickly. As temperatures rise, remove the tape and open the lid during the day, then close it on cold nights. Eventually, leave the lid open full-time.
Protect from pests. Slugs and rodents sometimes find their way in. Check your jugs regularly once seedlings emerge.
Transplanting Seedlings Into the Garden
Once seedlings have at least two sets of true leaves and the weather is suitable for that plant, they are ready to transplant. Because they have grown outdoors all along, they generally need little or no hardening off.
Many gardeners transplant seedlings in small clumps rather than separating each one. Gently lift a chunk of soil with several plants, plant it in the garden, and thin later if needed. This reduces root disturbance and transplant shock.
Warm-season crops should still wait until your local frost danger has passed before going into the ground.
Common Winter Sowing Mistakes to Avoid
- Forgetting drainage holes, which leads to soggy soil and rot.
- Using too little soil, which dries out quickly and restricts roots.
- Placing jugs under eaves or in full shade, where they miss rain and sunlight.
- Sealing jugs completely, which causes overheating once spring arrives.
- Skipping labels, which leaves you guessing what came up.
Frequently Asked Questions
Do I need to bring winter-sown jugs inside during a freeze?
No. Freezing is part of the process. The seeds you choose for early winter sowing are cold-hardy and benefit from natural freeze-thaw cycles. Leave the jugs outside all winter.
Can I reuse my milk jugs next year?
Yes, if they are still in good shape. Rinse them, let them dry, and store them out of the sun. Sunlight makes plastic brittle over time, so replace jugs that crack.
Final Thoughts
Winter sowing turns ordinary recycling into a productive garden project. A few clean jugs saved now can become a whole row of seedlings when the garden wakes up. Start with a handful of easy, cold-hardy seeds this year, take notes on what works in your climate, and you may find that milk jugs become your favorite seed-starting tool.