
Garlic is a kitchen staple cherished for its bold flavor and health benefits. But did you know that a sprouted garlic clove—those cloves with little green shoots—can be turned into a productive garden plant? Instead of tossing them out, you can grow your own garlic in the garden or a container. This guide will take you through the steps of planting, nurturing, and harvesting sprouted garlic for an endless supply of fresh bulbs or garlic greens.
Why Plant Sprouted Garlic?
Planting sprouted garlic is a sustainable gardening practice that reduces waste and provides you with an aromatic crop to use in your cooking. Garlic is not just easy to grow but also highly rewarding. Its versatility in the kitchen, paired with its minimal care requirements, makes it an excellent plant for beginners and seasoned gardeners alike.
Best Time to Plant Garlic
Garlic thrives when planted in the cooler months. Here’s an overview of the ideal planting times:
- Fall Planting: In most climates, garlic is planted in the fall, 4–6 weeks before the ground freezes. This gives the cloves time to establish roots before winter.
- Spring Planting: If your garlic has sprouted and it’s already spring, don’t worry! Garlic can also be planted as soon as the ground can be worked.
How to Plant Sprouted Garlic
Step 1: Choose a Suitable Planting Location
Garlic needs a sunny spot where it can receive at least 6–8 hours of sunlight daily. For container planting, select a pot that is at least 6 inches deep with good drainage.
Step 2: Prepare the Soil
Garlic thrives in loose, well-draining soil rich in organic matter. To prepare the soil:
- Loosen it to a depth of 8–10 inches.
- Mix in compost or well-rotted manure to provide nutrients.
- Check the soil pH; garlic prefers slightly acidic to neutral soil (pH 6.0–7.0).
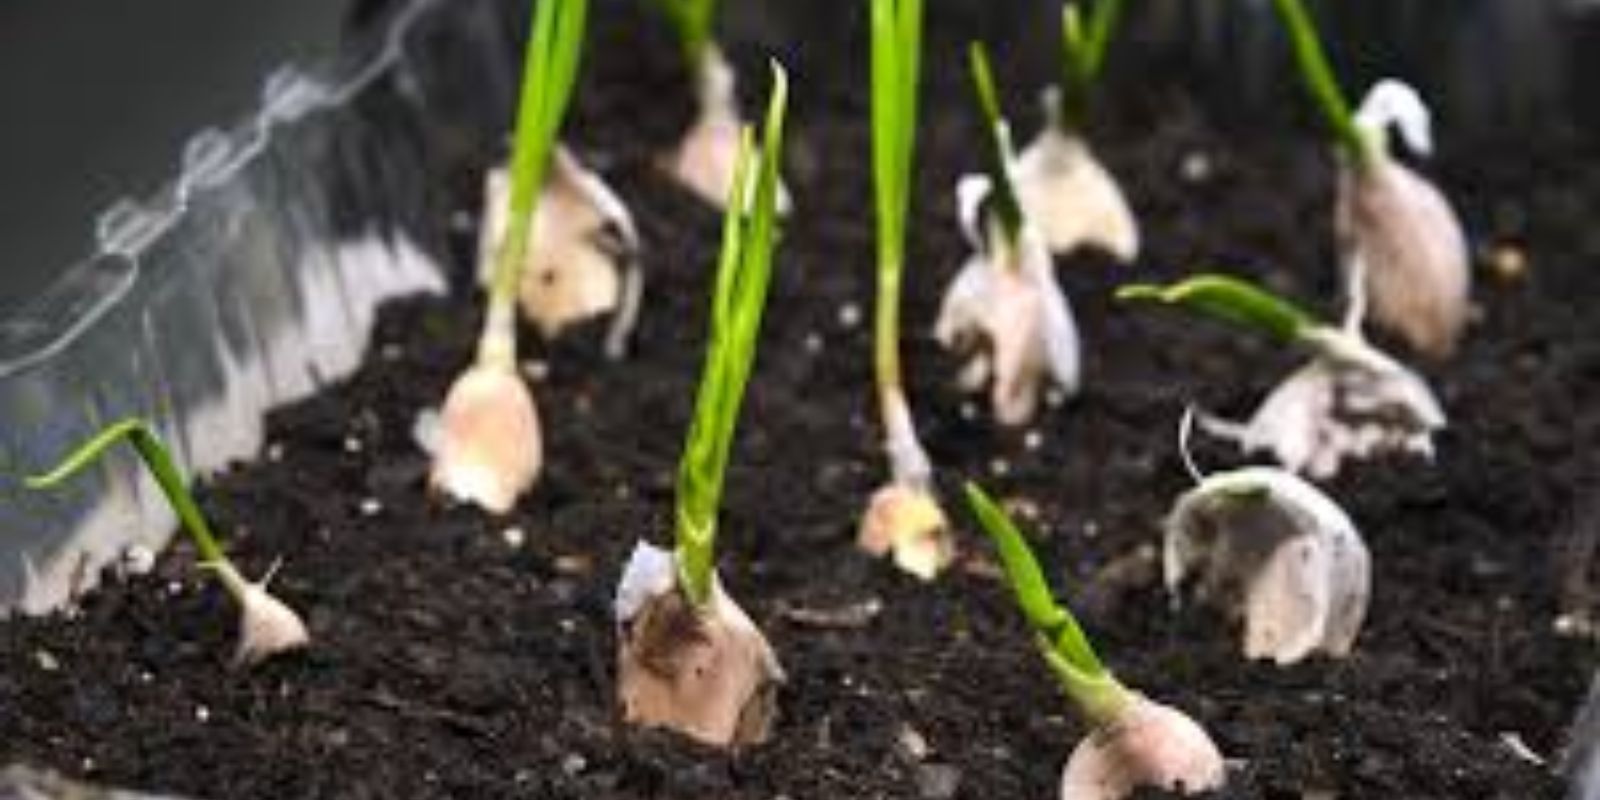
Step 3: Select and Plant the Sprouted Clove
- Inspect the Sprout: Choose sprouted cloves with healthy green shoots. Avoid those that are soft or moldy.
- Placement: Plant each clove with the root-side down and sprout facing up.
- Depth and Spacing: Bury the clove about 2 inches deep and space them 4–6 inches apart in rows that are 12 inches apart. For containers, maintain similar spacing for optimal growth.
Step 4: Watering and Mulching
- Water Immediately: After planting, water the area thoroughly to settle the soil.
- Maintain Moisture: Garlic needs consistent moisture, so water whenever the top inch of soil feels dry. Avoid overwatering, which can lead to rot.
- Mulch: Apply a layer of mulch, such as straw or shredded leaves, to retain moisture, regulate soil temperature, and suppress weeds.
Caring for Your Garlic Plants
Fertilizing
Garlic is a light feeder but benefits from additional nutrients during its growth cycle. Use an organic fertilizer rich in nitrogen every 3–4 weeks during the growing season to encourage healthy foliage and bulb formation.
Weeding
Garlic doesn’t compete well with weeds. Keep the planting area weed-free, being careful not to disturb the shallow roots.
Pest and Disease Management
- Common Pests: Garlic is relatively pest-resistant, but aphids, onion maggots, and nematodes can occasionally be a problem. Use organic pest control methods like neem oil or companion planting with marigolds.
- Diseases: To avoid fungal diseases like white rot, ensure the soil is well-draining and avoid overwatering. Rotate crops annually to reduce the risk of soil-borne pathogens.
Harvesting Sprouted Garlic
Garlic Greens
If you’re looking for a quick harvest, garlic greens can be snipped about 3–4 weeks after planting. These tender, flavorful greens are perfect for garnishing salads, soups, or stir-fries. Trim the leaves sparingly to avoid weakening the plant.
Garlic Bulbs
For fully developed bulbs, garlic takes 4–6 months to mature, depending on the variety and growing conditions. Signs that the bulbs are ready to harvest include:
- The leaves begin to turn yellow and die back.
- The tops fall over naturally.
To harvest, gently loosen the soil around the bulb with a garden fork and lift it out. Avoid pulling directly on the plant to prevent damage to the bulb.
Storing Garlic
Curing Garlic
After harvesting, cure the bulbs by laying them out in a well-ventilated, shaded area for 2–3 weeks. Curing allows the bulbs to dry and enhances their storage life.
Storage Tips
- Store garlic in a cool, dry, and dark place with good air circulation.
- Avoid refrigeration, as it encourages sprouting.
- Properly cured garlic can last up to 6 months or longer.
Common Questions About Planting Sprouted Garlic
Can I plant garlic indoors?
Yes! Garlic can be grown indoors for greens. Use a deep pot with rich, well-draining soil and place it near a sunny window.
How long does it take to grow garlic?
For greens, garlic can be ready in a few weeks. For bulbs, expect 4–6 months of growth.
What happens if I plant garlic too late?
Late planting may result in smaller bulbs, but you can still enjoy garlic greens and a partial harvest.
Benefits of Growing Garlic at Home
- Cost-Effective: A single clove can yield an entire bulb, making it a budget-friendly crop.
- Health Benefits: Garlic is known for its immune-boosting properties and is a versatile addition to meals.
- Eco-Friendly: Growing garlic reduces your reliance on store-bought produce and cuts down on waste.
Final Thoughts
Planting sprouted garlic is an excellent way to turn kitchen scraps into a thriving garden crop. Whether you’re growing it for its flavorful greens or full bulbs, garlic is a low-maintenance plant with high rewards.
🌱 Have you tried planting sprouted garlic? Share your tips, questions, and progress below! Let’s inspire each other to grow sustainably!
#GrowGarlic #SustainableGardening #HomeGarden #KitchenToGarden #OrganicGardening #EdibleGarden #GardeningTips #PlantingGarlic