
Keeping plants hydrated can be a challenge, especially for busy gardeners or those heading out of town. The good news is that you don’t need expensive equipment or advanced tools to keep your plants healthy. With a bit of creativity, you can create effective, low-cost watering systems using everyday items like plastic bottles and fabric. In this article, we’ll explore two simple, cost-free methods to water your plants for up to a month.
Why Consistent Watering is Essential
Plants rely on consistent moisture to grow, thrive, and produce fruits or flowers. However, overwatering or underwatering can stress plants, leading to poor health and reduced yields. A slow, steady supply of water ensures roots remain hydrated without becoming waterlogged.
Method 1: Slow-Release Watering Using a Buried Plastic Bottle
This technique is perfect for vegetable gardens, flower beds, or outdoor plants that need a consistent supply of water.
Materials Needed
- A large plastic bottle (2-liter size works best)
- A marker
- A sharp tool (such as an awl, knife, or heated iron rod)
Step-by-Step Guide
- Prepare the Bottle:
Start by cleaning the bottle thoroughly and removing any labels. Use a marker to draw two lines: one about 15 centimeters from the bottom and another about 10 centimeters from the neck. - Create the Water Outlet:
Using a sharp tool, make a small hole approximately 7 centimeters from the bottom of the bottle. This hole will act as a slow-release outlet, ensuring water is delivered directly to the plant’s roots. - Fill the Bottle:
Pour water into the bottle up to the lower marked line. Tighten the cap securely to prevent evaporation and spillage. - Bury the Bottle:
Dig a hole near the plant, deep enough to bury the bottle up to the lower marked line. Place the bottle in the hole with the water outlet hole facing the plant. Cover the bottle with soil, leaving the neck exposed for easy refilling. - Final Step:
Fill the bottle completely with water, close the cap, and let it do its job. The system will gradually release water into the soil, keeping the plant hydrated for weeks.
Advantages of This Method
- Water Efficiency: Direct delivery to the roots minimizes water waste.
- Time-Saving: Reduces the need for daily watering.
- Eco-Friendly: Reuses plastic bottles that would otherwise be discarded.
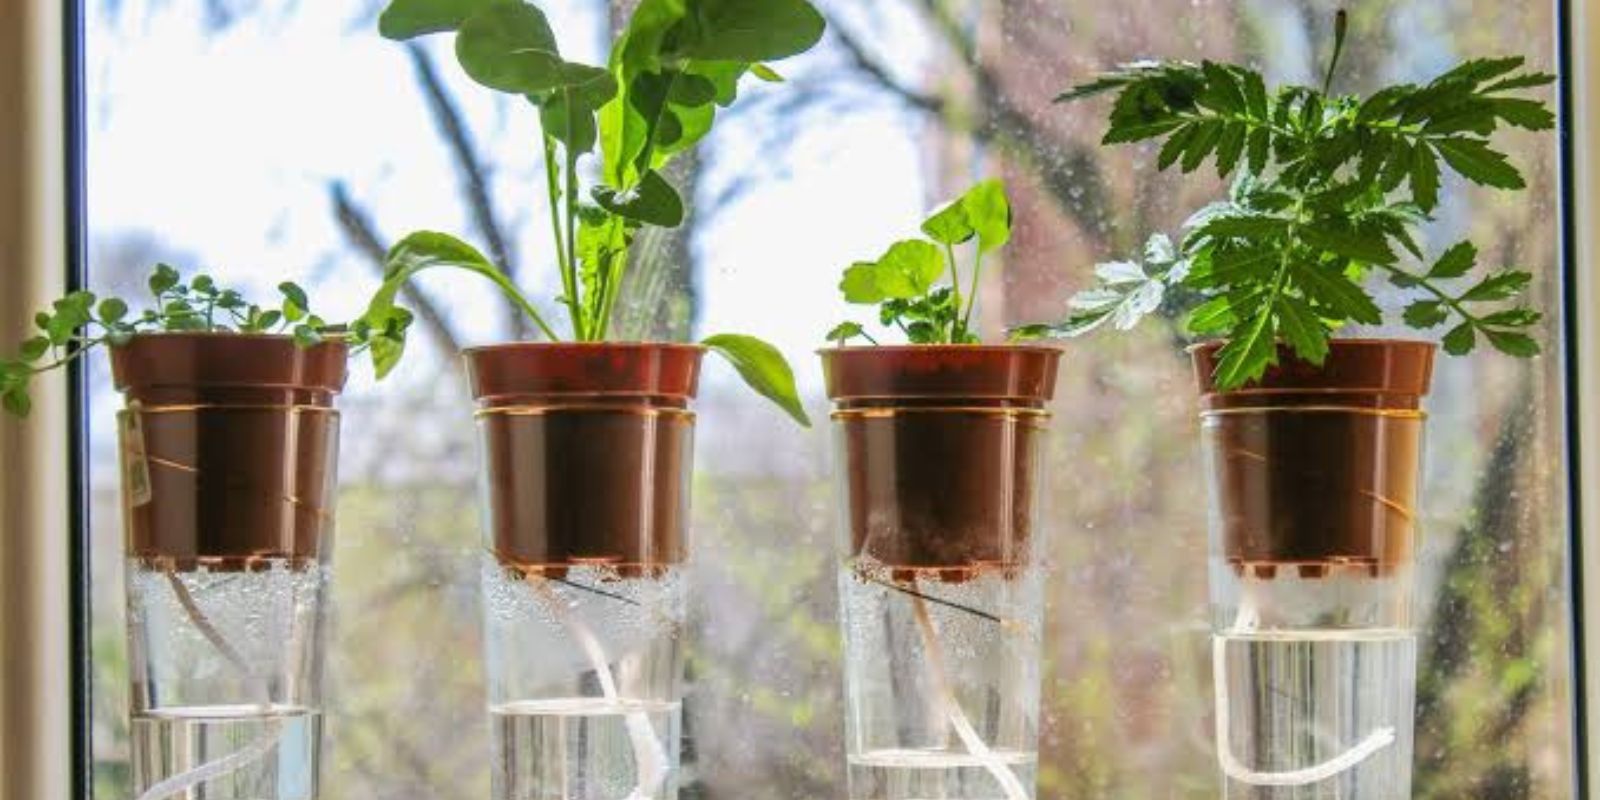
Method 2: Wicking System with a Plastic Bottle and Fabric/String
Ideal for potted plants and smaller gardens, this method ensures consistent moisture using a simple wick mechanism.
Materials Needed
- A plastic bottle
- Cotton fabric or a thick cotton string
- Water
- A sharp tool to make a hole
Step-by-Step Guide
- Prepare the Bottle:
Clean the bottle thoroughly and make a small hole in the cap. - Thread the Fabric or String:
Cut a piece of cotton fabric or string long enough to reach the soil. Thread it through the hole in the cap, ensuring one end remains in the water and the other touches the soil. - Fill and Seal:
Fill the bottle with water and replace the cap, ensuring the fabric or string is fully saturated. - Position the Bottle:
Place the bottle upside down in the soil near the plant, with the cap buried and the wick extending into the soil.
Advantages of This Method
- Consistent Moisture: The wick provides a steady supply of water directly to the roots.
- Versatility: Suitable for indoor and outdoor plants.
- Low Maintenance: Requires minimal monitoring and upkeep.
Why These Methods Work
Both systems utilize principles of slow-release watering and capillary action to ensure plants receive the moisture they need without the risk of overwatering. By delivering water directly to the root zone, these methods improve water use efficiency and reduce evaporation, making them perfect for drought-prone areas or gardeners looking to conserve resources.
Additional Tips for Success
- Choose the Right Bottle Size:
For larger plants, use bigger bottles to hold more water. For smaller plants, a 500 ml bottle may suffice. - Monitor Soil Moisture:
Check the soil periodically to ensure it’s moist but not overly wet. Adjust the size of the water outlet or the length of the wick as needed. - Use Clean Materials:
Always use clean bottles and fabric to prevent introducing contaminants into the soil. - Incorporate Mulch:
Adding a layer of mulch around your plants can further reduce evaporation and extend the effectiveness of these watering systems.
Eco-Friendly Gardening at Its Best
These DIY watering systems not only save time and money but also promote sustainable gardening practices. By reusing materials like plastic bottles and old fabric, you reduce waste and contribute to a greener planet.
Try It Today!
Whether you’re a seasoned gardener or just starting, these methods are easy, effective, and virtually cost-free. Give them a try and enjoy healthier, happier plants with minimal effort.
💧 Which method will you try first? Share your results or tips in the comments!