
Introduction
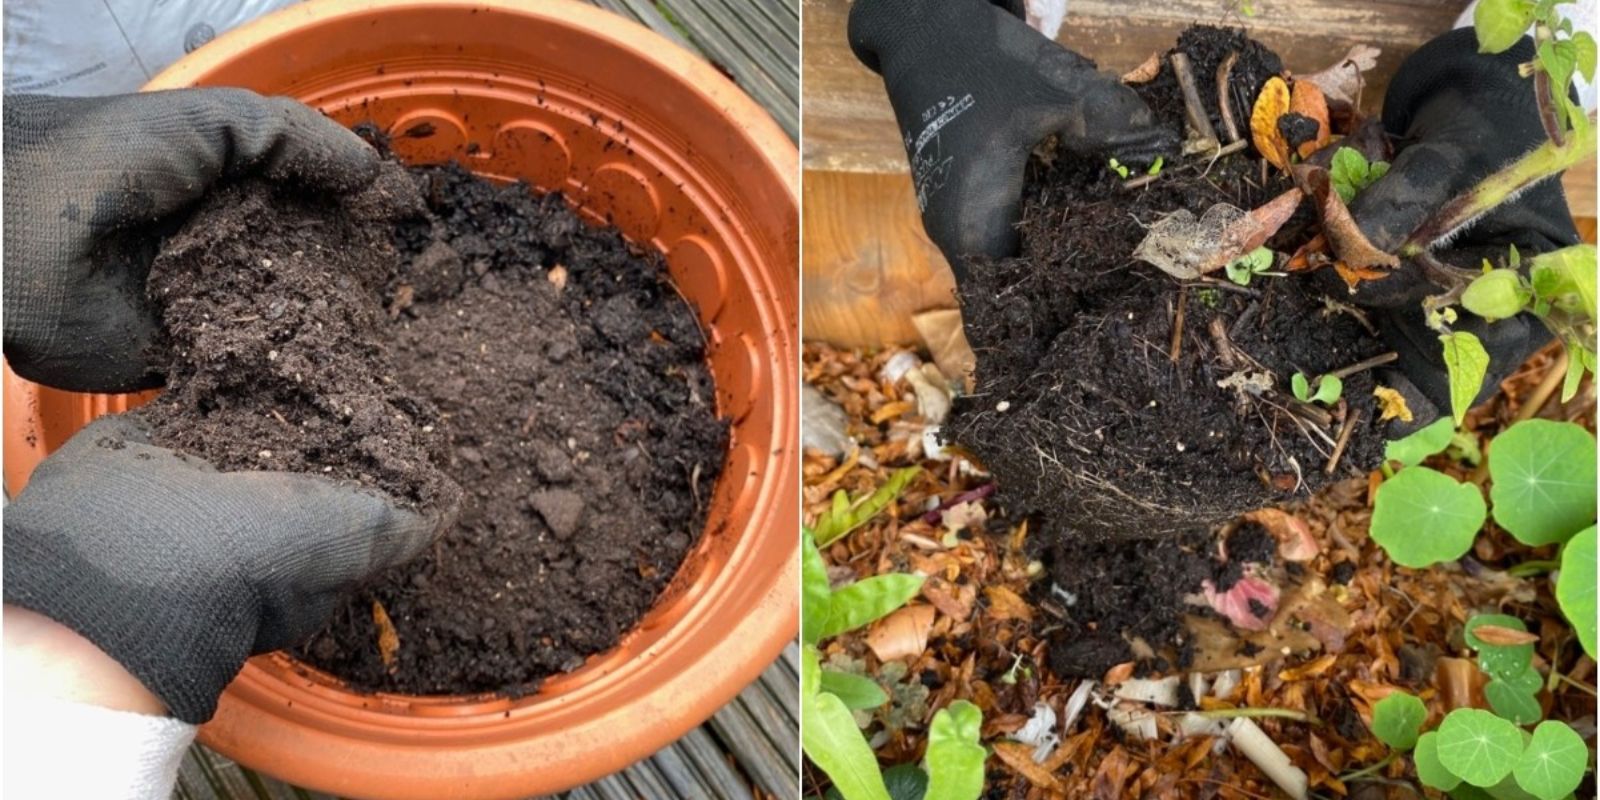
Gardening enthusiasts often find themselves with a collection of old potting soil that seems depleted and lifeless. While many believe used potting soil should be discarded, the truth is, it can be recharged and reused, saving money and reducing waste. With the right techniques, you can breathe new life into old soil, ensuring your plants thrive without constantly buying new bags of soil.
In this article, we’ll explore proven methods to restore the nutrients and structure of old potting soil so you can keep your garden flourishing while practicing sustainable gardening.
Why Should You Recharge Old Potting Soil?
Before diving into the process, let’s understand why reviving old soil is beneficial:
- Cost-Effective: Buying fresh potting soil every season can be expensive. Rejuvenating your old soil saves money.
- Eco-Friendly: Reducing soil waste minimizes landfill contributions and promotes sustainability.
- Retains Soil Microorganisms: Good bacteria and fungi present in old soil contribute to plant health and nutrient absorption.
- Encourages Better Plant Growth: Properly recharged soil enhances plant vigor, allowing them to flourish.
Step-by-Step Guide to Recharging Old Potting Soil
1. Remove Old Plant Debris
Over time, old roots, leaves, and stems build up in the soil. Begin by:
- Removing any large debris by hand or with a small garden rake.
- Breaking up any compacted chunks of soil.
- Checking for pests or mold and discarding any contaminated portions.
2. Aerate the Soil
Compacted soil lacks proper aeration, restricting plant root growth. To fix this:
- Use a garden fork, trowel, or even your hands to loosen up the soil.
- Mix in perlite, vermiculite, or sand to improve aeration and drainage.
- Avoid overpacking the soil, as loose, fluffy soil promotes root expansion.
3. Sterilize the Soil (Optional But Recommended)
If your old soil has signs of pests, fungus, or mold, sterilization is necessary:
- Solarization: Spread the soil in a thin layer on a tarp and leave it under the sun for several days.
- Oven Baking: Place the soil in a baking pan and heat at 180°F (82°C) for 30 minutes.
- Boiling Water Treatment: Pour boiling water over the soil to kill harmful pathogens.
4. Replenish Organic Matter
Old soil often lacks nutrients due to plant absorption. To enrich it:
- Add compost (homemade or store-bought) to boost organic matter.
- Mix in worm castings for beneficial microbes and natural fertilizers.
- Include aged manure (cow, chicken, or horse) for long-term soil enrichment.
5. Restore Nutrients with Amendments
Even with compost, additional soil amendments help bring back balance:
- Bone Meal: Provides phosphorus for root growth.
- Blood Meal: Supplies nitrogen for leafy growth.
- Epsom Salt: Enhances magnesium levels, promoting greener foliage.
- Wood Ash: A natural source of potassium, ideal for flowering plants.
6. Check and Adjust Soil pH
Healthy soil should have a balanced pH level (typically 6.0–7.0 for most plants):
- Use a pH testing kit to measure acidity or alkalinity.
- If too acidic, add garden lime to raise pH.
- If too alkaline, mix in sulfur or peat moss to lower pH.
7. Improve Soil Structure
Over time, soil can lose its structure, making it difficult for roots to access water and nutrients:
- Add coconut coir or peat moss to retain moisture.
- Incorporate biochar to enhance microbial activity and nutrient retention.
- Blend in shredded leaves or pine bark for improved soil texture.
8. Rehydrate the Soil
Old potting soil tends to dry out and become hydrophobic, meaning it repels water. To fix this:
- Soak the soil in a bucket of water and allow it to rehydrate.
- If the soil is severely dry, mix in a wetting agent like aloe vera gel or a few drops of dish soap diluted in water to help it absorb moisture.
- Regularly water the soil before use to maintain its structure.
9. Let the Soil Rest
Before reusing, allow the recharged soil to rest for 1–2 weeks:
- This gives microbes time to establish themselves.
- It allows the nutrients to distribute evenly.
- Helps eliminate any lingering pathogens after sterilization.
10. Store Properly for Future Use
If you are not using the soil immediately, store it properly:
- Keep it in a dry, cool place.
- Use sealed plastic bins or grow bags to prevent pests and mold.
- Label the container with the date and amendments added.
When Should You Not Reuse Potting Soil?
While most potting soil can be revived, some cases require complete replacement:
- If it has been infested with harmful pests like fungus gnats or root aphids.
- If the soil is heavily contaminated with fungal diseases like damping-off or powdery mildew.
- If it has a foul odor or slimy texture, indicating rot or mold.
- If it has been used for diseased plants, as the pathogens may persist.
In such cases, discard the soil responsibly or use it in non-food-growing areas like ornamental beds or pathways.
Final Thoughts
Recharging old potting soil is a simple and rewarding process that helps gardeners save money, reduce waste, and grow healthier plants. By following these easy steps, you can breathe new life into used soil and continue to cultivate a thriving garden season after season.
💬 Have you tried reusing old potting soil? Share your experience and tips in the comments below! Let’s grow together! 🌱👇
#GardeningHacks #PottingSoil #SustainableGardening #SoilRevival #GrowYourOwn #GardenTips #OrganicGardening #EcoFriendlyGardening