
Gardening has evolved over the centuries, but some of the best practices remain rooted in ancient wisdom. One such technique involves crafting your own liquid fertilizer, a process that not only supports sustainable gardening practices but also nurtures the environment and saves you money. Using organic materials that are readily available, this ancient method of fertilizer production is a practical and eco-friendly solution for both novice and experienced gardeners alike.
In this article, we’ll take a deep dive into the benefits and process of making your own liquid fertilizer, with a focus on a simple, time-honored technique. Whether you’re aiming to enrich your garden soil or looking for a sustainable alternative to store-bought fertilizers, this method will unlock nature’s generosity in your garden.
Why Use Liquid Fertilizer?
Liquid fertilizers are a fantastic way to quickly supply plants with essential nutrients. Unlike solid fertilizers, which take time to break down in the soil, liquid fertilizers are absorbed by plants almost immediately. This makes them an effective solution for quickly boosting plant health, especially during the growing season when plants need nutrients most. They also tend to promote healthier root systems and vigorous growth.
Making liquid fertilizer from organic materials is an excellent way to reduce waste. Many common kitchen scraps, like vegetable peels, fruit skins, and coffee grounds, can be used to create nutrient-rich fertilizers. Moreover, this process eliminates the need for expensive, chemically-laden fertilizers, making it an environmentally friendly and cost-effective gardening solution.
Benefits of Homemade Liquid Fertilizer
- Cost-Effective: Store-bought fertilizers can be expensive, and using organic materials for fertilizer means you can grow your garden without spending money on chemical alternatives. All you need are simple, free materials that you can gather from your own kitchen and yard.
- Eco-Friendly: Making your own fertilizer reduces the need for plastic bottles, chemical-laden products, and packaging waste. It’s a sustainable solution that helps cut down on waste while feeding your plants with natural nutrients.
- Better for the Soil: Homemade liquid fertilizer made from organic materials helps promote healthy soil. Organic fertilizers improve the soil’s ability to hold moisture and nutrients, which benefits both plants and the surrounding ecosystem.
- Plant Health: Liquid fertilizers are fast-acting and quickly absorbed by plants, promoting lush, vigorous growth. This is particularly useful for plants that need quick nourishment during their growing period.
- Natural and Chemical-Free: By using organic materials, you avoid the chemicals often found in commercial fertilizers that can harm the environment and human health.
The Ancient Method: Step-by-Step Guide to Making Liquid Fertilizer
Creating your own liquid fertilizer using an ancient method involves a simple fermentation process that extracts nutrients from organic materials. This age-old technique involves using kitchen scraps, grass clippings, or other plant-based waste, and transforming them into a nutrient-rich liquid that can be applied directly to your garden.
Step 1: Gather Your Materials
The first step in making liquid fertilizer is to collect the organic materials that will serve as the fertilizer’s base. Common materials include:
- Kitchen Scraps: Fruit and vegetable peels, coffee grounds, eggshells, and other waste that’s rich in essential plant nutrients.
- Grass Clippings: Freshly cut grass is a great source of nitrogen, a vital nutrient for plant growth.
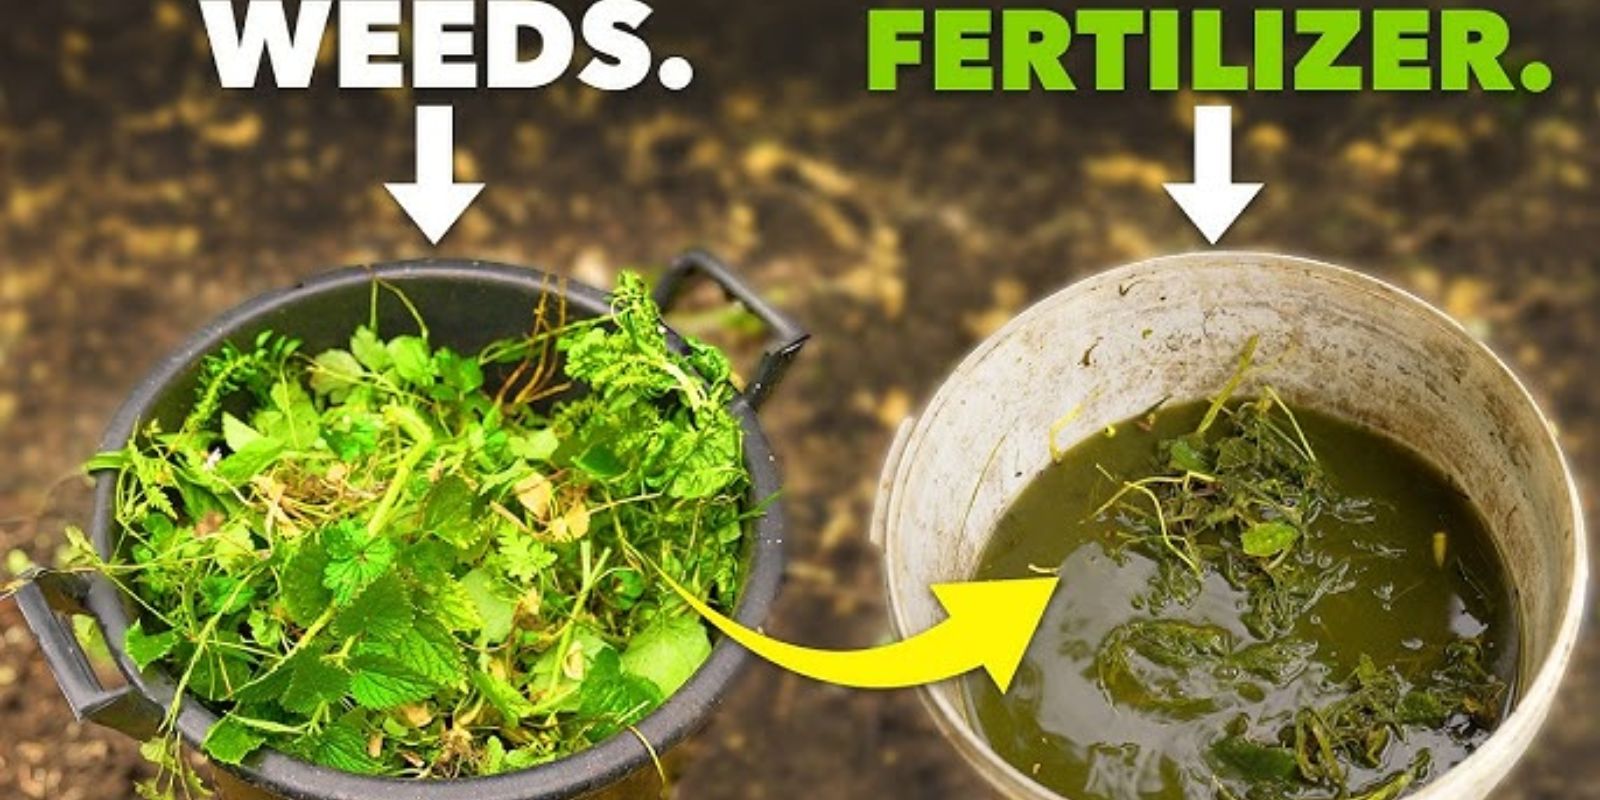
- Weeds: Weeds like dandelions and nettles are packed with nutrients that will help your plants thrive.
- Herbs and Flowers: Certain herbs and flowers, such as comfrey or clover, can also be used in the mixture to provide additional nutrients.
It’s important to note that the key to a good liquid fertilizer is a balance of nitrogen, phosphorus, and potassium. While many organic materials will provide these essential nutrients, you may want to experiment with different combinations to achieve the best results.
Step 2: Fermentation Process
Once you’ve collected your materials, it’s time to start the fermentation process. Here’s how to do it:
- Choose a Container: Select a large container or bucket to house your organic material. A plastic bucket with a lid works well, but you can use any container that holds water and allows for ventilation.
- Add Your Organic Materials: Fill the container about one-third full with your organic materials. You don’t need to chop the materials into small pieces, as the fermentation process will break them down naturally.
- Add Water: Fill the container with water, ensuring that the organic material is fully submerged. Water helps to extract the nutrients from the organic matter, which will eventually break down during the fermentation process.
- Cover and Wait: Cover the container with a lid or cloth, leaving a small opening to allow air to circulate. This is crucial because fermentation relies on aerobic bacteria. Allow the mixture to ferment for about 1-2 weeks, stirring it occasionally to help the decomposition process.
Step 3: Straining the Liquid
After about 1-2 weeks, you’ll notice that the mixture has started to break down, and a nutrient-rich liquid has formed at the bottom. At this point, it’s time to strain the liquid.
- Strain the Fertilizer: Use a fine mesh strainer, cheesecloth, or a piece of fabric to strain out the solid material. You’ll want to collect the liquid in a separate container. The solids can be composted or added to your garden bed as mulch.
- Dilute the Fertilizer: The resulting liquid fertilizer will be very concentrated, so you’ll need to dilute it with water. A common ratio is 1 part liquid fertilizer to 10 parts water, but this can vary depending on the strength of the mixture and the needs of your plants.
Step 4: Apply to Your Plants
Once you have your liquid fertilizer ready, it’s time to apply it to your plants. You can use a watering can or spray bottle to apply the fertilizer directly to the soil around the plant’s base. Avoid spraying the mixture on the leaves, as it can sometimes cause burning, especially when it is too concentrated.
It’s best to apply the liquid fertilizer every two to three weeks throughout the growing season. If your plants are showing signs of nutrient deficiency, you can apply the fertilizer more frequently until you see improvement.
Tips for Best Results
- Avoid Over-fertilizing: Too much fertilizer can burn your plants or disrupt the nutrient balance in the soil. Always dilute your fertilizer and apply it sparingly.
- Use Fresh Materials: Fresh plant material is preferable for fermentation, as it contains more nutrients. Avoid using dried leaves or composted materials, as they may not yield the best results.
- Storage: If you have leftover fertilizer, store it in a sealed container to prevent it from becoming too pungent. Make sure to keep it in a cool, dark place.
- Customize Your Fertilizer: Feel free to experiment with different organic materials to create custom fertilizers tailored to the specific needs of your plants.
Conclusion
Making liquid fertilizer using an ancient, sustainable method is an incredibly effective and eco-friendly way to nourish your garden. By recycling organic waste materials from your kitchen and yard, you not only reduce waste but also promote healthy plant growth without relying on store-bought, chemical fertilizers. This easy, natural method provides your plants with a potent, nutrient-rich boost while keeping your gardening practices sustainable.
By incorporating this ancient technique into your gardening routine, you can unlock the true generosity of nature. You’ll be able to grow thriving plants, reduce your environmental impact, and enjoy the process of nurturing your garden in a truly natural way. Whether you’re an experienced gardener or just starting, this simple method is an invaluable tool for growing a sustainable and bountiful garden.
Start making your own liquid fertilizer today, and watch your garden flourish! 🌱💧
#SustainableGardening #LiquidFertilizer #EcoFriendly #OrganicGardening #DIYFertilizer #GardeningTips #GreenLiving #ReduceWaste #HealthyPlants #NaturalFarming