
Gardening enthusiasts and seasoned horticulturists know that the right nutrients can make all the difference in growing healthy, vibrant plants. While synthetic fertilizers are a quick fix for plant care, organic solutions like homemade liquid fertilizers are becoming increasingly popular due to their sustainable and eco-friendly nature. If you’re looking for a natural way to feed your plants, a liquid fertilizer could be the answer.
In this guide, we’ll explore the benefits of liquid fertilizers, how to make them using simple, everyday ingredients, and how to use them effectively for an abundant garden. So, let’s dive in!
Why Use Liquid Fertilizer?
Before we get into the how-tos of making your own liquid fertilizer, it’s important to understand why this method is so effective. Liquid fertilizers are a fast-acting solution for plants. They are quickly absorbed through the leaves and roots, making them more efficient than granular fertilizers. Liquid fertilizers provide plants with essential nutrients like nitrogen, phosphorus, and potassium in a form they can readily use.
They also encourage strong growth, vibrant foliage, and healthy blooms, and can be used for a variety of plants, from houseplants to outdoor vegetables and flowers. Another advantage is that liquid fertilizers are easily customizable based on the needs of your plants. Whether you have nutrient-deficient soil or specific plant requirements, you can tailor your liquid fertilizer to provide optimal nutrition.
Ingredients for Homemade Liquid Fertilizer
Making your own liquid fertilizer at home is simple and cost-effective. Below are a few natural ingredients commonly used to make nutrient-rich liquid fertilizers:
- Compost Tea: Compost tea is a fantastic liquid fertilizer made by soaking compost in water. It’s rich in microorganisms that help improve soil health and feed your plants.
- Fish Emulsion: Made from fish waste, fish emulsion is a great source of nitrogen, which encourages leafy growth. It’s a go-to liquid fertilizer for vegetables and leafy greens.
- Banana Peels: High in potassium and phosphorus, banana peels are a natural way to boost flowering and fruiting in plants. They can be used to create a liquid fertilizer that promotes healthy blooms and fruit production.
- Coffee Grounds: Used coffee grounds provide nitrogen, calcium, and magnesium, making them great for leafy plants and flowering shrubs. They also add acidity to the soil, benefiting acid-loving plants.
- Eggshells: Crushed eggshells are an excellent source of calcium. When used in liquid form, they help strengthen cell walls in plants and improve root development.
- Seaweed: Rich in trace minerals and growth hormones, seaweed is a fantastic ingredient for making liquid fertilizer. It boosts overall plant health and stimulates root growth.
These ingredients are typically easy to find and can be sourced from your kitchen or garden waste, making them an eco-friendly and inexpensive way to care for your plants.
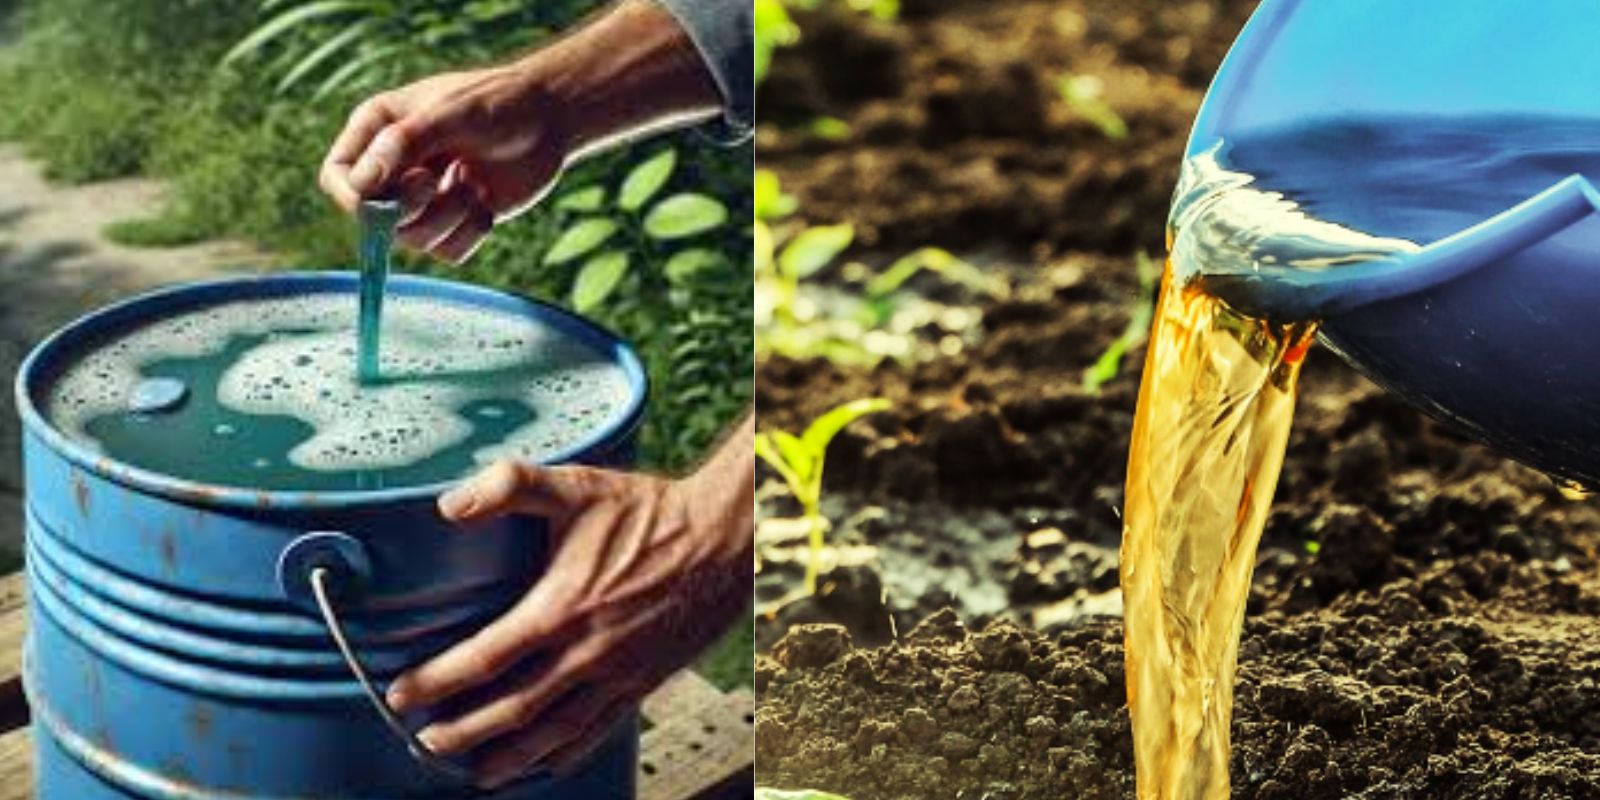
How to Make Liquid Fertilizer
Creating your own liquid fertilizer is straightforward and doesn’t require any special equipment. Here’s a simple step-by-step guide to making your own nutrient-packed liquid fertilizer.
1. Compost Tea Fertilizer
What You Need:
- 1 part compost
- 5 parts water
- A container or bucket
- A strainer or cheesecloth
Instructions:
- Fill a container or bucket with compost and add water.
- Stir the mixture and allow it to steep for 24 to 48 hours.
- After steeping, strain the mixture to remove the solids, leaving only the nutrient-rich liquid.
- Dilute the compost tea with water (1 part compost tea to 2 parts water) before applying it to your plants.
Benefits: Compost tea is rich in beneficial bacteria, fungi, and nutrients that enhance soil health and promote plant growth.
2. Fish Emulsion Fertilizer
What You Need:
- 1 part fish emulsion concentrate
- 10 parts water
Instructions:
- Mix one part fish emulsion concentrate with 10 parts water in a container.
- Stir the mixture well to ensure it’s fully combined.
- Apply the liquid fertilizer to the soil or spray it onto the leaves of your plants. Be sure to follow the manufacturer’s guidelines for the correct application rate.
Benefits: Fish emulsion is an excellent source of nitrogen and is particularly beneficial for promoting healthy green growth in vegetables and leafy plants.
3. Banana Peel Fertilizer
What You Need:
- 2-3 banana peels
- 1 gallon of water
Instructions:
- Cut the banana peels into small pieces and place them in a jar or container.
- Add one gallon of water and let the mixture sit for 24 to 48 hours to steep.
- After the steeping period, strain the liquid and dilute it with more water (about 1:1 ratio).
- Use the diluted banana peel water as a fertilizer for your plants.
Benefits: Banana peels are a great source of potassium and phosphorus, which help promote flowering and fruiting in your garden.
4. Coffee Ground Fertilizer
What You Need:
- 1 cup of used coffee grounds
- 1 gallon of water
Instructions:
- Place the used coffee grounds in a container.
- Add one gallon of water to the grounds and let it sit for 24 hours.
- Strain the liquid and use it to water your plants.
Benefits: Used coffee grounds provide nitrogen, which is beneficial for leafy vegetables and herbs. They also help improve soil structure.
5. Eggshell Fertilizer
What You Need:
- 10-15 crushed eggshells
- 1 gallon of water
Instructions:
- Crush the eggshells and place them in a container.
- Add one gallon of water to the eggshells and let them sit for 1 to 2 weeks.
- Strain the liquid and dilute it before using it to water your plants.
Benefits: Eggshells are rich in calcium, which helps strengthen plant cell walls and supports healthy root development.
6. Seaweed Fertilizer
What You Need:
- 1 part dried seaweed (or fresh if available)
- 5 parts water
Instructions:
- Chop or tear the seaweed into smaller pieces.
- Place the seaweed in a container and cover it with water.
- Let it steep for about 1-2 weeks, stirring occasionally.
- Strain out the seaweed and dilute the liquid before applying it to your plants.
Benefits: Seaweed is loaded with micronutrients and growth hormones that improve overall plant health and support strong root systems.
How to Use Liquid Fertilizer Effectively
Now that you’ve made your own liquid fertilizer, it’s time to apply it to your plants. Follow these tips for the best results:
- Dilute the Fertilizer: Always dilute homemade liquid fertilizer with water before applying it. This prevents over-fertilizing, which can harm your plants.
- Apply During the Growing Season: Apply liquid fertilizer during the active growing season, typically in spring and summer. Avoid fertilizing in fall or winter when plants are dormant.
- Water the Soil: Focus on applying liquid fertilizer to the soil around the base of your plants. Fertilizing the leaves can also be effective but should be done early in the morning or late in the evening to prevent burning the foliage.
- Frequency of Application: Apply the liquid fertilizer every two weeks for optimal results, but check the specific needs of your plants for more precise care.
Conclusion
Homemade liquid fertilizers are an affordable, natural, and effective way to nourish your plants and encourage robust growth. By using simple ingredients like compost, fish emulsion, banana peels, and even coffee grounds, you can provide your garden with all the nutrients it needs to thrive. Whether you’re a beginner gardener or a seasoned expert, making your own liquid fertilizer is a rewarding and sustainable practice.
Start today, and watch your plants grow stronger, healthier, and more vibrant with your homemade liquid fertilizer! Happy gardening! 🌿
Hashtags: #LiquidFertilizer #GardeningHacks #OrganicFarming #PlantCare #EcoFriendlyGardening #DIYFertilizer #SustainableGardening #GreenThumb #HomeGarden #HealthyPlants