
Introduction
Okra, also known as lady’s fingers, is a versatile and nutrient-packed vegetable that’s easy to grow, even in limited spaces. Whether you’re a gardening novice or a seasoned pro, cultivating okra in containers is a rewarding experience. With just a little care and the right techniques, you can enjoy fresh, organic okra straight from your patio or balcony. In this comprehensive guide, we’ll explore step-by-step instructions, care tips, and the secrets to achieving a thriving okra plant in pots.
Why Grow Okra in Pots?
Okra is an excellent choice for container gardening for several reasons:
- Space Efficiency: Its upright growth habit makes it perfect for small gardens or urban spaces.
- Portability: You can move the pot to follow the sun or protect it from harsh weather.
- Pest Control: Growing in containers minimizes exposure to soil-borne pests and diseases.
- Accessibility: Container gardening makes it easier to care for plants, especially for beginners.
Step 1: Selecting the Right Container
The foundation of successful potted okra starts with choosing the right pot.
- Size Matters: Opt for a container that is at least 12 inches deep and wide. Okra develops a deep root system, so adequate space is crucial.
- Material: Use pots made of plastic, ceramic, or terracotta. Ensure it has drainage holes to prevent waterlogging.
Pro Tip: For multiple plants, a large rectangular planter works well to maintain proper spacing.
Step 2: Preparing the Soil
Okra thrives in well-draining, nutrient-rich soil.
- Use a mix of garden soil, compost, and sand to ensure good aeration.
- Incorporate organic matter like aged manure or coco peat to improve moisture retention.
- Maintain a pH level of 6.0 to 6.8, as okra prefers slightly acidic to neutral soil.
Pro Tip: Adding slow-release fertilizer to the soil before planting gives okra a great start.
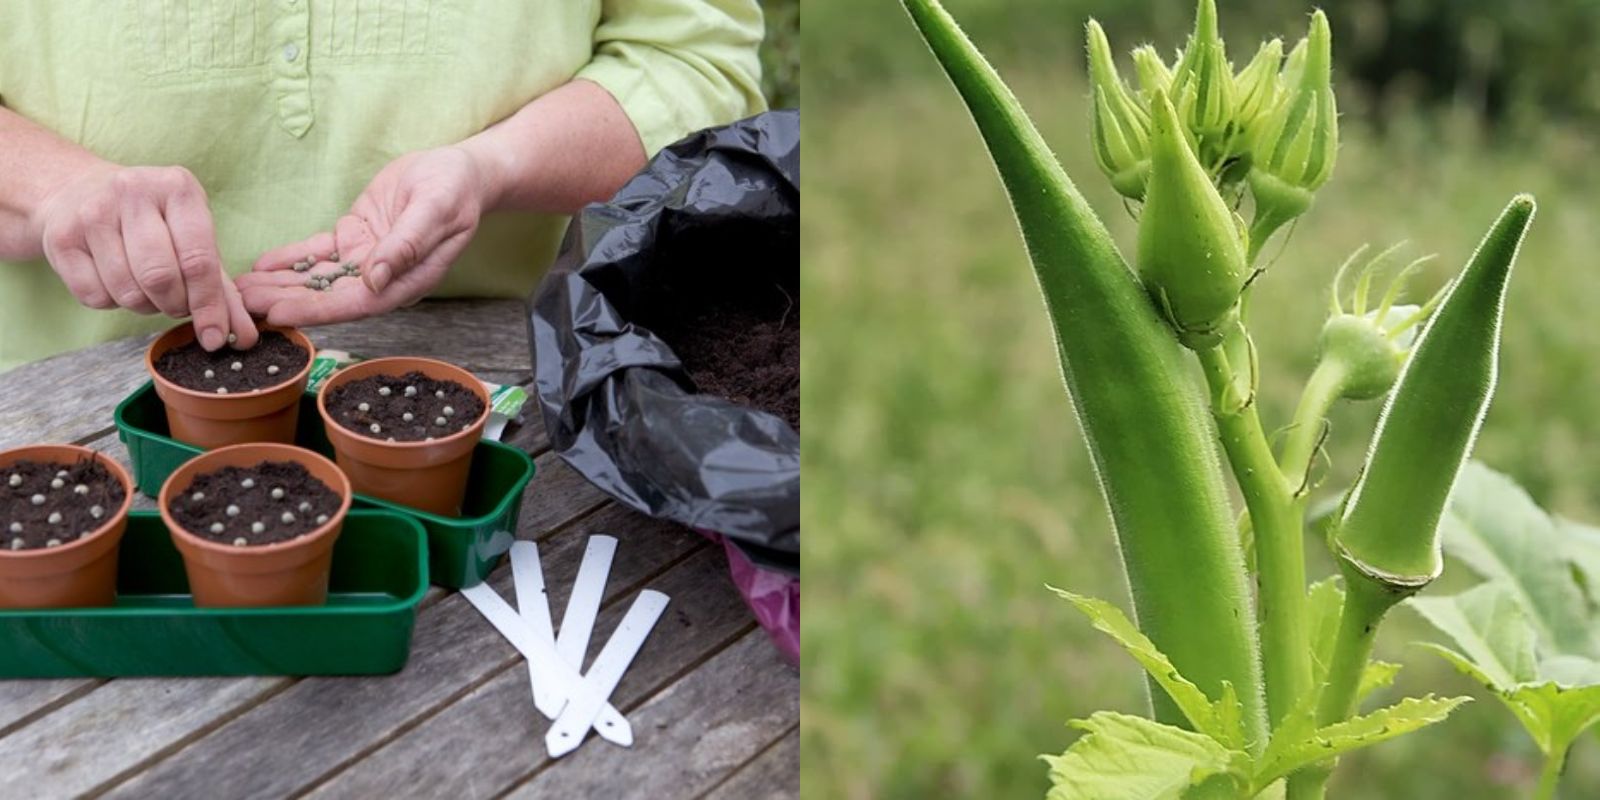
Step 3: Planting Your Okra
You can grow okra from seeds or purchase seedlings.
- Sowing Seeds: Soak okra seeds in warm water overnight to speed up germination. Plant them ½ inch deep in the soil and space them at least 12 inches apart.
- Seedlings: If transplanting, be gentle with the roots to avoid shock.
Step 4: Providing Optimal Sunlight
Okra is a sun-loving plant that requires 6–8 hours of direct sunlight daily.
- Position your container in the sunniest spot available, such as a south-facing balcony or garden.
- Rotate the pot periodically to ensure even growth.
Step 5: Watering the Right Way
Maintaining consistent soil moisture is key to healthy okra plants.
- Water deeply, allowing the water to soak into the root zone.
- Avoid overwatering, as soggy soil can lead to root rot.
- During hot weather, increase watering frequency to prevent the plant from wilting.
Pro Tip: Mulch the soil surface with straw or dried leaves to retain moisture and reduce evaporation.
Step 6: Fertilizing for Maximum Growth
Okra is a heavy feeder and benefits from regular fertilization.
- Apply a balanced fertilizer every 2–3 weeks during the growing season.
- Use organic options like fish emulsion or compost tea for a natural boost.
- Once the plant starts flowering, switch to a fertilizer high in potassium and phosphorus to encourage pod production.
Step 7: Supporting the Plant
As okra plants grow taller, they may require additional support to stay upright.
- Install stakes or a small trellis in the pot to prevent the plant from toppling over.
- Tie the stem loosely with soft twine for stability.
Step 8: Pest and Disease Management
While container gardening reduces the risk of pests, some common problems to watch out for include:
- Aphids and Spider Mites: Spray neem oil or insecticidal soap to control infestations.
- Fungal Diseases: Avoid overhead watering and ensure proper air circulation.
Pro Tip: Companion plants like marigolds or basil can repel pests naturally.
Step 9: Harvesting Your Okra
The reward for your efforts is fresh, tender okra pods.
- Harvest pods when they are 2–4 inches long, as larger pods can become tough and fibrous.
- Use a pair of scissors or pruning shears to avoid damaging the plant.
- Regular harvesting encourages continuous production.
Troubleshooting Common Issues
- Leggy Plants: Ensure sufficient sunlight and avoid over-fertilizing with nitrogen.
- Poor Flowering: Check potassium levels in the soil and reduce watering slightly.
- Stunted Growth: Inspect roots for pests or diseases and amend soil if necessary.
The Benefits of Growing Okra at Home
Homegrown okra isn’t just delicious—it’s packed with health benefits. Rich in vitamins, minerals, and fiber, okra supports digestion, boosts immunity, and promotes heart health. Growing your own ensures you get the freshest produce without harmful pesticides.
Conclusion
Growing okra in containers is a simple yet satisfying gardening project. With the right container, soil, and care, you can enjoy a bountiful harvest even in the smallest spaces. Plus, the joy of picking fresh okra for your meals is unmatched!
Are you ready to grow your own okra at home? Share your tips or questions in the comments! Let’s inspire each other to cultivate thriving gardens. 🌱✨
Viral Gardening Hashtags:
#PottedOkra #GrowYourOwnFood #ContainerGardening #UrbanGardening #FreshHarvest #OrganicLiving #HomegrownVeggies #GreenThumb