
Mint is one of the most popular and versatile herbs around, known for its refreshing aroma, vibrant green color, and numerous culinary and medicinal uses. Whether you’re adding mint to a summer cocktail, brewing fresh mint tea, or enhancing your dishes with a touch of flavor, having a steady supply of this herb right in your home can be incredibly rewarding. Growing mint at home in containers is not only easy but also allows you to control the growing environment and keep the plant’s rapid growth in check.
This comprehensive guide will walk you through everything you need to know to grow mint in containers, including container selection, planting tips, care instructions, and troubleshooting common issues. With a little effort, you can enjoy fresh mint all year round!
Why Grow Mint in Containers?
Mint is a hardy herb, but it tends to spread rapidly in the ground, making it difficult to control if planted directly in a garden bed. Its runners can invade other plants’ space, causing it to become invasive. By growing mint in containers, you can restrict its growth, prevent it from overtaking your garden, and still enjoy its benefits. Additionally, containers are a great option for those with limited space, such as apartment dwellers or anyone with a small yard.
Mint thrives in containers, and with the right care, it can produce an abundance of leaves throughout the growing season. Here’s how you can create the perfect environment for mint to thrive in your home.
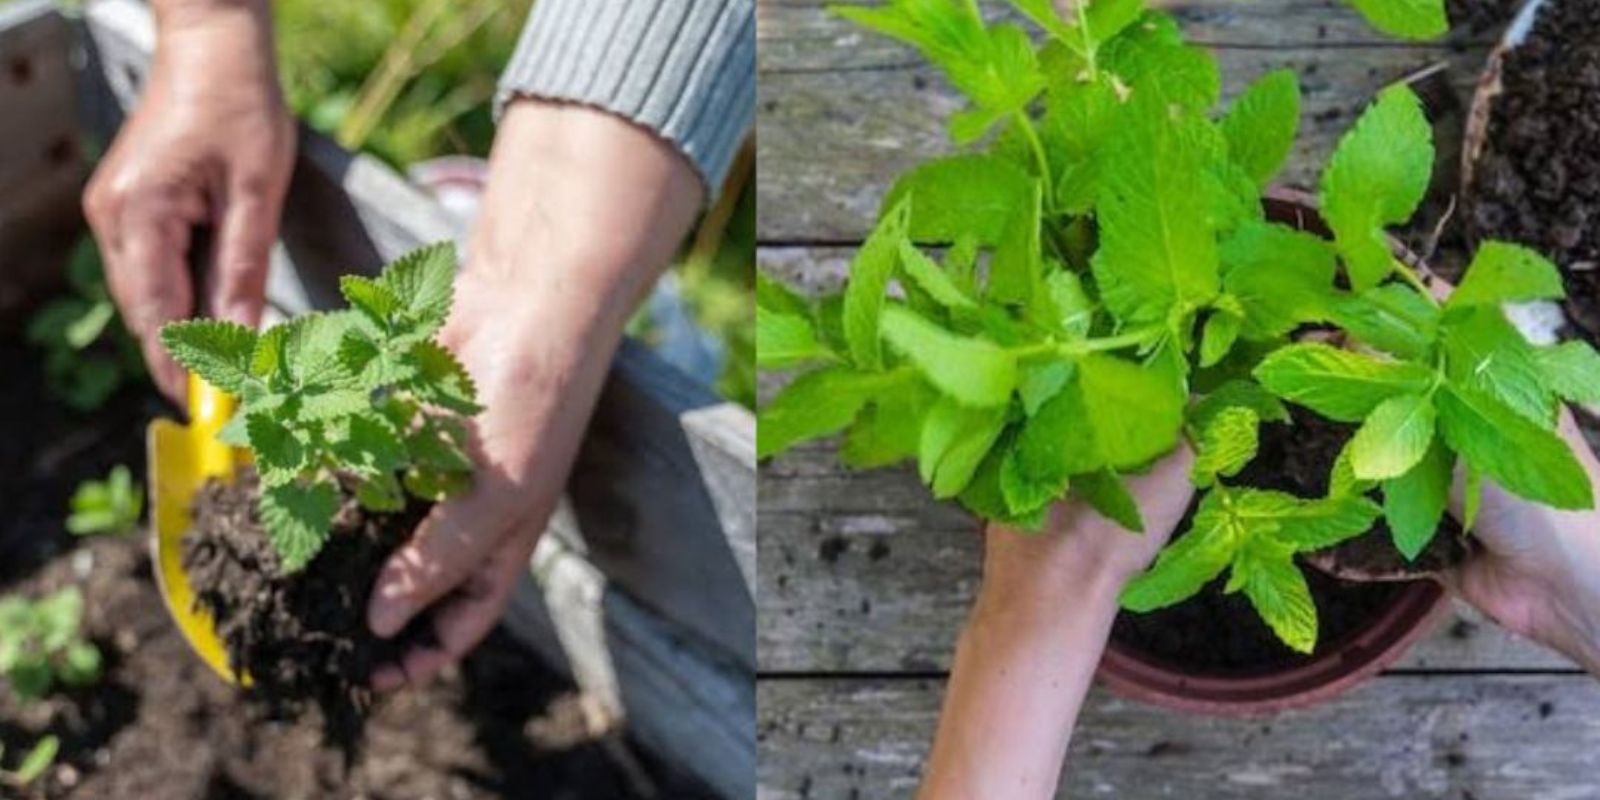
1. Choosing the Right Container
The first step in growing mint in containers is selecting the right container. Mint has a vigorous root system and needs ample space to grow. However, it’s essential to choose a container that fits your available space while still providing enough room for the plant to flourish.
Container Size:
Opt for a container that’s at least 12 inches in diameter and has a depth of 8-10 inches. A larger container (2 liters or more) will give the roots ample space to spread out and help the plant grow strong. If you’re using a recycled container like a plastic bottle, make sure it’s large enough to accommodate the mint’s root system. Small containers can stunt growth, so it’s better to go bigger than smaller.
Material:
While plastic is a popular choice because it’s lightweight and affordable, consider using terracotta or ceramic pots for a more aesthetic look. Terracotta is porous and allows for better air circulation around the roots, which helps prevent overwatering. However, it may dry out faster, so you’ll need to keep a close eye on watering.
Drainage:
Mint needs well-draining soil, so ensuring that your container has proper drainage is essential. Drill several small holes in the bottom of the container to prevent water from pooling. This will help avoid root rot and ensure the plant receives adequate oxygen.
2. Preparing the Soil and Substrate
Mint thrives in well-drained soil that’s rich in nutrients. For optimal growth, you should choose a light, loamy soil that retains moisture without becoming soggy. A mix of standard potting soil and sand is ideal for mint, as it enhances drainage while still providing nutrients.
Soil Mix:
- Use 2 parts potting soil, 1 part sand, and 1 part compost.
- The sand will improve drainage, ensuring that the roots do not become waterlogged.
- Adding compost provides the plant with essential nutrients, promoting healthy growth.
Mint doesn’t like excessively wet conditions, so make sure the substrate allows water to drain through. This will prevent the roots from sitting in stagnant water, which can cause them to rot.
3. Planting Mint in Containers
You can propagate mint in several ways, but the most common method is through cuttings, as they establish roots much faster than seeds. Growing mint from seed is possible, but it requires a bit more patience.
Planting Mint Cuttings:
- Choose Healthy Cuttings: Select fresh mint cuttings that are free from pests or diseases. Ideally, choose stems that are around 4-6 inches long.
- Prepare the Cuttings: Trim the bottom of the cutting to remove any leaves that will be submerged in water. Submerge the cut end in a glass of water and allow it to root for several days.
- Plant the Cuttings: Once the cuttings have developed small roots, they can be planted in the prepared container. Make a small hole in the soil, insert the rooted cutting, and gently firm the soil around the base to hold the plant in place.
Planting Mint from Seed:
- If you decide to grow mint from seeds, start by planting them in seed trays or small containers. Sprinkle the seeds on top of the soil, pressing them down lightly. Cover the seeds with a thin layer of soil, and mist them lightly to keep the soil moist.
- Mint seeds typically take 10-15 days to germinate, so be patient and ensure that the soil remains consistently moist but not soggy.
Spacing the Cuttings:
If you’re planting several cuttings in the same container, ensure that you leave enough space between them for proper air circulation and growth. A spacing of 2-3 inches is ideal.
4. Providing the Right Growing Conditions
Mint is a sun-loving plant, but it doesn’t like to be exposed to intense direct sunlight all day. It thrives in areas with indirect light or light shade. If you are growing mint indoors, place the container near a bright window where it can get a few hours of morning sunlight. If you’re growing mint outdoors, choose a location with some afternoon shade to prevent the leaves from burning.
Light Requirements:
- 3-4 hours of indirect sunlight or partial shade is optimal.
- Avoid placing the plant in direct afternoon sun, as it can cause the leaves to scorch.
Temperature:
Mint prefers moderate temperatures, typically between 60-70°F (15-21°C). It can tolerate cooler temperatures but should be brought indoors if frost is expected. Mint is sensitive to extreme heat, so during hot summer months, ensure it receives some relief from the intense midday sun.
5. Watering Mint
Mint likes moisture but doesn’t like its roots to sit in waterlogged soil. When watering, ensure that the container drains well and that excess water can escape. The soil should be kept consistently moist, but not soggy.
Watering Tips:
- Water the plant regularly, especially during hot weather, but always allow the top inch of soil to dry out slightly between waterings.
- If the mint leaves start to droop, it’s a sign that the plant is thirsty. Water it thoroughly to revive it.
Avoid Overwatering:
Too much water can lead to root rot and fungal diseases. Make sure the container has good drainage to prevent water from accumulating at the bottom.
6. Pruning and Harvesting Mint
Mint is a fast-growing herb, and regular pruning is key to maintaining its shape and encouraging bushy growth. Prune the plant regularly to keep it compact and prevent it from becoming leggy.
Pruning Tips:
- Remove any flowers that appear, as flowering can cause the plant to become woody and less flavorful.
- Snip the mint leaves as needed, but leave enough foliage to allow the plant to continue photosynthesizing and producing new growth.
Harvesting Mint:
- Mint leaves can be harvested once the plant is well-established, typically 2-3 months after planting. Use scissors or pruning shears to snip off the leaves as needed.
- You can use mint fresh, or dry the leaves by hanging them upside down in a cool, dry location. Once dry, store them in an airtight container for later use.
7. Dealing with Pests and Diseases
While mint is relatively pest-resistant, it can still attract certain pests, like aphids, flea beetles, or spider mites. If you notice any pests, treat your mint with a natural, biodegradable insecticidal soap or a mixture of water and dish soap.
Common Pests:
- Aphids: These tiny pests can suck the sap from mint leaves, causing yellowing and distortion.
- Flea Beetles: These pests cause small holes in the leaves.
- Spider Mites: Tiny and difficult to spot, these mites can cause the leaves to become speckled or discolored.
To keep pests under control, regularly inspect the leaves for signs of damage and use organic solutions when necessary.
8. Preventing Mint from Becoming Invasive
Mint is notorious for its spreading nature. While growing mint in containers helps control its growth, it can still become invasive if left unchecked. To prevent the mint from spreading beyond its container, you can:
- Use a Root Barrier: When growing mint in containers, you can place a root barrier (a plastic or metal liner) inside the pot to restrict the roots.
- Prune Regularly: Keep the plant pruned to prevent it from spreading too far within the container.
By following these simple steps, you’ll have a thriving mint plant in no time! Ready to enjoy fresh mint in your dishes, drinks, and teas? Let’s get growing!
Conclusion
Growing mint in containers is an easy and rewarding way to enjoy fresh herbs at home. With the right container, soil mix, and care, you can cultivate a beautiful, productive mint plant that will provide you with endless leaves to enjoy. Whether you’re an experienced gardener or just starting out, mint is a low-maintenance plant that’s perfect for container gardening.
By keeping an eye on water levels, providing ample sunlight, and regularly pruning, your mint plant will thrive and reward you with aromatic leaves throughout the year. Start your mint-growing journey today and enjoy the benefits of having this versatile herb right at your fingertips.
#MintGarden #ContainerGardening #HomeHerbs #FreshMint #UrbanGardening #DIYHerbGarden #PlantLife