
Composting is one of the most rewarding and eco-friendly ways to manage organic waste. Among various composting methods, worm composting, or vermicomposting, stands out for its efficiency and the high-quality compost it produces. Creating a DIY worm composting bin is a fantastic way to recycle kitchen scraps into nutrient-rich compost, ideal for enriching your garden soil. This guide will walk you through every step of setting up your own worm composting system, from selecting materials to harvesting the compost.
What is Worm Composting?
Understanding Vermicomposting:
Worm composting involves using worms to break down organic waste into compost. The process not only reduces waste but also produces “vermicompost,” a nutrient-dense soil amendment that can significantly enhance plant growth.
Benefits of Worm Composting:
- Reduces Kitchen Waste: Converts food scraps into valuable compost.
- Improves Soil Health: Adds essential nutrients and improves soil structure.
- Space Efficient: Ideal for urban environments and small spaces.
Selecting Your Materials
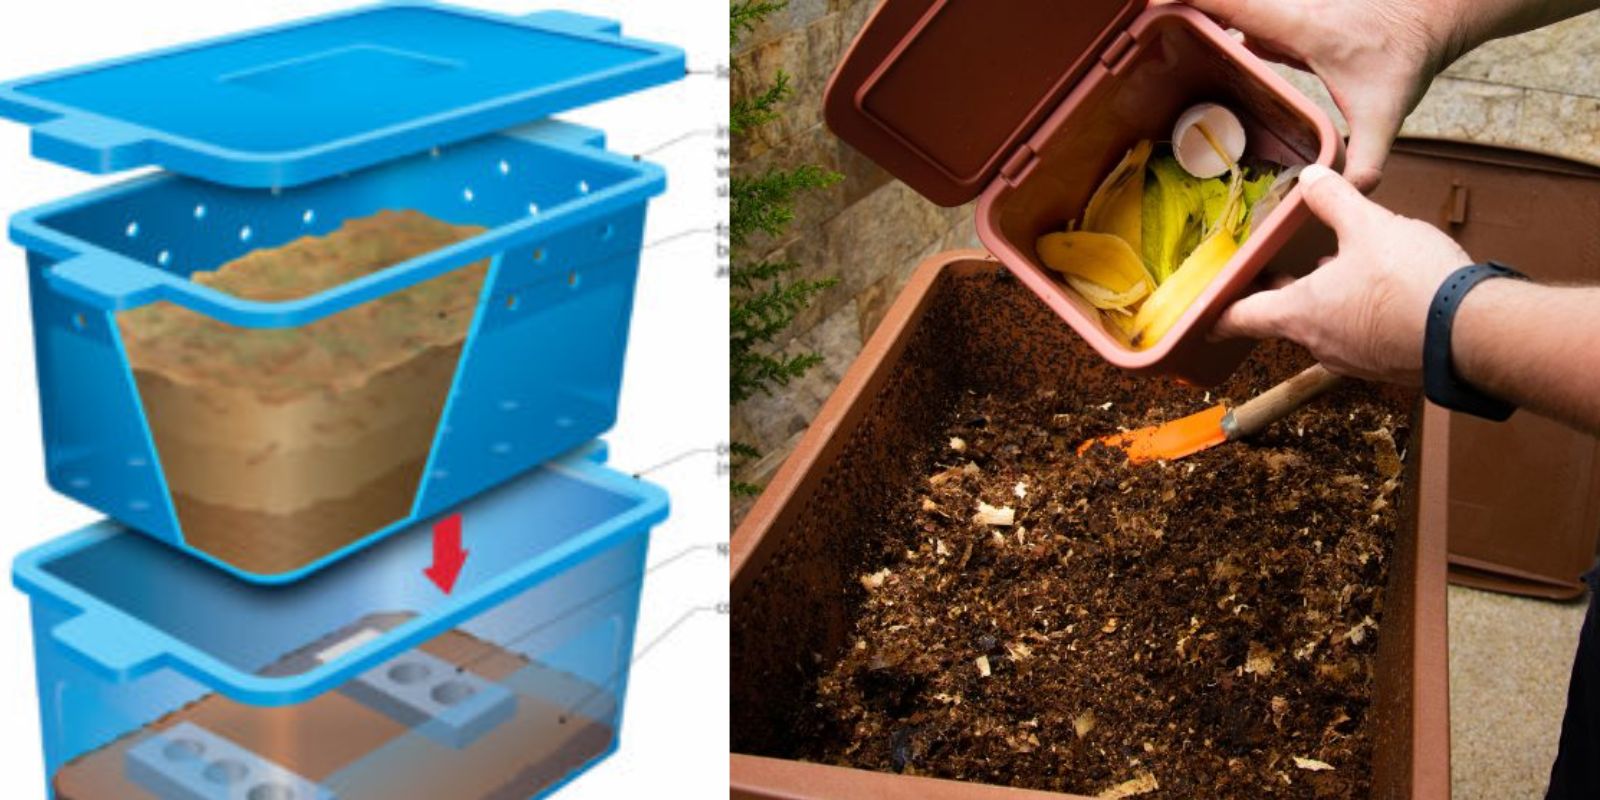
Container Choice:
- Material Options: You can use plastic bins, wooden boxes, or even old drawers. Ensure that the container is durable and suitable for the volume of waste you plan to compost.
- Size Matters: For a small household, a bin that holds about 10-15 gallons is ideal. Larger households may need a bigger bin or multiple bins.
Preparing the Container:
- Ventilation: Drill small holes in the sides and bottom of the container for airflow and drainage. Proper ventilation is crucial for preventing odors and ensuring the worms have enough oxygen.
- Drainage: The bottom holes should allow excess moisture to escape, which helps prevent waterlogging and the potential for unpleasant smells.
Setting Up Your Worm Composting Bin
Creating Bedding:
- Bedding Materials: Use damp newspaper, cardboard, or shredded paper as bedding. This material provides a habitat for the worms and helps maintain moisture levels.
- Layering: Add a 6-inch layer of bedding to the bottom of the bin. Moisten the bedding lightly so that it feels like a wrung-out sponge. Avoid making it too wet, as excess moisture can lead to problems.
Introducing the Worms:
- Worm Selection: Red wigglers (Eisenia fetida) are the best choice for composting. They are efficient at breaking down organic material and thrive in the confined space of a compost bin.
- Quantity: Start with about 1 pound of worms. This quantity is sufficient for a small to medium-sized bin.
Starting the Composting Process:
- Adding Food: Begin adding kitchen scraps to the bin. Suitable items include fruit and vegetable peels, coffee grounds, and eggshells. Avoid meat, dairy, and oily foods, which can attract pests and create odors.
- Covering: Cover the food scraps with a layer of bedding to help control odors and maintain moisture.
Maintaining Your Worm Composting Bin
Monitoring Moisture:
- Ideal Conditions: The compost should be moist but not soggy. Check the bedding regularly and add water if it becomes too dry. Conversely, add more dry bedding if the bin is too wet.
- Avoiding Odors: Proper moisture levels and ventilation are key to preventing unpleasant smells. If the bin smells bad, it’s often a sign of over-watering or an imbalance in the compost.
Providing Aeration:
- Stirring: Gently stir the compost occasionally to promote aeration and prevent compaction. This helps the worms move through the material and speeds up decomposition.
- Balancing Carbon and Nitrogen: Ensure a balanced ratio of carbon-rich (brown) materials, like paper, and nitrogen-rich (green) materials, like food scraps. This balance helps maintain a healthy compost environment.
Harvesting Your Vermicompost
When to Harvest:
- Timing: Vermicompost is ready to harvest in 2-6 months, depending on the bin size, worm activity, and feeding practices. The compost will look dark, crumbly, and have an earthy smell.
- Signs of Readiness: When the bedding is broken down and the compost looks uniform, it’s time to harvest.
Harvesting Method:
- Segregating: Move the finished compost to one side of the bin. Add fresh bedding and food scraps to the other side. The worms will migrate to the fresh side, allowing you to collect the mature compost from the other side.
- Sifting: Use a sieve or hand screen to separate any remaining large particles or unfinished material from the compost. These can be returned to the bin for further processing.
Using Your Worm Compost
In the Garden:
- Soil Amendment: Mix vermicompost into your garden soil to improve its texture, fertility, and moisture-holding capacity. It’s particularly effective when added to vegetable gardens and flower beds.
- Plant Fertilizer: Use it as a top-dressing for potted plants or as a component of your garden’s fertilizer regimen.
In Containers:
- Potting Mix: Blend vermicompost with potting soil for container plants. This enriches the soil and provides a slow-release source of nutrients.
- Improvement: It can also be used to enhance the soil structure in raised beds and other container gardens.
Troubleshooting Common Issues
Pests:
- Fruit Flies: Small fruit flies can sometimes be a problem. To combat this, avoid overfeeding and cover the scraps with bedding. You can also place a piece of sticky tape or a natural fruit fly trap near the bin.
- Other Pests: Ensure proper drainage and ventilation to discourage pests. If necessary, relocate the bin to a cooler, shaded area.
Worm Health:
- Temperature: Maintain a stable temperature between 55°F and 77°F (13°C to 25°C). Extreme temperatures can stress the worms and slow down composting.
- Feeding Issues: Overfeeding can lead to an imbalance and attract pests. Feed worms in moderation and monitor their progress.
Conclusion
Creating a DIY worm composting bin is an excellent way to transform kitchen scraps into valuable compost while contributing to a healthier environment. With a bit of effort and the right setup, you can enjoy the benefits of rich, nutrient-dense soil that enhances plant growth and reduces waste. Embrace the process, and soon you’ll have a thriving compost system that supports your garden and promotes sustainability.
Happy composting, and may your garden flourish with the help of your hardworking worms!