
Summer is a season of growth, color, and vibrancy in the garden. For many gardening enthusiasts, it’s the time when their hard work pays off with lush foliage, beautiful blooms, and a bountiful harvest. However, keeping your plants fed and hydrated during the hottest months of the year can be challenging. This article will guide you through the essential steps to create the ultimate garden bed that will ensure your plants receive the nutrients and hydration they need to thrive all summer long.
Understanding Your Garden Bed
Before diving into the specifics of feeding and hydrating your plants, it’s crucial to understand what constitutes a successful garden bed. A well-planned garden bed provides a nurturing environment that caters to the unique needs of your plants. Key components of a healthy garden bed include:
- Soil Quality: The foundation of any garden bed is its soil. Healthy soil is rich in organic matter, nutrients, and microorganisms that support plant growth.
- Sunlight Exposure: Plants require sunlight to perform photosynthesis, which is essential for their growth. Understanding the light requirements of your plants is vital for selecting the right location for your garden bed.
- Water Management: Adequate and efficient watering is critical, especially during hot summer months when plants can quickly dehydrate.
- Nutrient Supply: Regularly feeding your plants with the right nutrients will promote healthy growth and a bountiful harvest.
Step 1: Choosing the Right Location
The first step to establishing your ultimate garden bed is choosing the right location. Look for a spot in your yard or garden that receives at least 6 to 8 hours of direct sunlight each day. Sunlight is crucial for photosynthesis, which is the process by which plants convert light energy into chemical energy, helping them grow.
When selecting your garden bed location, also consider the following:
- Accessibility: Choose a location that is easily accessible for watering, weeding, and harvesting.
- Protection from Harsh Conditions: If possible, locate your garden bed where it is shielded from strong winds or heavy rain.
- Proximity to Water Source: Being close to a water source can simplify the irrigation process.
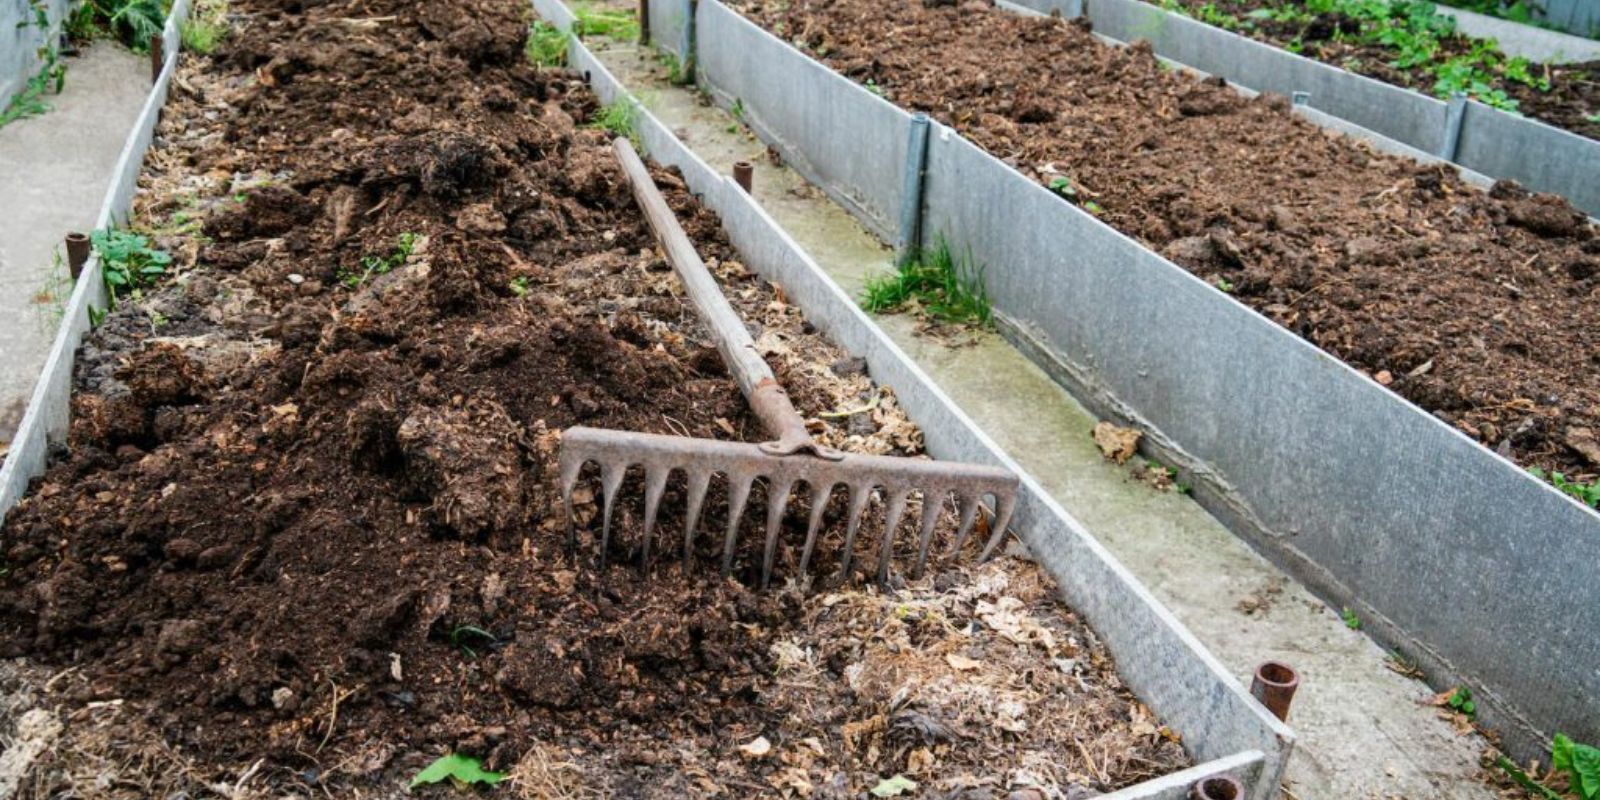
Step 2: Preparing Your Soil
Healthy soil is the foundation of a successful garden bed. The first step in soil preparation is testing the soil’s pH and nutrient levels, which can be done with a simple soil test kit. Most plants prefer a pH level between 6.0 and 7.0. Based on the test results, you may need to amend your soil with lime (to raise pH) or sulfur (to lower pH).
Improving Soil Quality
- Add Organic Matter: Incorporate plenty of organic matter, such as compost, aged manure, or leaf mold, to improve soil structure, enhance nutrient availability, and increase water retention.
- Ensure Drainage: If your soil retains too much water, consider adding sand or perlite to improve drainage. Well-draining soil is essential to prevent root rot and other issues.
- Tilling: Turn the soil to a depth of at least 12 inches, breaking up any compacted areas and mixing in organic matter. This will create a loose, aerated environment for plant roots to grow.
Step 3: Installing a Drip Irrigation System
One of the most effective ways to keep your plants hydrated is by installing a drip irrigation system. This method delivers water directly to the root zone, ensuring that plants receive adequate moisture without waste.
Benefits of Drip Irrigation
- Water Efficiency: Drip irrigation systems use less water compared to traditional watering methods, reducing overall consumption.
- Targeted Delivery: Water is delivered directly to the roots, which minimizes evaporation and runoff.
- Reduced Weed Growth: By watering only the plants, you discourage weed growth in the surrounding area.
Setting Up Drip Irrigation
- Plan Your Layout: Map out your garden bed and determine where to place the drip lines based on the layout of your plants.
- Purchase Supplies: Acquire drip tubing, emitters, stakes, and connectors from a garden supply store. Make sure to choose components that fit your garden’s layout.
- Install the System: Lay the drip tubing along your garden bed, ensuring emitters are placed near the root zones of each plant. Secure the tubing in place with stakes, and connect it to a water source.
- Test the System: Run the system for a short period to ensure proper water distribution. Adjust the emitters as needed to ensure all plants receive adequate moisture.
Step 4: Applying Mulch
Mulching is a fantastic way to retain soil moisture, suppress weeds, and improve soil quality. A layer of mulch can help maintain a consistent temperature in the soil, protecting plant roots from extreme heat.
Choosing the Right Mulch
- Organic Mulch: Materials such as straw, wood chips, grass clippings, or shredded leaves decompose over time, enriching the soil.
- Inorganic Mulch: Options like landscape fabric or gravel can provide a longer-lasting barrier against weeds but do not add nutrients to the soil.
Applying Mulch
- Apply After Planting: Once your plants are established, apply a 2 to 4-inch layer of mulch around the base of each plant.
- Keep Away from Stems: Ensure that the mulch does not touch the stems or trunks of plants, as this can lead to rot.
- Refresh as Needed: Organic mulches will decompose over time, so refresh your mulch layer as necessary throughout the growing season.
Step 5: Feeding Your Plants
To keep your garden bed productive, regular feeding is essential. Plants require a variety of nutrients, including nitrogen, phosphorus, potassium, and trace minerals, to grow strong and healthy.
Types of Fertilizers
- Organic Fertilizers: Options like compost, well-rotted manure, or organic fertilizers are great for nourishing your plants while improving soil health.
- Synthetic Fertilizers: If you choose synthetic options, opt for slow-release formulations to minimize the risk of over-fertilization.
When and How to Feed
- Timing: Feed your plants every 4 to 6 weeks during the growing season. Adjust frequency based on plant type and growth rate.
- Application Method: Follow the manufacturer’s instructions for applying fertilizers. Watering the plants before application can help prevent root burn and enhance nutrient absorption.
Step 6: Monitoring Watering Needs
Monitoring your plants’ watering needs is essential, especially during hot summer months. Factors such as temperature, humidity, and plant type can influence how much water your garden bed requires.
Tips for Effective Watering
- Check Soil Moisture: Stick your finger into the soil up to the first knuckle. If it feels dry, it’s time to water.
- Water Deeply: Instead of frequent shallow watering, aim to water deeply and less frequently. This encourages roots to grow deeper into the soil, improving drought tolerance.
- Adjust for Weather: Be mindful of weather conditions; during heatwaves, your plants may require additional watering. Conversely, reduce watering during rainy periods.
Step 7: Companion Planting
Companion planting involves growing different plants in proximity for mutual benefits, such as pest control, nutrient enhancement, and increased pollination. Utilizing companion planting can enhance the productivity and health of your garden bed.
Examples of Companion Plants
- Tomatoes and Basil: Basil can enhance the flavor of tomatoes and repel certain pests.
- Carrots and Onions: The strong scent of onions can deter carrot flies, while carrots can help aerate the soil for onions.
- Marigolds: These flowers can repel various pests and attract beneficial insects.
Maintaining Your Ultimate Garden Bed
Once you’ve established your ultimate garden bed, ongoing maintenance is essential to keep your plants healthy and productive. Regularly inspect your plants for signs of pests or diseases, and address any issues promptly. Keep an eye on soil moisture levels and make necessary adjustments to your watering and feeding schedules.
Seasonal Considerations
- Summer Care: During the hottest months, prioritize watering and mulching to protect your plants from heat stress.
- Fall Preparation: As summer ends, consider adding compost to replenish nutrients and prepare your garden bed for winter.
Conclusion
Creating the ultimate garden bed to keep your plants fed and hydrated all summer long is a rewarding endeavor that requires careful planning and attention to detail. By following these steps—choosing the right location, preparing your soil, installing drip irrigation, applying mulch, feeding regularly, monitoring watering needs, and utilizing companion planting—you can cultivate a flourishing garden that produces abundant yields throughout the season.
Whether you are a seasoned gardener or just starting, these tips will help you achieve a vibrant and productive garden. Embrace the beauty of summer gardening and enjoy the satisfaction of nurturing your plants to their fullest potential. Happy gardening! 🌱✨