
Introduction
Microgreens are young vegetable greens packed with nutrients, flavor, and vibrant color. They’ve gained popularity for their versatility in cooking and their ease of cultivation. Whether you’re a seasoned gardener or a beginner looking for a rewarding project, growing microgreens is an ideal way to add fresh, nutritious greens to your diet. This guide will walk you through everything you need to know to grow your microgreens at home.
Why Grow Microgreens?
Microgreens are not only a treat for the palate but also a powerhouse of nutrients. Studies show they contain 4–40 times more vitamins and minerals than their mature counterparts. They are quick to grow, taking as little as 7–14 days, and require minimal resources. Perfect for urban spaces, they can be grown indoors, making them accessible year-round.
Step-by-Step Guide to Growing Microgreens
Step 1: Choose the Right Seeds
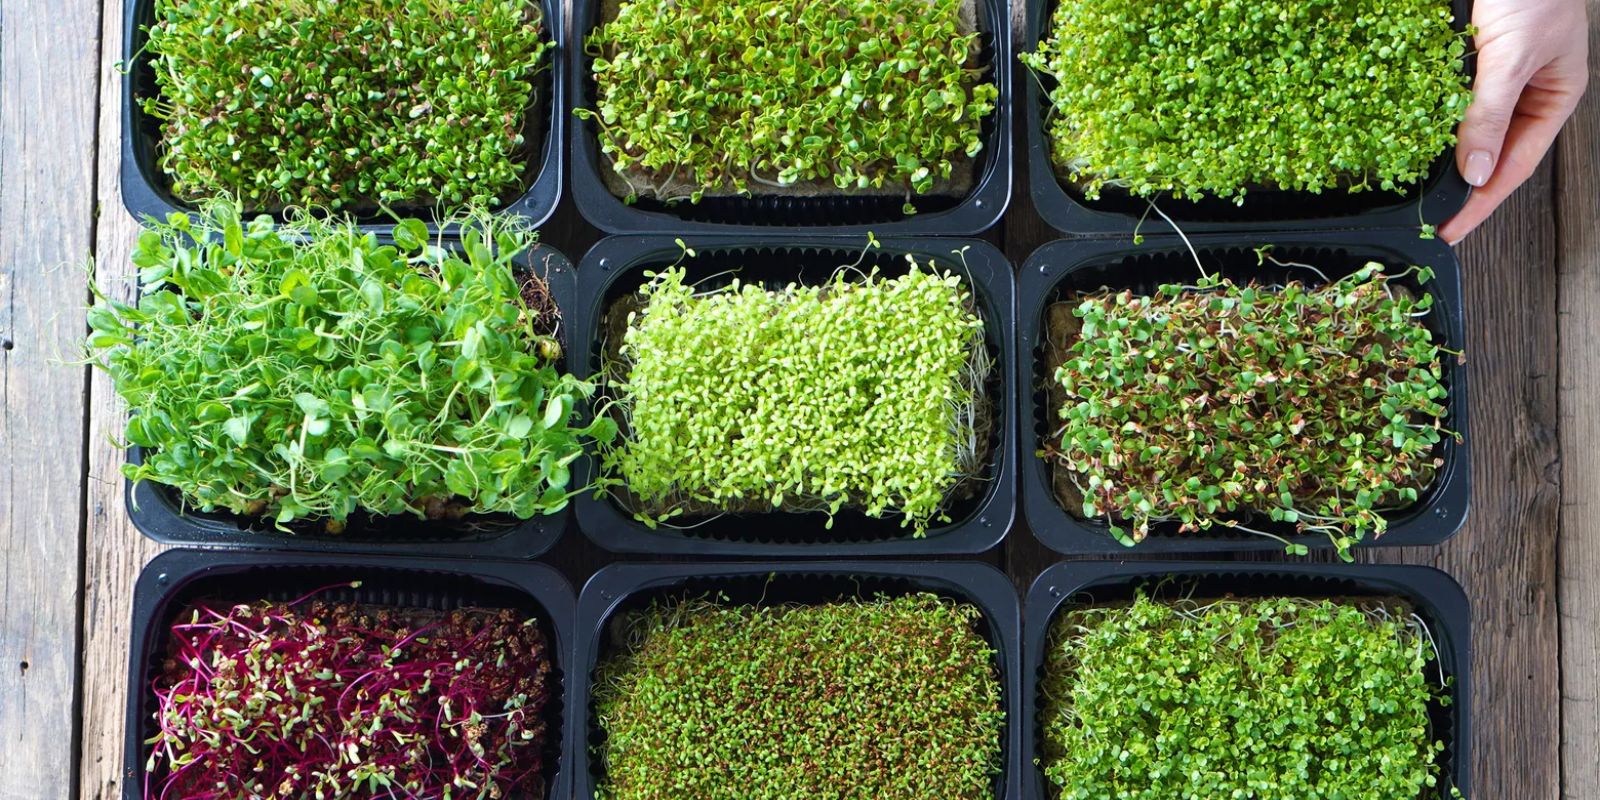
Not all seeds are ideal for microgreens. Some popular options include:
- Broccoli: Rich in antioxidants and mild in flavor.
- Radish: Spicy and crunchy, perfect for adding a kick to dishes.
- Sunflower: Nutty flavor with a satisfying texture.
- Kale, Arugula, or Spinach: Great options for a classic leafy taste.
Opt for organic seeds specifically labeled for microgreens to avoid any chemical treatments.
Step 2: Select Your Growing Medium
Microgreens can be grown using a variety of mediums:
- Soil: Use a nutrient-rich, well-draining potting mix.
- Coco Coir: A sustainable, soilless medium that retains moisture well.
- Hydroponic Pads: Ideal for those who prefer a mess-free option.
Step 3: Prepare the Growing Tray
Use a shallow tray with drainage holes to prevent waterlogging. You can repurpose an old baking tray or buy specific microgreen trays. Line the tray with your chosen growing medium, ensuring an even 1–2-inch layer.
Step 4: Sow the Seeds
- Spread the seeds evenly across the surface of your growing medium. Avoid overcrowding, as this can lead to poor airflow and mold.
- Lightly press the seeds into the medium but don’t bury them.
Step 5: Water and Cover
- Use a spray bottle to mist the seeds thoroughly. Keep the soil or medium moist but not waterlogged.
- Cover the tray with a lid or plastic wrap to create a mini greenhouse effect, which helps seeds germinate faster.
Step 6: Provide Light
- Once the seeds sprout (usually within 2–3 days), remove the cover.
- Place the tray in a well-lit area, such as a sunny windowsill. If natural light is limited, use grow lights to ensure the greens receive 12–16 hours of light daily.
Step 7: Maintain Moisture
Mist the microgreens daily, ensuring the growing medium remains consistently moist. Avoid overwatering, as this can lead to mold growth.
Step 8: Harvesting Your Microgreens
- Microgreens are ready to harvest when they are 1–2 inches tall and have developed their first true leaves, usually 7–14 days after sowing.
- Use sharp scissors to cut the greens just above the soil line.
Step 9: Storing and Using Microgreens
- Store harvested microgreens in an airtight container lined with a paper towel to absorb excess moisture. They typically stay fresh for up to a week in the refrigerator.
- Use microgreens as a garnish, in salads, smoothies, sandwiches, or as a flavor-packed addition to soups and stir-fries.
Tips for Successful Microgreens Cultivation
- Start Small: Experiment with one or two varieties before expanding to multiple types.
- Control Humidity: Use a fan or dehumidifier if mold becomes an issue.
- Rotate Trays: If growing multiple trays, rotate them to ensure even light exposure.
- Experiment with Flavors: Mix seed varieties to create unique blends, such as spicy or mild mixes.
Health Benefits of Microgreens
Microgreens are not just pretty to look at; they’re loaded with health benefits:
- High in vitamins (A, C, K) and minerals (iron, potassium, magnesium).
- Rich in antioxidants that help fight inflammation.
- Aid digestion and boost the immune system.
Why Microgreens Are Sustainable
Growing microgreens at home reduces food waste, as you only grow what you need. It requires minimal water and space, making it an eco-friendly gardening option. Additionally, they eliminate the carbon footprint associated with transporting store-bought greens.
Common Challenges and How to Overcome Them
- Mold Issues:
- Ensure proper ventilation.
- Avoid overwatering.
- Use a thin layer of seeds to improve airflow.
- Slow Growth:
- Provide adequate light.
- Check for temperature consistency (ideal range: 65–75°F).
- Uneven Growth:
- Sow seeds evenly.
- Rotate trays daily for even light distribution.
Inspire Others to Grow Microgreens
Growing microgreens at home is a satisfying way to bring fresh, nutritious greens into your kitchen. It’s easy, affordable, and rewarding. Share your journey with friends and family, or join online gardening communities to showcase your success.
Conclusion
Microgreens are a perfect entry point for anyone looking to start gardening. With minimal effort and space, you can enjoy fresh, healthy greens year-round. Follow these steps, get creative with seed varieties, and watch your tiny garden thrive!
#MicrogreensMagic #GrowYourOwnFood #UrbanGardening #HealthyEating #EcoFriendlyGardening #GardeningLife #SuperfoodJourney #GreenThumbGoals #IndoorGardening #FreshAndHealthy