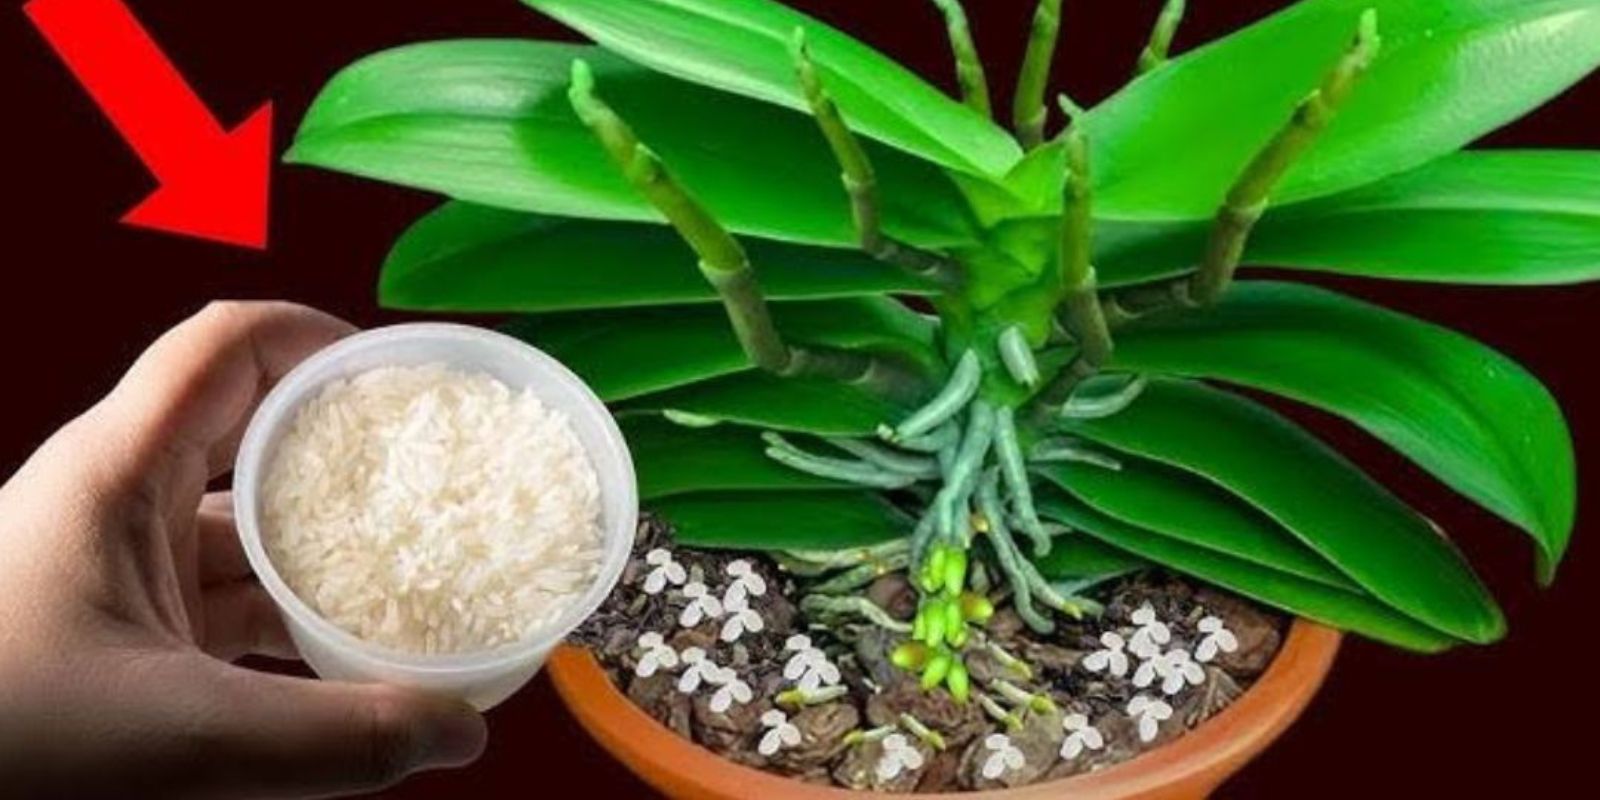
Orchids are elegant and timeless plants that can brighten any home or garden with their unique beauty. However, many people often discard orchids once they stop blooming, mistaking them for lifeless plants. The truth is, even an old or neglected orchid can be revived with the right care and attention. In this guide, we’ll explore how to bring your old orchids back to life, ensure they thrive, and help them bloom again.
Understanding Orchid Behavior
Before diving into revival techniques, it’s important to understand how orchids function. Orchids naturally go through a dormant phase after their blooming cycle, during which they conserve energy for their next bloom. This period might make them appear lifeless, but it’s a normal part of their growth cycle. Patience and proper care during dormancy are crucial for rejuvenation.
Steps to Revive Old Orchids
Follow these detailed steps to bring your orchids back to life:
1. Assess the Orchid’s Health
- Check the Roots: Healthy orchid roots are firm and green or silvery-white when dry. If roots appear brown, mushy, or brittle, they are dead and need to be removed.
- Inspect the Leaves: Yellowing, spotted, or limp leaves may indicate stress. Healthy leaves should be vibrant green and firm.
2. Remove Dead Parts
- Gently take the orchid out of its pot and shake off the old growing medium.
- Use sterilized scissors or pruning shears to cut off dead, damaged, or rotting roots and stems. Trim back flower spikes that have turned brown, cutting just above a healthy node if the stem is still green.
3. Hydrate and Cleanse the Roots
- Soak the orchid’s healthy roots in lukewarm water mixed with a pinch of cinnamon powder or a drop of hydrogen peroxide. This step helps disinfect the roots and prevent fungal infections. Soak for 15–20 minutes.
4. Re-Pot in Fresh Growing Medium
- Choose a fresh orchid potting mix, such as bark chips, sphagnum moss, or a combination of the two. Avoid soil, as it retains too much moisture for orchids.
- Use a pot with good drainage holes to prevent root rot. Place the orchid in the pot, spreading the roots gently, and fill it with the potting medium, ensuring the plant is stable.
5. Create the Ideal Environment
- Place the orchid in a location with bright, indirect light. Avoid direct sunlight, as it can scorch the leaves.
- Maintain a temperature range of 60–75°F (15–24°C) and provide good air circulation to prevent mold and pests.
6. Maintain Humidity Levels
- Orchids thrive in humid environments. Use a humidity tray (a shallow tray filled with water and pebbles) under the pot or mist the plant lightly every few days.
7. Water Wisely
- Water the orchid only when the potting medium feels dry. Overwatering is a common cause of orchid decline, so ensure the roots aren’t sitting in water.
8. Fertilize Regularly
- Feed the orchid with a balanced orchid fertilizer diluted to half strength every two to three weeks. Stop fertilizing during the dormant phase and resume when new growth appears.
9. Monitor for New Growth
- Be patient! Reviving an old orchid can take weeks or even months. Look for signs of new growth, such as green root tips, new leaves, or flower spikes, as indicators of a healthy recovery.
Common Mistakes to Avoid
Reviving an old orchid requires a gentle and consistent approach. Avoid these common pitfalls:
- Overwatering or Underwatering: Always check the potting medium before watering. Orchids dislike overly wet or dry conditions.
- Using the Wrong Potting Medium: Regular soil can suffocate orchid roots. Stick to specialized orchid mixes.
- Ignoring Pest Infestations: Watch for pests like spider mites, mealybugs, or aphids, and treat them promptly with insecticidal soap or neem oil.
- Lack of Patience: Orchids take time to recover. Rushing the process or over-fertilizing can stress the plant further.
Tips for Encouraging Blooming
Once your orchid has regained its health, you can take steps to encourage blooming:
- Cooler Temperatures: Lower the nighttime temperature by 10°F (5°C) for a few weeks to stimulate flower spike development.
- Light Exposure: Ensure the orchid receives adequate bright, indirect light. Orchids won’t bloom in low-light conditions.
- Regular Feeding: Use a bloom-boosting fertilizer high in phosphorus to encourage flower production.
Why You Shouldn’t Throw Away Old Orchids
Old orchids may look tired, but they often just need a little extra care to bounce back. Tossing them away not only wastes a beautiful plant but also overlooks the opportunity to nurture a living being back to health. Orchids are surprisingly resilient, and reviving them can be a deeply rewarding experience.
Success Story: My Revived Orchid
When I first started caring for orchids, I almost threw away a plant that hadn’t bloomed in over a year. Its roots were dry, and the leaves were wrinkled. Following these steps, I repotted it, adjusted its care, and waited patiently. Months later, I was rewarded with vibrant blooms that lasted for weeks! That experience taught me never to give up on an orchid too soon.
Conclusion
With the right techniques and a bit of patience, reviving old orchids is entirely possible. These elegant plants deserve a second chance, and their blooms will be even more rewarding when you know you’ve helped them thrive. Whether you’re a seasoned gardener or a beginner, following these steps will ensure your orchids live long, healthy, and beautiful lives.
💬 Have you ever saved an orchid from the brink? Share your tips and experiences in the comments below! Let’s inspire more plant lovers to give their orchids a second chance.

