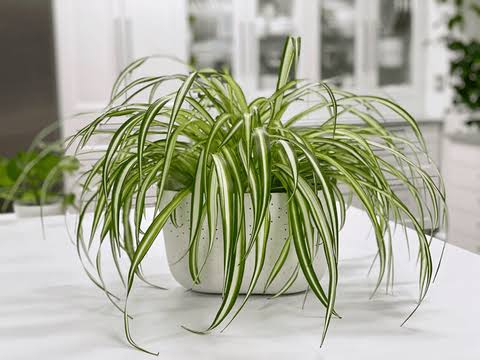
Spider plants are one of the most popular houseplants around the world—and it’s easy to see why. Their lush, arching leaves and tiny “spiderettes” (baby plants) bring charm and life to any indoor space. If you want a low-maintenance plant that thrives in various conditions, learning how to care for a spider plant is a must-try for beginners and seasoned plant lovers alike.Let’s explore essential care tips, common mistakes, and hacks to help your spider plant flourish in the United States, United Kingdom, Canada, or anywhere you call home.Why Spider Plants Are So Popular1. Easy to GrowSpider plants are forgiving, adaptable, and perfect for indoor gardeners of all experience levels.2. Air-Purifying BenefitsStudies show spider plants help remove toxins from indoor air, making your home healthier.3. Fast-Growing and ReproductiveProduce “babies” or spiderettes that can be propagated easilyAdds greenery quickly to your space4. Stylish and VersatilePerfect for hanging baskets, shelves, or tabletop plantersComplements modern, boho, or classic décorNo wonder everyone loves them—they’re beautiful, practical, and low-maintenance.Step 1: Choosing the Right SpotLight RequirementsBright, indirect light is idealCan tolerate low light but growth will slowAvoid direct sunlight—it can scorch the leavesTip: East- or north-facing windows are perfect.Step 2: Potting Your Spider PlantUse a well-draining potting mixEnsure the pot has drainage holesSpider plants like slightly snug pots but not crampedOptional: Use a hanging basket for trailing “spiderettes.”Step 3: Watering BasicsKeep the soil evenly moist, not soggyWater when the top inch of soil feels dryReduce watering in winter when growth slowsHack: Use filtered or distilled water if your tap water is heavily chlorinated.Step 4: Temperature and HumiditySpider plants thrive in 55–80°F (13–27°C)Average indoor humidity is fine, but misting occasionally helpsAvoid cold drafts and sudden temperature changesStep 5: Fertilizing Your Spider PlantUse a balanced liquid fertilizer every 4–6 weeks during spring and summerReduce feeding in fall and winterOver-fertilizing can cause brown tips—less is moreStep 6: Pruning and GroomingTrim brown tips with clean scissorsRemove dead or yellowing leavesCut back long stems after flowering or for shapeTip: Regular grooming encourages lush, healthy growth.Step 7: Propagating SpiderettesWait until spiderettes develop small rootsPlant in soil or water until roots strengthenTransplant to a small potPropagation is a fun way to share your plant with friends or expand your indoor jungle.Common Problems and SolutionsProblem Cause SolutionBrown leaf tips Low humidity, over-fertilizing, or fluoride in water Trim tips, use filtered water, reduce fertilizerLeaves curling Underwatering or too much heat Check soil moisture, adjust temperatureSlow growth Low light or nutrient deficiency Move to brighter spot, fertilize lightlySpiderettes not forming Young plant or low light Be patient; increase indirect lightSpider Plant Care HacksHanging baskets: Keeps spiderettes off furnitureGlazed or decorative pots: Adds style and saves spaceRotate regularly: Ensures even light exposureUse pebble trays: Boost humidity without overwateringThese hacks make your spider plant care routine simple and rewarding.Why Everyone Loves Spider PlantsEasy to grow indoorsProduces beautiful greenery and cute spiderettesImproves indoor air qualityPerfect for beginner and experienced plant parentsWhether you want a low-maintenance office plant or a centerpiece for your living room, spider plants deliver style, health benefits, and fun propagation opportunities.ConclusionLearning how to care for a spider plant is simple, enjoyable, and incredibly satisfying. With the right light, water, and occasional pruning, your spider plant will thrive for years, producing lush foliage and adorable spiderettes along the way.Start your indoor garden with this must-try plant and see why everyone loves the resilient, charming spider plant! 🌿✨