
Composting is one of the most sustainable ways to reduce waste while nourishing your garden. If you’re new to composting or looking for an easy, affordable way to get started, the milkcrate composter might be the perfect solution. This simple, DIY composting system is both functional and budget-friendly. By repurposing an old milkcrate, you can create a small, efficient composting system that will help you recycle organic waste and enrich your garden soil.
In this article, we’ll dive into the benefits of composting with a milkcrate, the step-by-step process for creating your own milkcrate composter, and some tips on maintaining and using the compost you produce. Whether you’re a seasoned gardener or a beginner, this is an easy, low-maintenance way to make the most of your kitchen scraps and garden waste.
Why Composting Matters: A Sustainable Solution
Composting is an environmentally friendly practice that helps reduce landfill waste while creating rich, organic soil for your garden. Organic materials like food scraps, grass clippings, leaves, and plant trimmings make up a significant portion of household waste. Instead of sending these items to the landfill where they contribute to harmful methane emissions, composting allows you to transform them into valuable, nutrient-rich soil.
The benefits of composting are many:
- Reduces waste: Composting diverts food scraps and organic materials from landfills, reducing overall waste.
- Enriches soil: The compost you produce is full of nutrients that can be used to improve the quality of your garden soil, resulting in healthier plants and a more productive garden.
- Reduces the need for chemical fertilizers: Organic compost is a natural fertilizer, reducing the reliance on synthetic chemicals.
- Promotes healthier plants: By improving soil structure, compost helps retain moisture, supports healthy root development, and fosters beneficial microorganisms in the soil.
Why a Milkcrate Composter?
A milkcrate composter is a great entry-level solution for composting because it’s simple, affordable, and effective. The milkcrate allows for easy airflow, which is essential for speeding up the decomposition process. Additionally, milkcrates are widely available and can often be found for free or at a low cost. This makes them a perfect choice for gardeners on a budget or those who are just starting to experiment with composting.
Here are some of the advantages of using a milkcrate as a composter:
- Affordable and accessible: Milkcrates are inexpensive and easy to find, making them an ideal composting solution for people who don’t want to spend a lot of money on fancy composting bins.
- Good airflow: The open design of the milkcrate allows for better air circulation, which speeds up the decomposition process.
- Compact and manageable: A milkcrate is small and compact, making it a great option for people with limited space, such as those in apartments or small backyards.
- Portable: Milkcrates are lightweight and easy to move, allowing you to relocate your composter if needed.
How to Create a Milkcrate Composter
Building your own milkcrate composter is simple and can be done in just a few steps. Here’s how you can get started:
Materials Needed:
- One or more milkcrates (depending on the size of your composting needs)
- Organic waste (kitchen scraps, garden waste, etc.)
- Optional: a compost thermometer, small gardening tools (like a pitchfork or shovel)
Step 1: Choose a Location
Pick a location for your milkcrate composter that is well-ventilated, ideally in a shady area of your garden or backyard. A shaded spot will help prevent the compost from drying out too quickly in the sun, while still allowing for proper airflow. The location should also be easily accessible so that you can add materials and turn the compost when needed.
Step 2: Gather Materials
Start by collecting your organic waste. Compostable materials include fruit and vegetable scraps, coffee grounds, eggshells, tea bags, grass clippings, fallen leaves, small twigs, and other plant-based waste. Avoid adding meat, dairy, and oils, as these can attract pests and slow down the decomposition process. Aim to collect both “green” materials (high in nitrogen) and “brown” materials (high in carbon) for the best composting results.
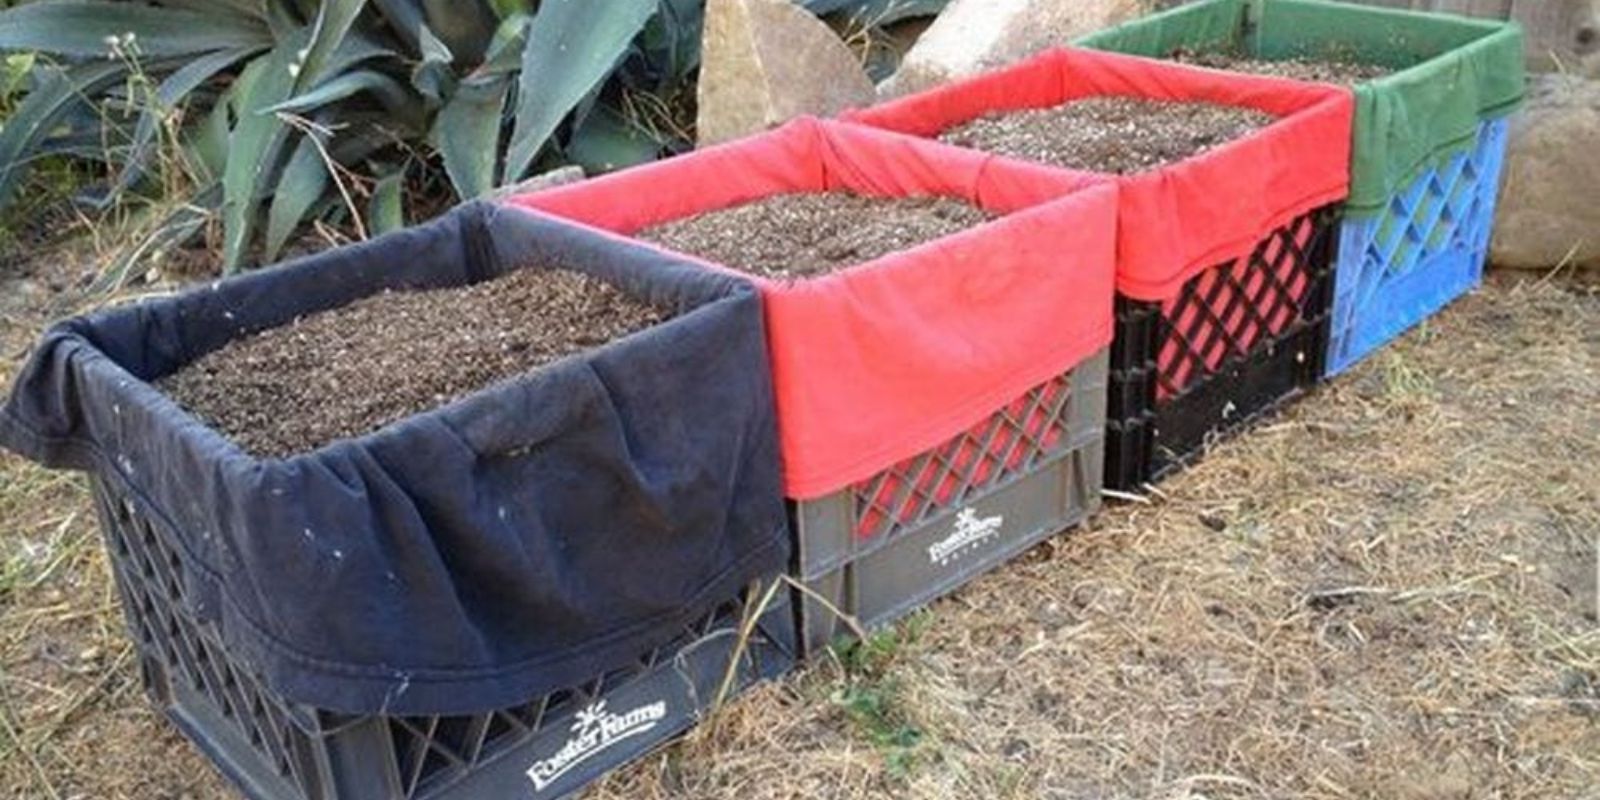
Step 3: Set Up the Milkcrate
Place the milkcrate in your chosen location. If you plan to compost on a larger scale, you can stack two or more milkcrates on top of each other to create a multi-bin system. For a smaller composting setup, one milkcrate should be sufficient.
Make sure the crate has openings or holes to allow for airflow. If the crate doesn’t have enough holes, you can drill additional ones yourself. Proper ventilation is crucial for composting because it helps bacteria and other microorganisms thrive, which are responsible for breaking down organic matter.
Step 4: Start Layering Your Organic Waste
Begin adding your organic waste to the crate. The key to successful composting is balancing “green” and “brown” materials. Green materials are rich in nitrogen and include items like fruit and vegetable scraps, coffee grounds, and fresh grass clippings. Brown materials, on the other hand, are carbon-rich and include leaves, straw, shredded paper, and cardboard.
A good rule of thumb is to use a ratio of about 3 parts brown materials to 1 part green materials. This helps create the perfect conditions for decomposition. When adding materials, make sure to chop them up into smaller pieces. Smaller pieces break down more quickly and help speed up the composting process.
Step 5: Turn the Pile Regularly
To keep the composting process active, it’s important to turn or mix the materials every few weeks. Turning the compost helps aerate the pile, allowing oxygen to reach the bacteria and other microorganisms that are breaking down the organic matter. This speeds up the decomposition process and prevents the compost from becoming too compacted.
You can turn the compost using a pitchfork, shovel, or even your hands if the pile isn’t too large. If you’re using multiple milkcrates, you can move the compost from one crate to another to ensure thorough mixing.
Step 6: Harvest the Compost
After a few months, your compost should break down into a dark, crumbly material that smells earthy and fresh. This is your finished compost, and it’s ready to use in your garden! Depending on the temperature and moisture levels, it may take anywhere from 3 to 6 months for the compost to fully mature.
Once the compost is ready, you can sift it through a mesh screen to remove any larger pieces that haven’t fully decomposed. These can be added back to the pile for further breakdown.
Tips for Successful Milkcrate Composting
- Maintain moisture: Compost needs to be kept moist, but not too wet. If your compost pile is dry, add water to moisten it. If it’s too wet, add more brown materials like dry leaves or shredded cardboard to balance it out.
- Avoid pests: Keep your compost covered with a lid or tarp to prevent pests like rodents or flies from getting into it. You can also add a layer of soil or wood chips to deter pests.
- Add worms for faster decomposition: If you want to speed up the composting process even more, consider adding worms to your milkcrate composter. Worms will help break down organic matter more efficiently and provide additional nutrients to your compost.
Conclusion
The milkcrate composter is an easy, cost-effective way to start composting at home. Whether you have a large garden or a small apartment, this simple DIY composting system is a great way to recycle your kitchen scraps and garden waste while enriching your soil. By following the steps outlined in this guide, you can turn organic waste into valuable compost that will nourish your plants and help you create a more sustainable garden.
So, why not give it a try? Start your milkcrate composting today and take a step toward reducing waste, improving your garden soil, and embracing a more eco-friendly lifestyle.
Happy composting!