
In today’s world, sustainability and waste reduction are more important than ever. One of the most effective ways to contribute to a greener planet is by turning your kitchen scraps into rich, valuable compost. Composting not only reduces the amount of waste that ends up in landfills but also creates nutrient-dense soil that can transform your garden. In this comprehensive guide, we’ll walk you through the process of converting kitchen scraps into compost gold, offering practical tips and techniques for successful composting.
Why Compost Kitchen Scraps?
1. Waste Reduction
Kitchen scraps, including vegetable peels, coffee grounds, and eggshells, often end up in the trash, contributing to landfill waste. Composting these materials helps divert waste from landfills, reducing greenhouse gas emissions and supporting a more sustainable lifestyle.
2. Soil Enrichment
Compost is a natural soil amendment that improves soil structure, enhances nutrient content, and increases water retention. Adding compost to your garden provides essential nutrients for plant growth, leading to healthier plants and bountiful harvests.
3. Environmental Benefits
Composting reduces the need for chemical fertilizers and synthetic soil amendments, which can harm the environment. By creating your own compost, you promote natural, eco-friendly gardening practices that benefit both your garden and the planet.
Steps to Turn Kitchen Scraps into Compost Gold
1. Collecting Kitchen Scraps
1.1. Types of Scraps to Compost
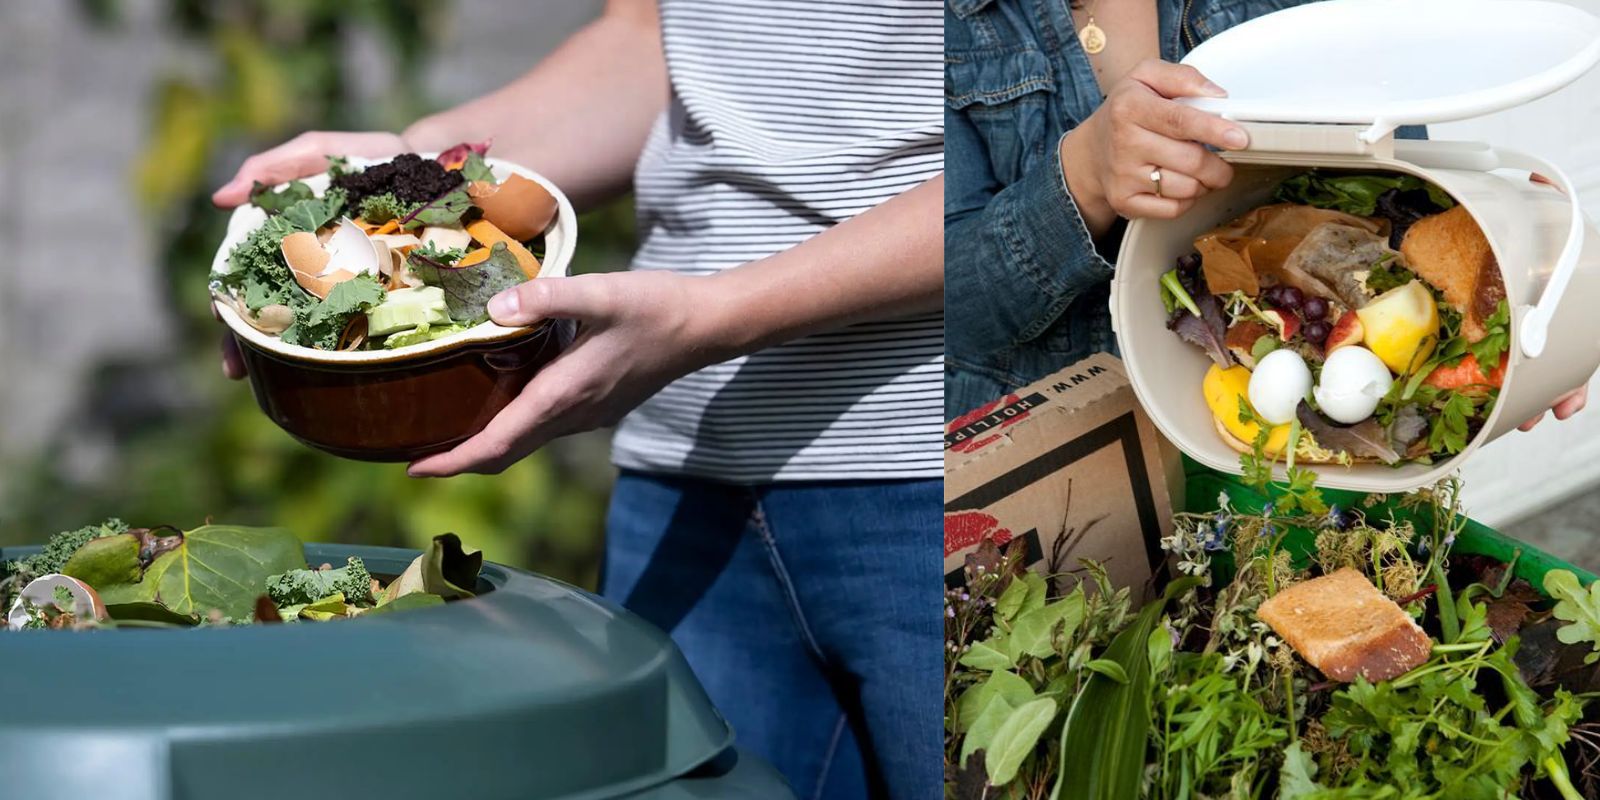
To start composting, collect a variety of kitchen scraps that are rich in nutrients and conducive to composting:
- Fruit and Vegetable Peels: Carrot tops, apple cores, potato peels, and lettuce leaves.
- Coffee Grounds and Filters: Rich in nitrogen and helpful for compost.
- Eggshells: Provide calcium, which is beneficial for plant growth.
- Tea Bags: Use those made from natural fibers; avoid plastic or synthetic bags.
1.2. Avoid Non-Compostable Materials
Some kitchen scraps should not be composted as they can attract pests or create odor issues:
- Meat and Dairy Products: Can attract pests and cause odor problems.
- Oily Foods: High fat content can disrupt the composting process.
- Citrus Peels and Onions: Can be too acidic and may slow down decomposition.
2. Creating a Compost Bin
2.1. Choosing the Right Bin
Select a composting system that fits your space and needs. Options include:
- Compost Tumblers: These are enclosed bins that can be turned easily to mix compost.
- Worm Bins (Vermicomposting): Use worms to break down organic matter quickly.
- Open Piles or Bins: Simple and cost-effective, ideal for larger quantities of compost.
2.2. Setting Up the Bin
- Location: Place your compost bin in a well-drained, sunny area to aid decomposition.
- Ventilation: Ensure proper airflow to prevent odors and encourage aerobic decomposition.
- Drainage: Make sure the bin has drainage to prevent excess moisture from accumulating.
3. Layering Materials
3.1. Understanding Green and Brown Materials
For effective composting, layer materials to create a balanced mix:
- Green Materials: High in nitrogen, including kitchen scraps, grass clippings, and coffee grounds.
- Brown Materials: High in carbon, such as dried leaves, cardboard, and straw.
3.2. Layering Technique
- Bottom Layer: Start with a layer of coarse brown materials like straw or small branches for aeration and drainage.
- Intermediate Layers: Alternate between green and brown materials. Aim for a ratio of roughly 1 part green to 2 parts brown.
- Top Layer: Finish with a layer of brown materials to help control odor and pests.
4. Turning and Maintaining the Compost
4.1. Turning the Compost
Regular turning is essential to promote aeration and speed up the decomposition process:
- Frequency: Turn the compost every 2 to 4 weeks.
- Tools: Use a pitchfork or compost aerator to mix and fluff the compost.
4.2. Monitoring Moisture
Maintaining proper moisture levels is crucial for successful composting:
- Moisture Level: The compost should be as damp as a wrung-out sponge—moist but not soggy.
- Watering: If the compost becomes too dry, add water. If it’s too wet, add more brown materials to absorb excess moisture.
5. Troubleshooting Common Issues
5.1. Odor Problems
Unpleasant odors can indicate issues with your compost:
- Cause: Often due to excess moisture, lack of oxygen, or an imbalance of green and brown materials.
- Solution: Ensure proper aeration, adjust moisture levels, and add more brown materials if necessary.
5.2. Pest Issues
Pests can be attracted to compost, particularly if it’s not managed properly:
- Cause: Presence of meat, dairy, or oily foods, or improper bin conditions.
- Solution: Avoid adding inappropriate materials, use a closed compost bin, and ensure proper aeration.
5.3. Slow Decomposition
If compost is decomposing too slowly, check for:
- Carbon-to-Nitrogen Ratio: Ensure the right balance between green and brown materials.
- Moisture Levels: Adjust as needed.
- Aeration: Increase turning frequency to boost airflow.
6. Harvesting and Using Compost
6.1. When to Harvest
Compost is ready when it’s dark, crumbly, and has an earthy smell. This typically takes 2 to 6 months, depending on conditions and materials used.
6.2. How to Harvest
- Method: Remove the finished compost from the bottom of the bin or pile. You can use a shovel or compost screen to separate compost from unfinished materials.
6.3. Using Compost
- In the Garden: Spread compost over garden beds, mix it into the soil, or use it as mulch.
- For Potted Plants: Blend compost with potting soil to enhance its nutrient content.
7. Benefits of Composting
7.1. Enhanced Soil Fertility
Compost enriches soil with essential nutrients, improves soil structure, and enhances its water-holding capacity.
7.2. Reduced Environmental Impact
By recycling kitchen scraps, you contribute to reducing landfill waste and decrease reliance on chemical fertilizers.
7.3. Cost Savings
Creating your own compost reduces the need to purchase commercial soil amendments and fertilizers.
Conclusion
Turning kitchen scraps into compost gold is an excellent way to contribute to a sustainable environment while enhancing the health of your garden. By following the steps outlined in this guide, you can effectively manage your composting process, troubleshoot common issues, and reap the benefits of rich, homemade compost. Embrace the art of composting and enjoy a thriving, eco-friendly garden.
Motivational Sentence: Start composting your kitchen scraps today and transform your waste into garden gold—your plants and the planet will thank you! 🌿♻️ #Composting101 #KitchenScraps #GardenGold #EcoFriendlyLiving #GreenThumb #SustainableGardening #WasteReduction