
Superfood sprouts are a fantastic way to boost your nutrition without the need for a large garden or complicated tools. These tiny powerhouses are packed with essential vitamins, minerals, and enzymes that can support your overall health. Not only are sprouts easy to grow at home, but they can also be grown quickly, allowing you to enjoy fresh, homegrown greens in just a few days. In this article, we’ll take a deep dive into how to grow your own superfood sprouts, from choosing seeds to harvesting your greens.
What Are Superfood Sprouts?
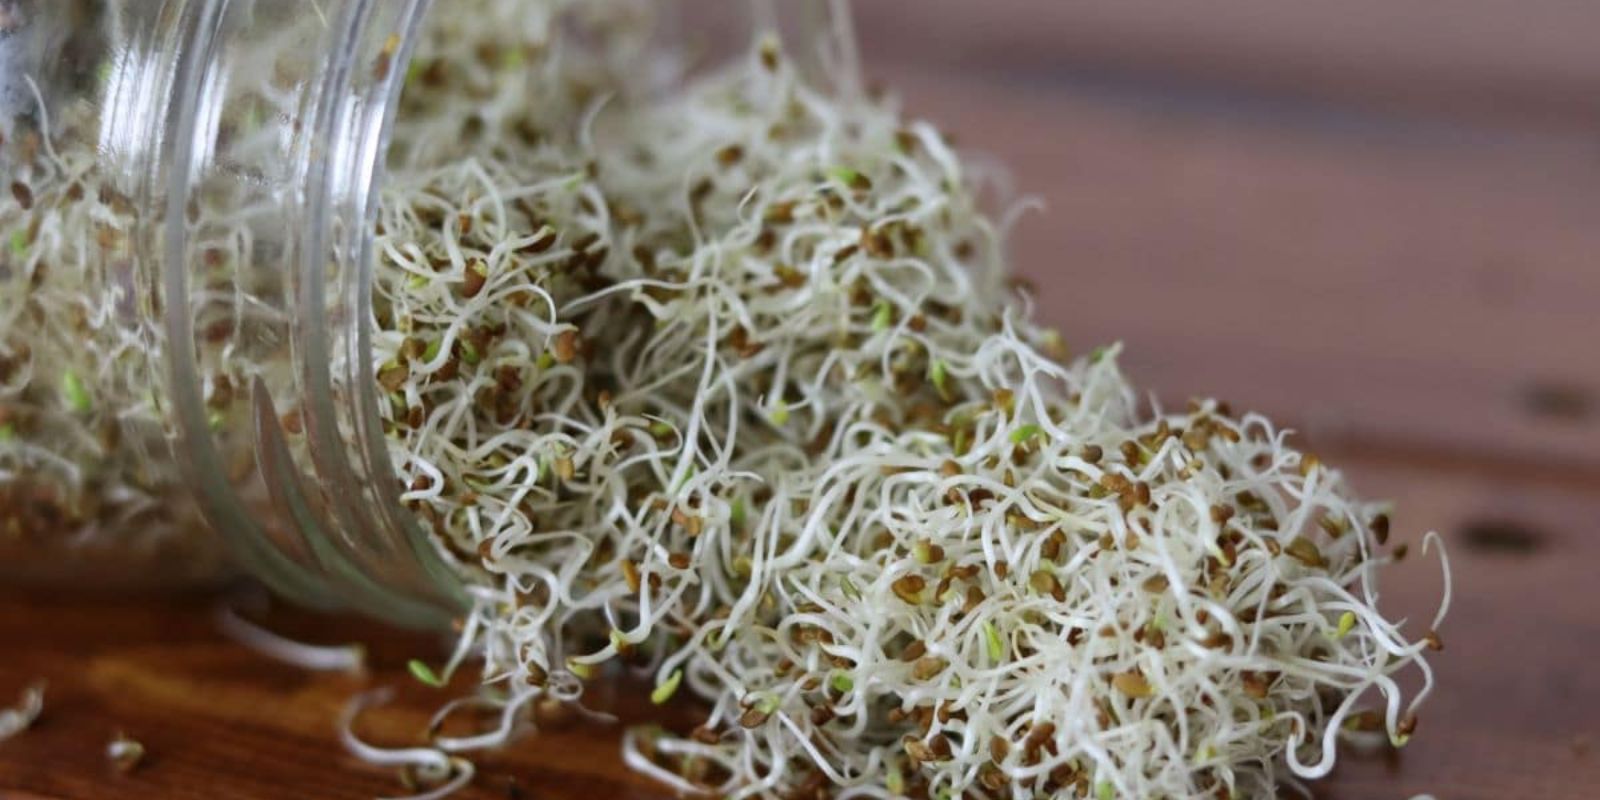
Superfood sprouts are the young, edible shoots of various seeds, grains, or legumes. They are typically harvested within a few days of sprouting, offering a highly concentrated source of nutrients. These young plants are considered “superfoods” because they contain an abundance of vitamins, minerals, antioxidants, and enzymes that help the body perform at its best. Popular superfood sprouts include alfalfa, broccoli, mung beans, sunflower, and radish.
The growing process of sprouts is simple, making them an ideal choice for anyone interested in growing their own food at home. With just a few supplies and a little attention, you can grow your own superfood sprouts in a matter of days, providing you with a constant supply of fresh, nutritious greens.
Benefits of Growing Your Own Superfood Sprouts
Before diving into the how-to, it’s worth mentioning why growing your own sprouts is a great idea.
- Nutrient Density: Sprouts are loaded with vitamins, minerals, and antioxidants that can help fight disease, improve digestion, and boost overall health. They are especially rich in vitamins C, A, and K, and minerals like magnesium, potassium, and calcium.
- Easy to Grow: Sprouts don’t require much space or special equipment, and they grow quickly. Whether you live in an apartment, have limited gardening experience, or just don’t have the time for larger gardening projects, sprouts are a great way to get into home gardening.
- Cost-Effective: Store-bought sprouts can be pricey, but growing them at home is incredibly affordable. A small packet of sprouting seeds can produce large yields, saving you money in the long run.
- Environmentally Friendly: Growing your own sprouts reduces your carbon footprint. The process requires minimal resources—no soil, no large garden space, and very little water—making it an environmentally conscious choice for sustainable living.
- Freshness at Your Fingertips: There’s nothing like the taste of freshly grown food. Sprouts are incredibly versatile and can be added to salads, sandwiches, smoothies, soups, and more. Growing your own ensures that you always have fresh, nutrient-dense greens available.
How to Grow Your Own Superfood Sprouts
Step 1: Choose Your Sprouting Seeds
The first step in growing your own superfood sprouts is selecting the seeds you want to grow. Some popular choices for superfood sprouts include:
- Alfalfa: Alfalfa sprouts are mild and crunchy, packed with vitamin C, K, and fiber. They are easy to grow and are a great choice for beginners.
- Broccoli: Broccoli sprouts are rich in sulforaphane, a compound known for its cancer-fighting properties. These sprouts offer a more peppery flavor.
- Mung Beans: Mung bean sprouts are a staple in Asian cuisine. They’re crunchy and slightly sweet and offer a healthy dose of vitamins and minerals.
- Radish: Radish sprouts are spicy and add a zesty kick to salads. They are high in vitamin C and antioxidants.
- Sunflower: Sunflower sprouts are hearty and protein-rich, offering a nutty flavor. They are great for adding texture to meals.
You can find sprouting seeds at most health food stores or online. Just be sure to purchase seeds that are labeled as “sprouting seeds,” as these are meant to be consumed and are free from pesticides or chemicals.
Step 2: Prepare Your Sprouting Tools
Sprouting doesn’t require fancy equipment. You’ll need just a few simple tools:
- Sprouting Jar or Tray: A sprouting jar is the most common tool for sprouting. It has a mesh lid that allows you to rinse and drain the seeds easily. Alternatively, you can use a sprouting tray, which is a shallow container with drainage holes that allows for even sprout growth.
- Water: Fresh water is essential for rinsing and hydrating your seeds.
- Bowl or Tray (Optional): If using a sprouting tray, you’ll also need a small bowl to catch any excess water.
Step 3: Soak the Seeds
The first step in sprouting is soaking the seeds. This process helps to soften the seed coats, initiating the sprouting process.
- Place your seeds in a clean sprouting jar or bowl.
- Add water to cover the seeds, then let them soak for 8-12 hours (depending on the type of seed). The soaking time can vary, so be sure to follow the instructions on your seed packet.
- After the soaking period, drain the water from the jar, and rinse the seeds under cool water to remove any debris.
Step 4: Rinse and Drain
Once your seeds have soaked, it’s important to rinse them thoroughly and drain the water. Rinsing helps to keep the seeds moist and prevents them from drying out. It also reduces the risk of mold or bacteria growth.
- Rinse the seeds under cool water every 8-12 hours, and be sure to drain them thoroughly after each rinse. This prevents water from accumulating and creating a damp environment where mold can grow.
- Place the jar or tray in a location where it will get indirect light, but not direct sunlight, as this can cause the sprouts to become too hot.
Step 5: Wait for the Sprouts to Grow
After rinsing and draining, your sprouts will begin to grow in the next few days. They typically take anywhere from 3 to 7 days to fully sprout, depending on the type of seed. During this time, the seeds will begin to sprout tiny shoots and leaves. You should notice the sprouts growing longer and becoming more vibrant as they develop.
- Keep the sprouts in a cool, dry place, away from direct sunlight.
- Continue to rinse and drain the seeds twice a day.
Step 6: Harvest and Enjoy
Once your sprouts have reached the desired size, it’s time to harvest! At this stage, the sprouts will have small, tender leaves and will be ready for consumption.
- Harvest the sprouts by simply cutting them with scissors or a knife.
- Rinse them one final time before eating, and enjoy them fresh in salads, sandwiches, smoothies, or as a garnish.
You can also store your harvested sprouts in an airtight container in the refrigerator for up to 3 days, though they’re best when eaten fresh.
Tips for Growing the Best Sprouts
- Use Clean Equipment: Always use clean jars, trays, and utensils to prevent contamination. This will ensure that your sprouts grow in a safe, healthy environment.
- Monitor Moisture Levels: Make sure the seeds are consistently moist, but not soaked in water. Too much water can cause them to rot or develop mold.
- Experiment with Different Seeds: Don’t be afraid to try different types of sprouts. Each variety has its own flavor profile, and some may grow faster than others.
Conclusion
Growing your own superfood sprouts is a simple and rewarding process that anyone can do, regardless of experience or space. With minimal effort, you can have a fresh, nutrient-packed source of greens at your fingertips. Whether you’re looking to boost your nutrition, save money, or enjoy the satisfaction of growing your own food, sprouting is a fantastic option.
So, are you ready to grow your own superfood sprouts? Start today and enjoy the benefits of homegrown, healthy greens!
Viral Gardening Hashtags
#SproutPower #SuperfoodSprouts #GrowYourOwnGreens #HealthyEating #PlantBasedDiet #UrbanGardening #HomeGrownFood #FreshSprouts #GardeningHacks #SustainableLiving