
Onions are a staple ingredient in kitchens around the world, beloved for their versatility and unique flavor. Growing onions from seed is a rewarding endeavor that can enhance your gardening skills and provide you with a fresh supply of this essential vegetable. This guide will walk you through the entire process of growing onions from seed, from selecting the right variety to harvesting your bulbs. Whether you’re a seasoned gardener or a beginner, this article will provide you with the knowledge and confidence to grow your own onions successfully.
Why Grow Onions from Seed?
While many gardeners opt to start onions from sets or transplants, growing from seed allows for greater variety and control over the growing process. Here are a few benefits of starting onions from seed:
- Variety Selection: Growing from seed enables you to choose from a wider range of onion varieties, including specialty types that might not be available as sets.
- Cost-Effective: Seeds are often more economical than purchasing seedlings or sets, allowing you to grow a larger quantity at a lower cost.
- Better Adaptation: Starting from seed allows you to control the growth conditions, helping your plants adapt better to your specific climate and soil.
- Improved Growth: Seeds usually have a higher germination rate compared to sets that may be older and less viable.
Choosing the Right Onion Variety
Before you start planting, it’s essential to choose the right onion variety based on your local climate and the length of your growing season. Onions can be broadly categorized into three types:
- Short-Day Onions: These varieties require about 12-14 hours of daylight to form bulbs and are best suited for southern climates. Examples include Texas Super Sweet and Granex.
- Long-Day Onions: These onions need 14-16 hours of daylight and thrive in northern climates. Popular long-day varieties include Walla Walla and Yellow Sweet Spanish.
- Day-Neutral Onions: These can adapt to various daylight conditions and are suitable for transitional zones. Varieties like White Sweet Spanish fall into this category.
Preparing to Plant
1. Gather Supplies
Before planting, gather the necessary materials:
- Onion seeds (choose your preferred variety)
- Seed trays or small pots
- Seed starting mix (lightweight and well-draining)
- Labels or markers
- Watering can or spray bottle
- Grow lights or a sunny windowsill
2. Timing Your Planting
Start your onion seeds indoors 8-10 weeks before the last expected frost date in your area. This will give your seedlings enough time to grow strong before they are transplanted outdoors.
3. Prepare the Seed Starting Mix
Choose a high-quality seed starting mix that retains moisture while allowing for good drainage. Fill your seed trays or pots with the mix, leaving about half an inch of space at the top. Lightly moisten the soil before planting the seeds.
Planting the Seeds
1. Sowing the Seeds
- Make small furrows in the soil about 1/4 inch deep.
- Space the seeds about 1 inch apart within the furrows.
- Cover the seeds gently with soil and pat down lightly to ensure good contact.
2. Labeling
Use labels or markers to identify the different varieties you are planting. This will help you keep track of the plants as they grow.
Providing Optimal Growing Conditions
1. Light Requirements
Onion seedlings need plenty of light to grow strong. Place your seed trays under grow lights or in a sunny window where they can receive 12-16 hours of light each day. If using grow lights, position them 2-4 inches above the seedlings and adjust as they grow.
2. Temperature and Humidity
Onion seeds germinate best in temperatures between 65°F and 75°F (18°C to 24°C). Keep the seed trays in a warm area, using a heat mat if necessary. Maintain humidity by covering the trays with a plastic dome or plastic wrap until the seeds germinate.
3. Watering
Keep the soil consistently moist but not soggy. Use a spray bottle or watering can with a fine spout to water the seedlings gently. Once the seedlings emerge, water them at the base to avoid getting water on the leaves, which can lead to fungal diseases.
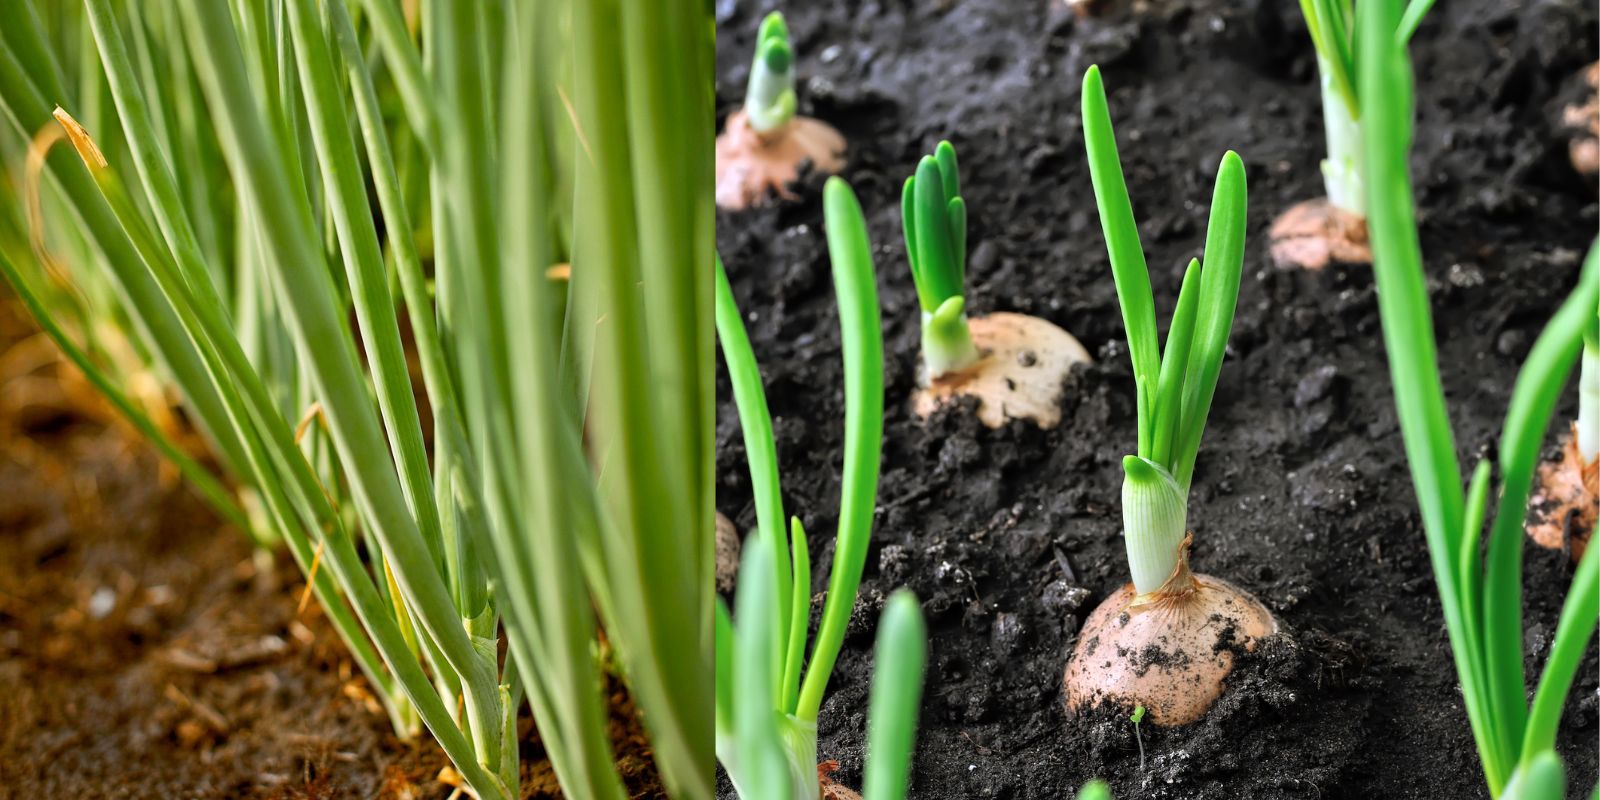
Transplanting Seedlings Outdoors
1. Hardening Off
Before transplanting your onion seedlings outdoors, acclimate them to the outdoor conditions. This process, known as hardening off, helps reduce transplant shock. Start by placing the seedlings outside for a few hours each day, gradually increasing the time over a week or two.
2. Preparing the Garden Bed
Choose a sunny location with well-draining soil. Onions prefer slightly acidic to neutral pH levels (6.0-7.0). Amend the soil with compost or well-rotted manure to improve fertility and structure. Create rows spaced about 12-18 inches apart.
3. Transplanting
- When the risk of frost has passed and the seedlings are about 4-6 inches tall, transplant them into the garden.
- Space the seedlings about 4-6 inches apart within the row.
- Dig a small hole for each seedling, place it in the hole, and cover the roots with soil. Gently firm the soil around the base.
Caring for Your Onion Plants
1. Watering
Water your onion plants regularly, especially during dry spells. Onions require consistent moisture, but avoid waterlogging, which can cause rot. Aim to keep the soil evenly moist, especially during bulb formation.
2. Fertilizing
Apply a balanced fertilizer every few weeks to provide essential nutrients. You can use organic options like compost or a commercial fertilizer with an N-P-K ratio suitable for onions (like 10-10-10).
3. Weed Control
Keep the area around your onions free of weeds, which can compete for nutrients and water. Hand-pulling or shallow cultivation can help control weeds without damaging the onion roots.
4. Pest and Disease Management
Monitor your onion plants for signs of pests, such as onion maggots, thrips, or aphids. Use organic pest control methods, like neem oil or insecticidal soap, to manage infestations. Prevent diseases by ensuring good air circulation and avoiding overhead watering.
Harvesting Your Onions
1. Timing
Onions are ready for harvest when the tops begin to yellow and fall over. This typically occurs late in the summer or early fall, depending on the variety and growing conditions.
2. Harvesting Method
- Use a garden fork or shovel to carefully lift the onions from the soil, taking care not to damage the bulbs.
- Shake off excess soil but avoid washing them, as moisture can lead to rot.
3. Curing and Storage
Cure your onions by laying them out in a dry, well-ventilated area for about 1-2 weeks. Once the outer skins are dry and papery, trim the roots and tops. Store cured onions in a cool, dark, and dry place, such as a basement or pantry.
Conclusion
Growing onions from seed is a fulfilling gardening project that not only enhances your culinary creations but also boosts your gardening confidence. With the right variety, proper care, and a little patience, you can enjoy a bountiful harvest of flavorful onions right from your backyard. So, grab those seeds, prepare your soil, and start your onion-growing journey today!
Get started on your onion-growing adventure! Share your gardening journey and tips with others. 🌱🧅 #OnionGrowing #HomeGardening #GrowYourOwnFood #VegetableGarden #GardeningTips #OrganicGardening #PlantFromSeed