
Beets are a versatile and nutritious root vegetable that can be enjoyed in a variety of dishes, from salads to soups and juices. Not only are they packed with vitamins and minerals, but they are also relatively easy to grow in your garden. Whether you are an experienced gardener or a beginner, growing beets is a rewarding process that doesn’t require too much effort.
In this comprehensive guide, we will walk you through everything you need to know about growing beets, from choosing the right location to harvesting your crop. With the right conditions and care, you can enjoy a plentiful beet harvest that will add a healthy, vibrant touch to your meals.
Why Grow Beets?
Beets, scientifically known as Beta vulgaris, are a cool-weather crop that thrive in temperate climates. They are packed with essential nutrients such as vitamins A and C, iron, magnesium, and folate. Beets are also high in fiber and antioxidants, which makes them a great addition to any healthy diet.
Growing beets is a satisfying experience, especially because they don’t require much maintenance once planted. They are resilient and can be grown in a variety of garden environments, including raised beds, traditional garden rows, and even containers. The best part? Beets can be harvested relatively quickly, often within 50-70 days of planting.
In addition to the root, the beet greens are also edible and can be used in cooking, making beets a double-duty vegetable. These vibrant greens are rich in vitamins and minerals and are a great way to add a nutritious element to your meals.
Step 1: Choosing the Right Location for Beets
Beets prefer full sun, so choose a location in your garden that gets at least 6-8 hours of sunlight per day. If you are growing them in a container or raised bed, make sure the spot receives adequate sunlight to promote strong growth.
The soil should be loose, well-draining, and fertile. Beets do not do well in heavy, compacted soil. To prepare the soil for planting, work it with a garden fork or tiller to a depth of 12-18 inches. This will help prevent the roots from becoming stunted or misshapen.
Beets prefer slightly acidic to neutral soil with a pH level of 6.0 to 7.0. You can test your soil’s pH using a soil test kit, and amend the soil as needed with lime or sulfur to adjust the pH to the optimal range. Additionally, add organic matter such as compost or well-rotted manure to enrich the soil and improve its texture.
Step 2: Planting Beets
Beet seeds are actually clusters of several seeds, so when you plant them, you will typically get multiple seedlings from each seed cluster. It’s important to space the seeds properly to allow enough room for the beets to develop.
Planting Time:
Beets are a cool-weather crop, and they should be planted in early spring or late summer, depending on your local climate. In most regions, plant beets in early spring, 2-4 weeks before the last expected frost. Beets can also be grown in the fall, as long as they are harvested before the first heavy frost.
Planting Depth and Spacing:
Sow beet seeds about ½ inch deep and space them 1-2 inches apart. To make it easier to thin the seedlings later, plant the seeds in shallow furrows or small holes. Be sure to water the soil after planting to settle the seeds in place.
If you are planting multiple rows, space the rows about 12-18 inches apart to give the plants enough room to grow. Thinning is important to ensure that each beet has enough space to develop a healthy root.
Step 3: Watering Beets
Consistent watering is essential for beet growth. Beets require regular moisture, but it is important to avoid overwatering, as waterlogged soil can lead to root rot and other issues. Aim to keep the soil evenly moist throughout the growing season, especially during dry spells.
Water deeply at the base of the plants to encourage the development of strong roots. Shallow watering can lead to weak, shallow roots that are more prone to drying out. Mulching around the plants with organic material like straw or grass clippings can help retain moisture in the soil and keep the roots cool during hot weather.
As the beets grow, it is important to ensure that the soil doesn’t dry out completely. If you notice the soil is drying quickly, increase the frequency of watering, but always allow the soil to drain well after each watering session.
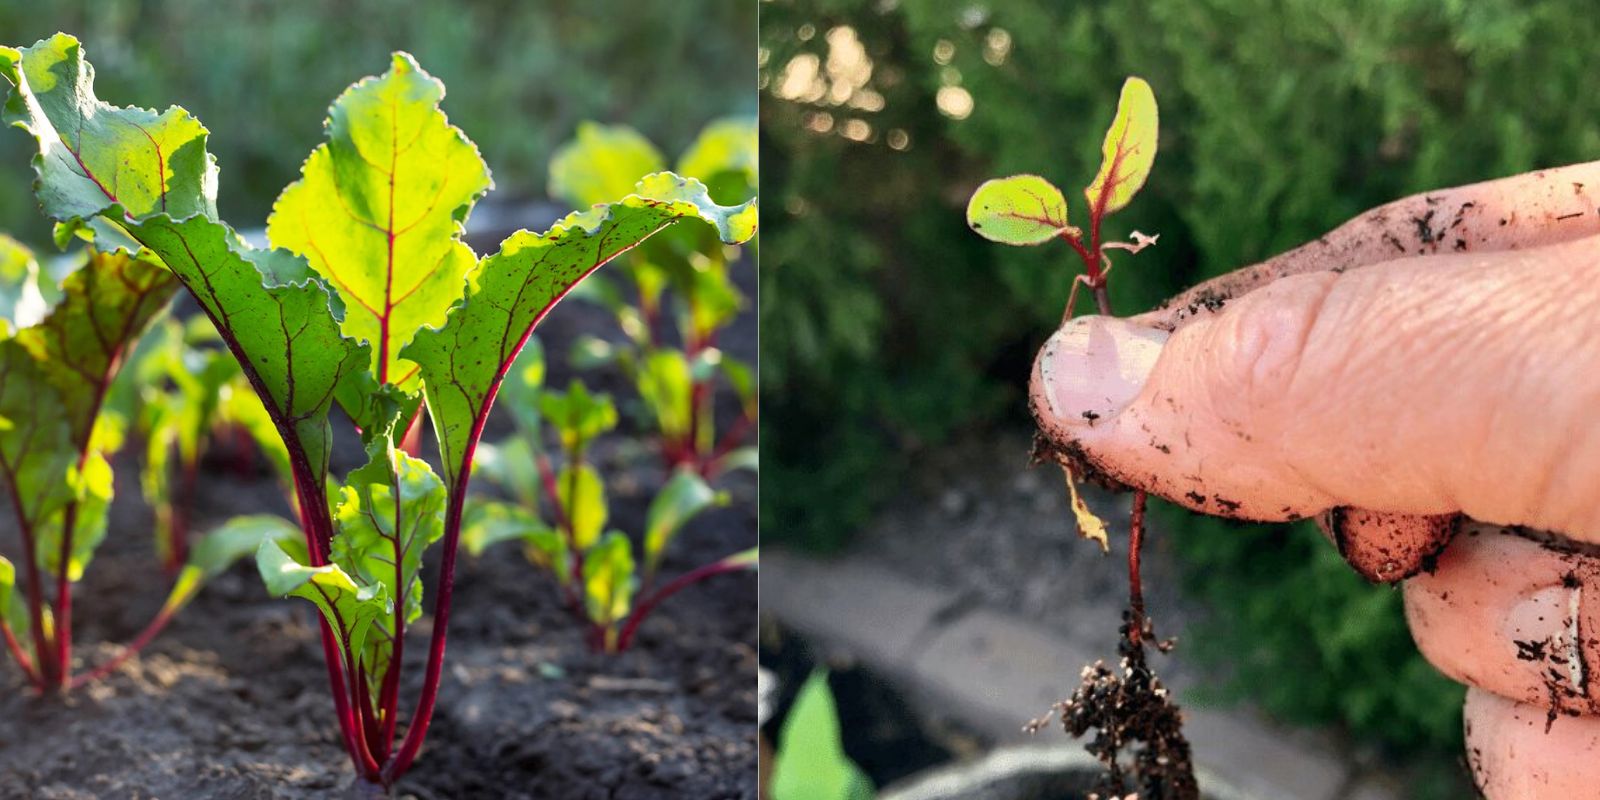
Step 4: Thinning Seedlings
Once your beet seedlings have sprouted and are a few inches tall, it is time to thin them. Thinning is important because overcrowding can result in small or misshapen roots. Beets need space to develop their characteristic round or cylindrical roots, so thinning ensures each plant has adequate room to grow.
Thin the seedlings to about 3-4 inches apart by snipping off the weaker plants at the soil level with scissors. Avoid pulling the seedlings out by hand, as this can disturb the roots of the remaining plants. You can either compost the thinned seedlings or add them to your kitchen scraps for composting.
Step 5: Fertilizing Beets
Beets are not heavy feeders, but they do benefit from a well-balanced fertilizer. If you have already amended the soil with compost before planting, additional fertilization may not be necessary. However, if you notice that your plants are growing slowly or the leaves are yellowing, you may need to apply a balanced fertilizer (such as 10-10-10) to promote healthy growth.
Apply the fertilizer lightly in early spring, just after the plants have sprouted, and then again halfway through the growing season. Be careful not to over-fertilize, as this can lead to excessive leaf growth at the expense of root development.
Step 6: Managing Pests and Diseases
Beets are relatively pest-resistant, but they can occasionally face issues with aphids, leaf miners, or flea beetles. To prevent these pests, practice crop rotation and avoid planting beets in the same location year after year.
Beet greens can also attract caterpillars, so it’s important to check the plants regularly for any signs of pests. If you notice pests, remove them by hand or use an organic insecticide such as neem oil to keep them in check.
Beet plants can also be susceptible to fungal diseases such as powdery mildew or downy mildew, especially in humid climates. To prevent fungal issues, space your plants properly to ensure good airflow around the foliage and avoid overhead watering. If you notice signs of mildew, remove affected leaves and apply an organic fungicide.
Step 7: Harvesting Beets
Beets can be harvested when they reach a diameter of 1.5 to 3 inches, usually 50-70 days after planting. The root should be firm and well-formed. You can harvest beets earlier for baby beets, or allow them to grow larger for a more substantial harvest.
To harvest, gently dig around the base of the plant with a garden fork or shovel to loosen the soil. Pull the beet root gently from the soil, taking care not to damage the root or the surrounding plants. Cut off the beet greens about 1 inch above the root to prevent any energy from going into the leaves after harvest.
If you plan to store your beets, remove the greens immediately to prevent them from drawing moisture from the roots. Beets can be stored in a cool, dark place for several weeks, or they can be preserved by canning, freezing, or pickling.
Conclusion
Growing beets in your garden is a fun and rewarding experience that yields a tasty and nutritious harvest. By choosing the right location, preparing your soil, and following the correct planting, watering, and harvesting techniques, you can grow healthy beets with minimal effort. Whether you’re a beginner or an experienced gardener, these simple steps will help you achieve a successful beet harvest.
So, get your gardening gloves on, start planting those beets, and enjoy the fruits of your labor when it’s time to harvest! Happy gardening!
#BeetGrowing #RootVegetables #GardeningTips #GrowYourOwnFood #HomeGardening #HealthyEating #VegetableGarden #OrganicGardening #SustainableLiving #GardenHarvest #GreenThumb