
Introduction
Canna plants, with their bold, tropical foliage and vibrant flowers, are a favorite among gardeners looking to add a splash of color to their outdoor spaces. While most people grow Cannas from rhizomes, starting them from seeds can be a rewarding and cost-effective method to propagate these striking plants. Though it requires patience, the process is straightforward and allows you to nurture your Cannas from the very beginning.
In this comprehensive guide, we’ll walk you through every step of growing Cannas from seed—from seed collection to caring for mature plants—so you can enjoy these exotic beauties in your garden.
Why Grow Cannas from Seeds?
- Affordability: Growing Cannas from seeds is more economical than purchasing rhizomes or nursery plants.
- Variety: Seeds offer the opportunity to grow unique hybrids and varieties that might not be readily available.
- Sustainability: Propagating from seeds reduces waste and allows you to cultivate plants in a more environmentally friendly way.
Step 1: Collecting or Buying Seeds
- Harvesting Seeds: If you already have Canna plants, wait for the flowers to fade and form seed pods. Once the pods are mature and dry, break them open to collect the seeds.
- Purchasing Seeds: Look for high-quality Canna seeds from reputable gardening stores or online suppliers.
💡 Tip: Canna seeds are hard, round, and black or brown. Choose seeds that are firm and free of cracks.
Step 2: Scarifying the Seeds
Canna seeds have a tough outer shell that prevents water absorption. Scarifying helps to overcome this barrier and promotes germination.
- How to Scarify:
- Use sandpaper, a nail file, or a small knife to gently scratch the seed’s surface.
- Stop when you see a lighter color under the dark shell—don’t cut too deeply.
💡 Tip: Scarification should only affect the outer shell; damaging the inner seed can prevent germination.
Step 3: Soaking the Seeds
After scarifying, soak the seeds to further soften the shell and jumpstart the germination process.
- Place the seeds in a bowl of warm water.
- Let them soak for 24–48 hours. Replace the water with fresh warm water every 12 hours.
💡 Tip: Seeds that swell during soaking are more likely to germinate.
Step 4: Preparing the Seed Trays or Pots
Cannas prefer rich, well-draining soil. Prepare your seed trays or pots with a high-quality seed-starting mix.
- Fill the trays with moist but not waterlogged soil.
- Use containers with drainage holes to prevent root rot.
💡 Tip: You can make your own seed-starting mix by combining equal parts compost, peat moss, and sand.
Step 5: Planting the Seeds
- Plant each seed about ½ inch deep in the soil.
- Cover lightly with soil and mist the surface with water.
- Space seeds a few inches apart to give them room to grow.
💡 Tip: Label your containers with the seed variety and date of planting.
Step 6: Providing Warmth and Light
Cannas need warmth to germinate. Create a cozy environment for your seeds:
- Place the seed trays in a warm spot, ideally between 70–75°F.
- Use a heat mat if your indoor space is cool.
- Ensure the seeds get bright, indirect sunlight or use a grow light.
💡 Tip: Covering the trays with clear plastic can help retain moisture and warmth, but remove the cover once sprouts appear.
Step 7: Watering the Seeds
Keep the soil consistently moist but not soggy during the germination process.
- Check the moisture level daily.
- Water gently using a spray bottle to avoid displacing the seeds.
💡 Tip: Overwatering can cause seeds to rot. It’s better to err on the side of caution and water sparingly.
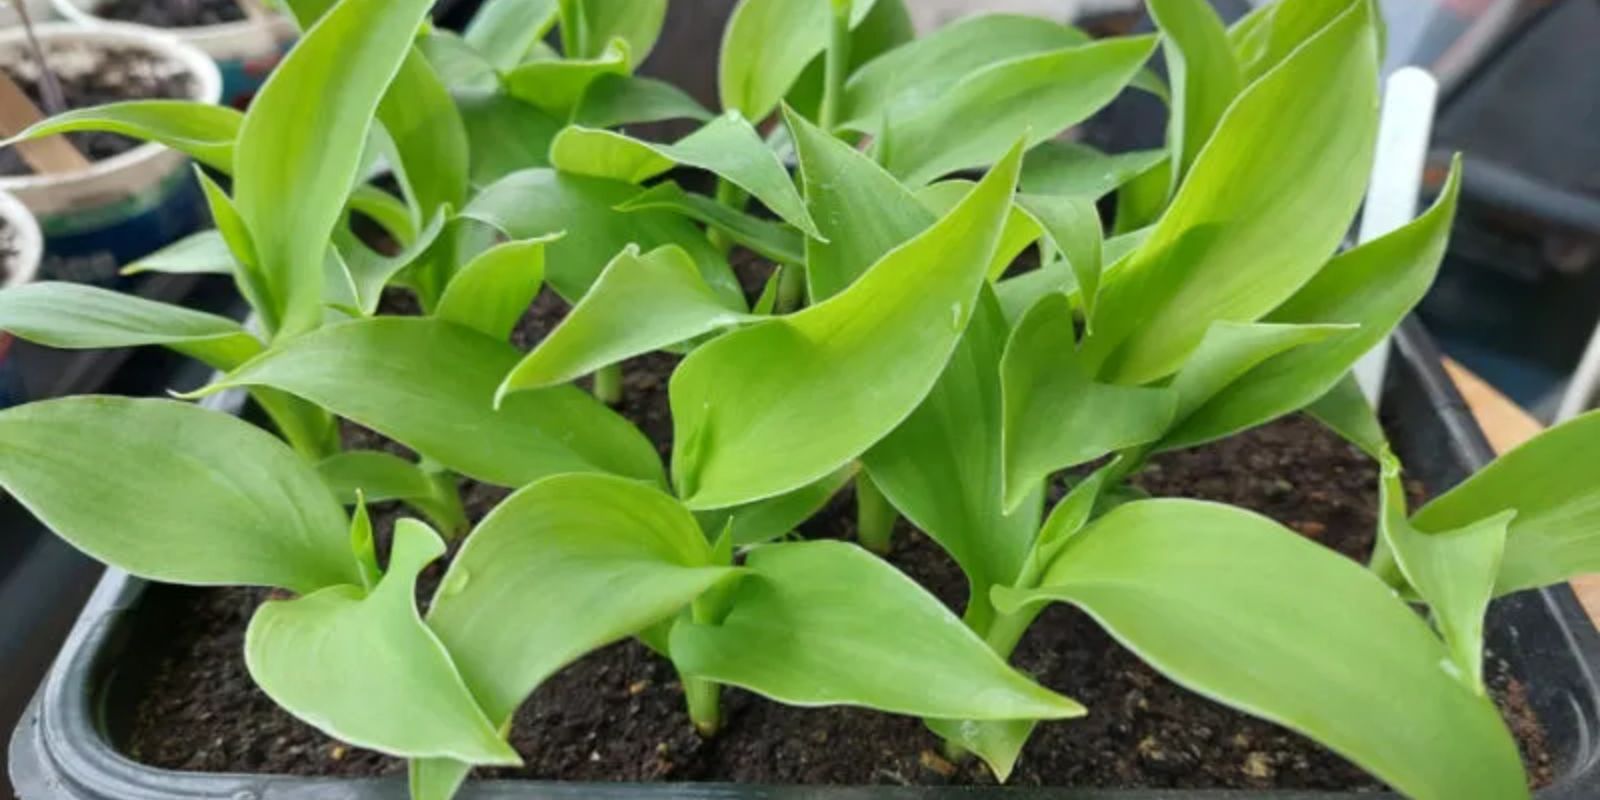
Step 8: Transplanting Seedlings
Once the seedlings have 2–3 true leaves, they’re ready for transplantation.
- Indoor Transplanting: Move the seedlings to larger pots with nutrient-rich soil.
- Outdoor Transplanting: Wait until the last frost has passed and nighttime temperatures are consistently above 50°F.
- Choose a sunny location with well-draining soil for outdoor planting.
- Space the plants about 12–18 inches apart to allow them to spread.
💡 Tip: Harden off your seedlings by gradually exposing them to outdoor conditions over a week before planting them in the garden.
Step 9: Caring for Your Cannas
- Watering: Cannas love moisture, so water them regularly, especially during dry spells.
- Fertilizing: Feed the plants with a balanced fertilizer every few weeks to encourage vigorous growth.
- Mulching: Add a layer of mulch around the plants to retain moisture and suppress weeds.
- Pest Control: Watch for common pests like aphids or spider mites and treat them promptly with organic insecticides.
💡 Tip: Deadhead spent flowers to encourage continuous blooming and prevent unwanted seed production.
Challenges and Tips
- Slow Germination: Canna seeds can take 3–4 weeks to germinate. Be patient!
- Cold Sensitivity: Cannas are tropical plants and won’t survive frost. Bring potted plants indoors during winter.
- Storage: If you have leftover seeds, store them in a cool, dry place to maintain viability.
Why You’ll Love Growing Cannas
Cannas bring an exotic flair to any garden, whether in borders, containers, or water features. Their lush foliage and vibrant blooms are guaranteed to turn heads and make your garden stand out. Growing them from seeds not only saves money but also gives you a deeper connection to the plant’s life cycle.
🌸 Have you tried growing Cannas from seeds? Share your experience or questions in the comments below!
Hashtags:
#GrowCannas #CannaPlants #TropicalGarden #DIYGardening #PlantLovers #GardenTips #GardenGoals #SeedStarting