
Starting seeds indoors can be one of the most rewarding experiences for a gardener. Not only does it allow you to choose from a wider variety of plants than what you might find at your local nursery, but it also gives you a head start on the growing season. If you’re new to seed starting or looking to refine your techniques, this guide will walk you through everything you need for successful seed starting, ensuring that you can cultivate a flourishing garden from the ground up.
Understanding the Basics of Seed Starting
Before diving into the materials, it’s essential to understand the basics of seed starting. Seed starting involves germinating seeds in controlled conditions indoors before transplanting them outside. This practice allows for earlier growth and the opportunity to monitor your plants closely during their initial stages.
Benefits of Seed Starting
- Cost-Effective: Purchasing seed packets is often cheaper than buying young plants.
- Variety: You can choose from a vast array of plant varieties that may not be available locally.
- Quality Control: Starting from seeds allows you to control the growing conditions and avoid potential diseases that come with nursery plants.
- Connection to Nature: Watching seeds sprout and grow fosters a deeper connection to your plants and the gardening process.
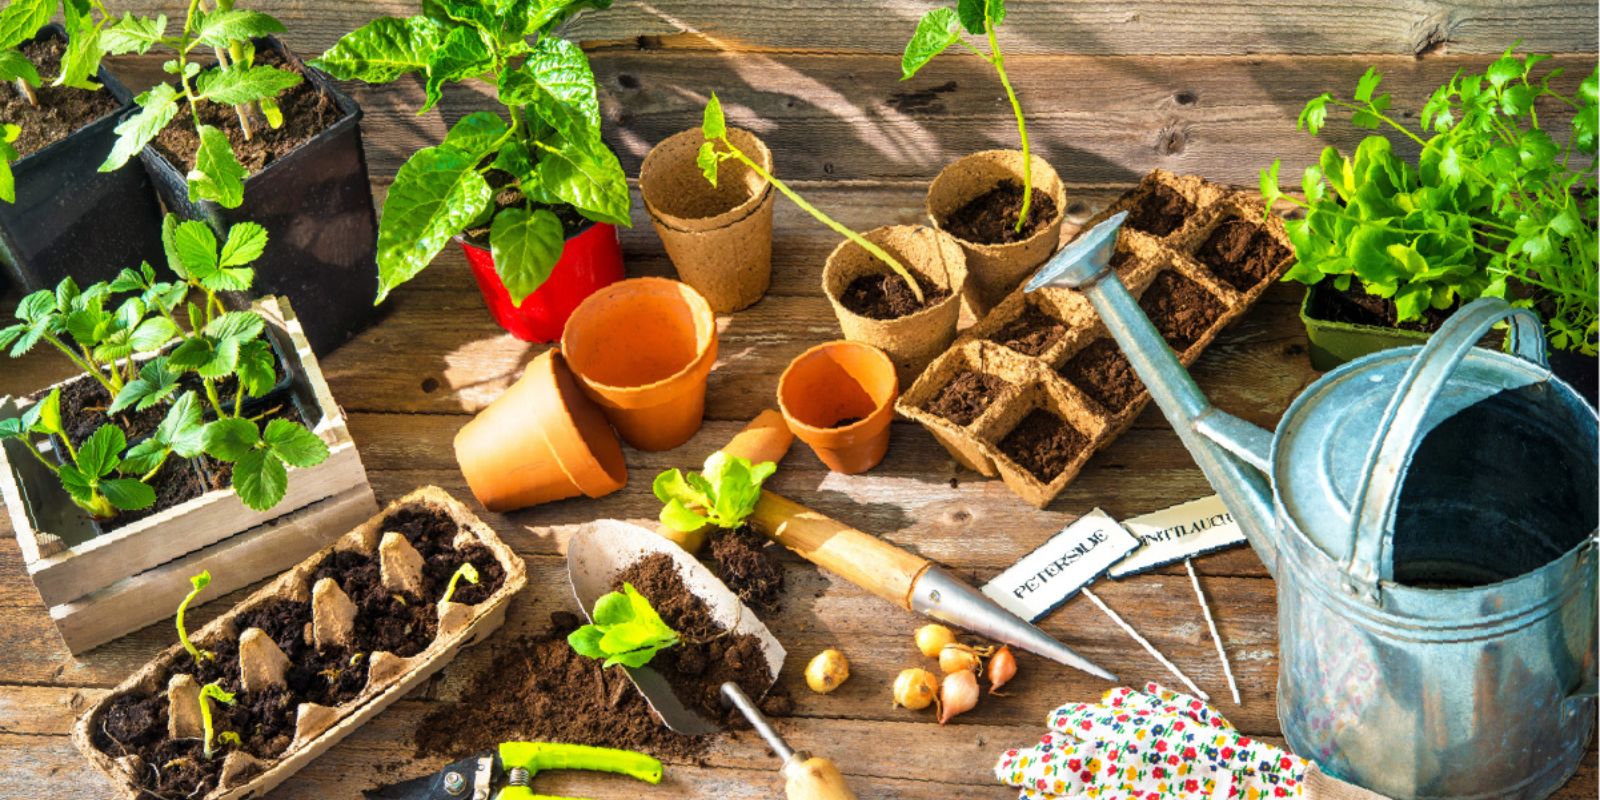
Essential Supplies for Seed Starting
To start seeds effectively, you’ll need to gather some essential supplies. Here’s a breakdown of everything you’ll need for a successful seed-starting endeavor.
1. Seeds
Selecting the right seeds is the first step to successful seed starting. Here are some tips for choosing seeds:
- Choose High-Quality Seeds: Look for reputable seed brands that offer high germination rates. Organic seeds are also a great choice for health-conscious gardeners.
- Consider Your Growing Zone: Research the best seeds for your USDA planting zone to ensure they will thrive in your climate.
- Pick Your Favorites: Choose a variety of vegetables, herbs, and flowers you enjoy eating or using in your home.
2. Seed-Starting Mix
A high-quality seed-starting mix is crucial for providing the right environment for your seeds to germinate. Unlike regular potting soil, seed-starting mixes are lightweight and finely textured to allow for good drainage and aeration.
- Look for Sterile Mixes: Using a sterile mix reduces the risk of disease and ensures that your seeds can sprout without competition from weeds.
- Moisture Retention: A good mix will hold moisture without becoming waterlogged, providing an ideal environment for seed germination.
3. Containers
You’ll need containers to hold your seed-starting mix and seeds. There are many options available, including:
- Seed Trays: Designed specifically for starting seeds, these trays often come with cells that help prevent overcrowding.
- Recycled Containers: Yogurt cups, egg cartons, and other household items can be repurposed for seed starting, just ensure they have drainage holes.
- Peat Pots: Biodegradable peat pots can be planted directly in the ground, reducing transplant shock.
4. Labels
Keeping track of what you’ve planted is essential. Labels can help you remember what varieties are in each container and when you planted them.
- Use Waterproof Materials: Consider using plastic or wooden stakes and waterproof markers to prevent fading.
- Date and Variety: Write the date of planting and the plant variety for easy reference.
5. Watering Can or Spray Bottle
Keeping the seed-starting mix moist but not soggy is crucial for germination.
- Gentle Watering: Use a watering can with a fine spout or a spray bottle to avoid disturbing the seeds as you water.
- Consistent Moisture: Regularly check the moisture level of the soil and water as needed to keep it evenly damp.
6. Light Source
Light is one of the most critical factors for successful seed starting. If natural sunlight is limited, consider investing in grow lights.
- Full-Spectrum Grow Lights: These lights provide the necessary spectrum of light for plant growth and can be adjusted for height as plants grow.
- Duration: Aim for 12-16 hours of light daily for optimal growth. A timer can help maintain a consistent schedule.
7. Heat Mat (Optional)
Many seeds germinate best in warm conditions. A heat mat can provide consistent warmth to promote faster germination.
- Temperature Control: Set the heat mat to maintain the optimal soil temperature for the seeds you are growing. Most seeds prefer temperatures between 65°F and 75°F.
- Monitoring: Regularly check the temperature to ensure it remains in the desired range.
8. Fertilizer
Once seedlings develop their first true leaves, they will benefit from added nutrients.
- Liquid Fertilizer: A diluted liquid fertilizer (about half strength) can provide essential nutrients without overwhelming young plants.
- Frequency: Fertilize every 2-4 weeks, depending on the plant variety and growth rate.
9. Humidity Dome (Optional)
Covering your seedlings with a humidity dome can help retain moisture and warmth during germination.
- Ventilation: If you use a dome, ensure proper ventilation to prevent mold and rot. Remove the dome once seedlings emerge to acclimate them to drier air.
- Monitor Humidity: Keep an eye on humidity levels to prevent excess moisture buildup.
10. Gardening Tools
Having the right tools can make the seed-starting process much smoother. Here are some essentials:
- Small Trowel: For transferring soil and planting seeds.
- Scissors: To snip any overcrowded seedlings during thinning.
- Soil Scoop: To easily transfer soil mix into containers without mess.
Additional Tips for Successful Seed Starting
While having the right supplies is crucial, some additional tips can further enhance your seed-starting success:
1. Timing is Everything
Pay attention to the planting dates for your seeds. Check seed packets for specific planting times and consider starting seeds indoors about 6-8 weeks before the last frost date in your area.
2. Thinning Seedlings
Once your seedlings have grown their first set of true leaves, you may need to thin them out to prevent overcrowding. This ensures that each plant has enough space to grow and access nutrients.
- Thin Gently: Use scissors to snip off weaker seedlings at the soil line, rather than pulling them out, which can disturb the roots of nearby plants.
3. Acclimating Seedlings
Before transplanting seedlings outdoors, they need to acclimate to their new environment, a process known as hardening off.
- Gradual Exposure: Start by placing seedlings outside for a few hours a day in a shaded area, gradually increasing their exposure to sunlight and wind over a week or two.
4. Monitor for Pests and Diseases
Keep an eye on your seedlings for any signs of pests or diseases. Early detection can help prevent more significant issues later on.
- Healthy Practices: Maintain cleanliness around your seed-starting area and avoid overwatering to reduce the risk of fungal diseases.
Ready to Start Your Seed-Starting Journey?
Seed starting is a fantastic way to connect with nature, grow your own food, and beautify your garden. With the right supplies and techniques, you can ensure a successful start for your plants.
Gather your supplies and dive into the rewarding world of seed starting! 🌱 What are you excited to grow this season? Share your plans and tips below!
#SeedStarting #Gardening #GrowYourOwn #PlantParent #HomeGarden #VegetableGarden #GreenThumb