
Gardening can be an immensely satisfying hobby, but it often comes with its fair share of challenges. One of the most common barriers to starting a garden is the need for planters or containers. These can be costly, especially if you’re looking for a variety of sizes and styles to match different plants. However, what if you could make your own planters from an easily accessible material—plastic bottles? Not only does this provide a practical, cost-effective solution for planting, but it’s also an environmentally friendly way to repurpose waste. By using plastic bottles, you can contribute to reducing plastic waste while adding a personal touch to your garden. This article will take you through the step-by-step process of making easy plastic bottle planters and offer some creative ideas to help you make the most of your new gardening solution.
Why Plastic Bottle Planters?
Before diving into the DIY process, let’s briefly discuss why using plastic bottles for planters is such a great idea.
- Repurpose Plastic Waste: Plastic bottles are one of the most common types of waste that end up in landfills or the ocean. By turning them into planters, you’re not only giving them a second life but also contributing to reducing plastic pollution.
- Affordable and Accessible: Plastic bottles are easy to find and free, which makes them a fantastic option for anyone looking to start a garden on a budget. Whether you have a single bottle at home or you collect a variety of sizes, you’ll always have materials for planters.
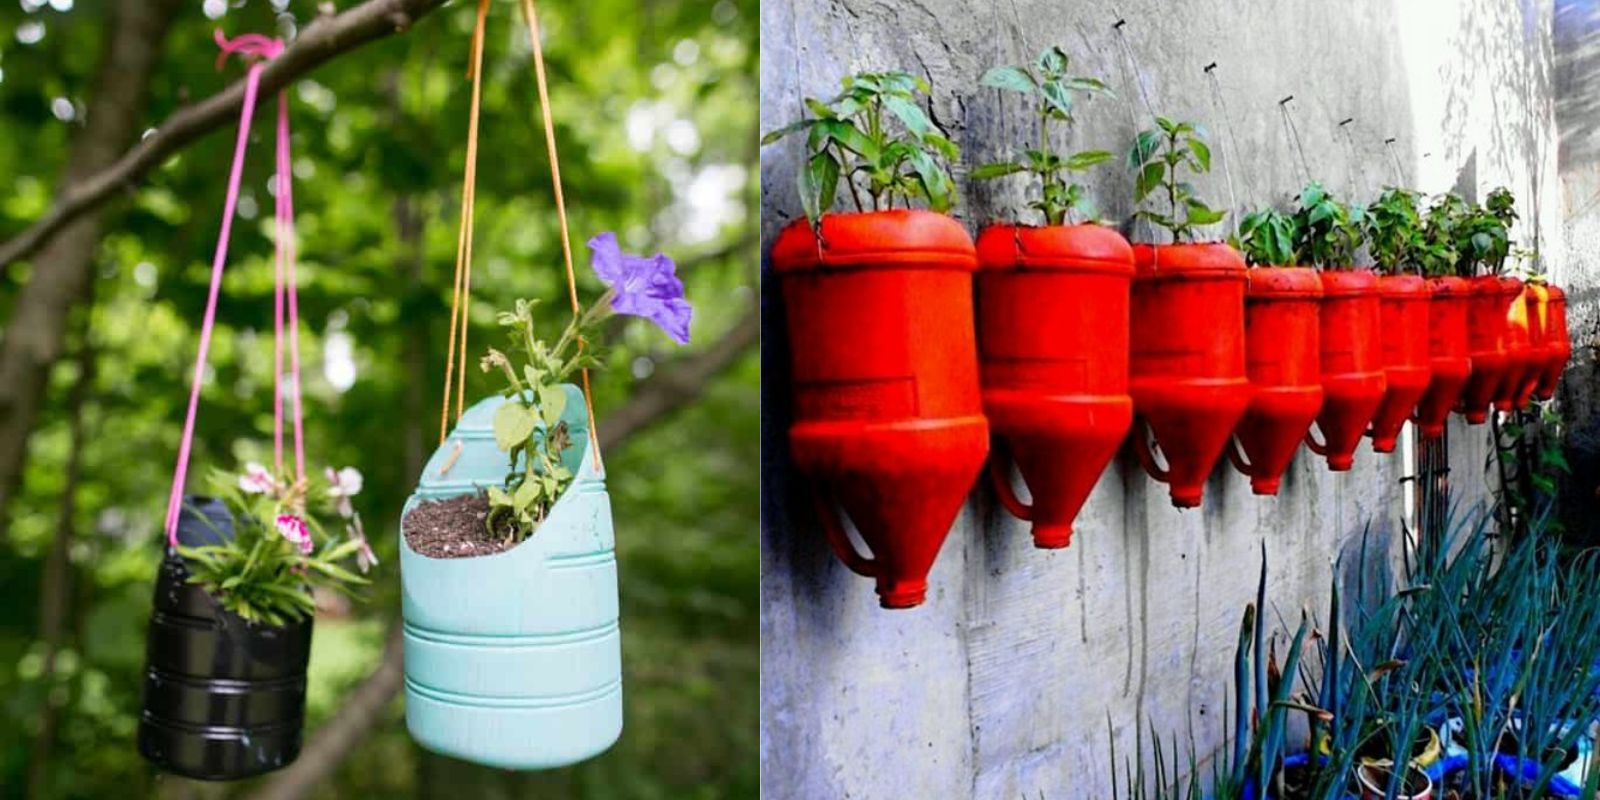
- Space-Saving: Plastic bottle planters are perfect for those with limited space, such as apartment dwellers or anyone living in a small home. They can be hung, stacked, or placed on windowsills, making them ideal for small urban gardens or balconies.
- Customization: Unlike store-bought planters, plastic bottles can be customized to fit your garden’s aesthetic. From painting to adding decorative elements, you can personalize your plastic bottle planters to suit your style.
- Well-Suited for Small Plants: Plastic bottle planters are perfect for growing herbs, flowers, succulents, and even some small vegetables. You can tailor the size of your planters based on the plant’s root system.
Materials You’ll Need
Before you start crafting your plastic bottle planters, it’s important to gather the necessary materials. The good news is that most of what you need is probably already lying around your house. Here’s what you’ll need:
- Plastic bottles (variety of sizes)
- Scissors or a utility knife
- Drill (or a small nail and hammer)
- Soil for planting
- Plants or seeds (flowers, herbs, or small vegetables)
- Paints and brushes (optional for decoration)
- String or wire (optional for hanging planters)
- Pebbles or small stones (optional for drainage)
Step-by-Step Guide to Making Plastic Bottle Planters
Now that you have all the materials ready, it’s time to begin creating your plastic bottle planters. Follow these simple steps:
Step 1: Choose Your Plastic Bottles
Select the plastic bottles you want to use. You can opt for smaller bottles (like water bottles) for herbs or larger bottles (like soda or juice bottles) for bigger plants. Consider the type of plant you want to grow and choose a bottle that will accommodate the root system of your chosen plant.
Step 2: Cut the Bottle
Using scissors or a utility knife, carefully cut the plastic bottle in half. For smaller plants, you can cut the top third of the bottle off, while for larger plants, you may need to cut a larger portion. This will create the container for your plants, and the bottom part can serve as a catchment for excess water.
Step 3: Make Drainage Holes
One of the most important aspects of any planter is good drainage. Plastic bottles don’t naturally have drainage holes, so you’ll need to create them yourself. Using a drill, or a small nail and hammer, make several holes at the bottom of the bottle. These holes will allow excess water to drain out, preventing your plants from becoming waterlogged.
Step 4: Decorate Your Planters (Optional)
This step is where you can really get creative. You can paint the plastic bottles to match your garden’s aesthetic or add fun designs. Use outdoor paints to ensure the planters last in the elements, or decorate them with ribbons, twine, or stickers for a personalized touch. If you plan to hang the planters, now is also the time to drill small holes at the top for the wire or string.
Step 5: Add Pebbles or Stones for Drainage (Optional)
If you want to ensure proper drainage, place a layer of small stones or pebbles at the bottom of the plastic bottle before adding soil. This helps create a space for water to flow through and prevents the roots from sitting in excess moisture.
Step 6: Fill with Soil
Next, fill the bottom part of the plastic bottle with potting soil. Make sure to leave enough room for your plant’s roots to grow. If you’re planting seeds, you can fill the bottle to about three-quarters full. Gently press the soil down to eliminate air pockets, but don’t compact it too much.
Step 7: Plant Your Seeds or Seedlings
Plant your seeds or seedlings in the soil according to the instructions on the seed packet or plant label. Make sure you give the roots enough space to grow, and don’t overcrowd the container. After planting, gently water the soil to help the plants settle in.
Step 8: Place in a Sunny Spot
Finally, place your new plastic bottle planter in a location that receives plenty of sunlight. Most plants need at least 6 hours of sunlight per day to thrive, so choose a spot near a window, balcony, or porch. If you’ve chosen to hang your planter, use a sturdy wire or string to suspend it in a location where it won’t be too exposed to wind or extreme weather conditions.
Additional Tips for Success
- Watering: Make sure to water your plants regularly, but be cautious not to overwater them. The drainage holes you made earlier should help, but always check the soil’s moisture level before adding more water.
- Reusing Bottles: Don’t hesitate to reuse old plastic bottles for multiple planting seasons. Just clean them out, make new drainage holes if necessary, and start fresh!
- Vertical Gardening: If space is tight, consider creating a vertical garden by hanging multiple plastic bottle planters on a wall or fence. This way, you can grow a variety of plants without taking up too much space.
- Use Different Bottle Sizes: Different plants need different amounts of space. Smaller plants like herbs work well in smaller bottles, while larger plants like tomatoes or beans may need larger containers.
- Composting: As the plants grow, keep in mind that plastic bottle planters can be an ideal place for composting small amounts of organic waste. Consider adding kitchen scraps or plant trimmings to enrich the soil.
Conclusion
DIY plastic bottle planters are a fantastic way to grow your own plants while reducing waste. Whether you have a small apartment, a balcony, or a large garden, these planters can fit into any space. With just a few simple steps, you can create an eco-friendly, functional, and decorative addition to your garden. Plus, this is a wonderful opportunity to teach children or beginners about recycling and sustainable gardening practices.
By using plastic bottles to grow your plants, you’re not just cultivating a garden—you’re also contributing to a cleaner, greener planet. So, gather your plastic bottles, get creative with your decorations, and start planting today!
#PlasticBottlePlanters #DIYGardening #EcoFriendly #UpcycledGarden #SustainableLiving #GardeningHacks #RepurposePlastic #UrbanGardening #GrowYourOwnFood #GreenThumb #ZeroWasteGardening #SustainableGardening