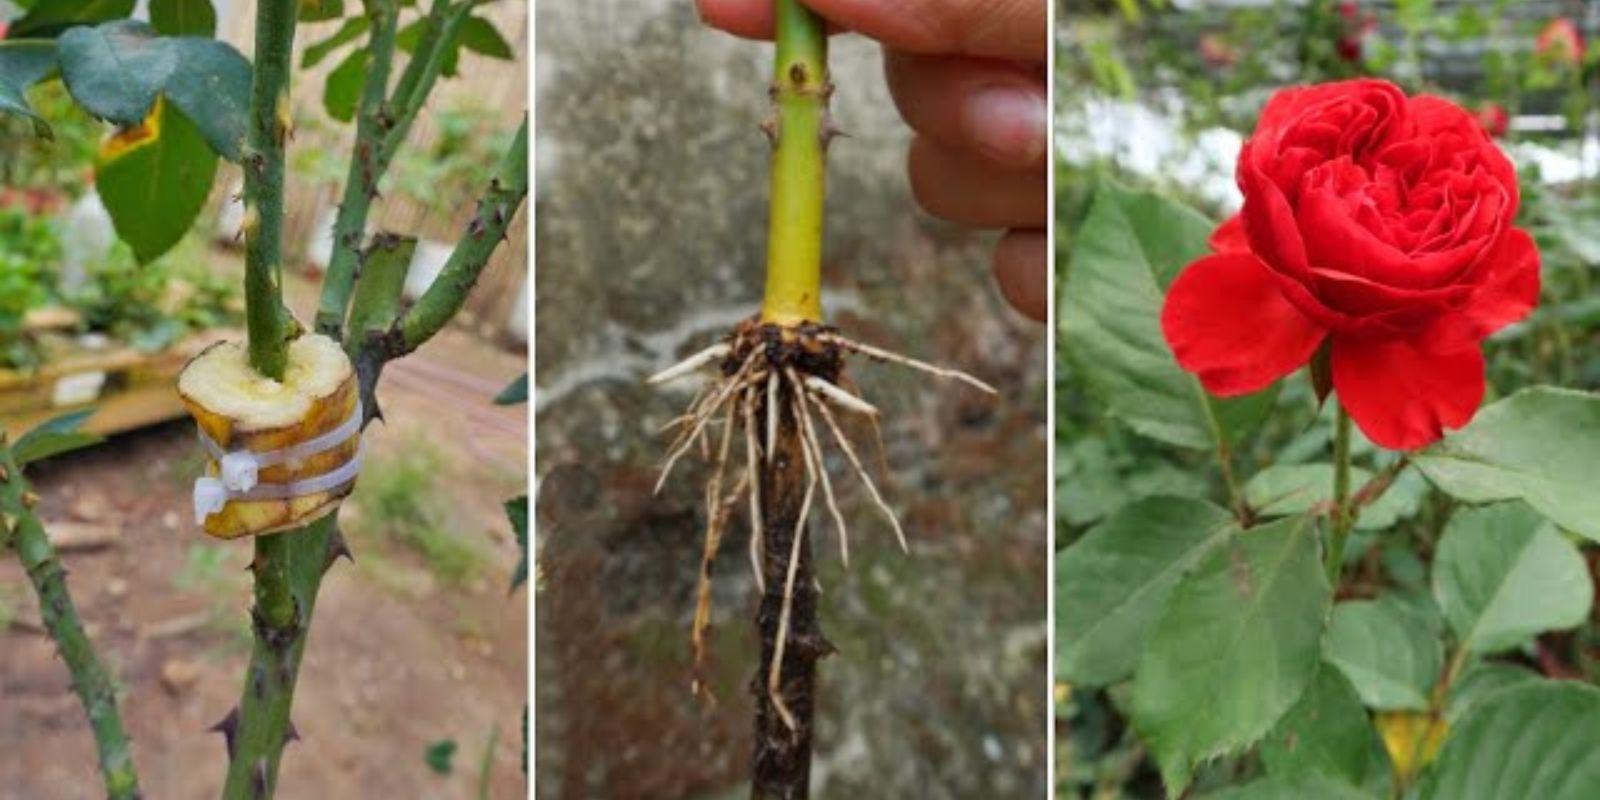
Roses are the epitome of beauty and elegance in any garden. While buying rose plants can be expensive, propagating roses at home is an economical and rewarding way to expand your garden. In this guide, we’ll explore a simple yet effective method to propagate roses that ensures successful growth and thriving blooms. Let’s dive in and learn how to turn a single rose stem into a flourishing plant.
Why Propagate Roses?
Propagating roses comes with several benefits:
- Cost-Effective: Save money by growing roses from cuttings instead of purchasing new plants.
- Preservation: Propagation helps you preserve and multiply a favorite variety, especially heirloom or rare roses.
- Satisfaction: There’s unparalleled joy in nurturing a plant from a simple cutting into a thriving bush.
- Gifting Opportunity: Propagated roses make thoughtful and personal gifts for loved ones.
Materials Needed for Rose Propagation
Before you begin, gather the following tools and materials:
- Healthy rose stems (cuttings)
- Pruning shears
- Rooting hormone powder or gel
- A clean pot with drainage holes
- Moist potting mix or a mix of sand and peat moss
- A plastic bag or transparent bottle
- Spray bottle for watering
Step-by-Step Guide to Propagate Roses
Follow these detailed steps to propagate roses successfully:
1. Choose the Right Time and Stem
- The best time to propagate roses is late spring or early summer when the plant is actively growing.
- Select a healthy, semi-hardwood stem that’s about 6–8 inches long. It should be free of disease and ideally taken from a branch that has recently flowered.
2. Prepare the Cutting
- Using clean pruning shears, cut the stem at a 45-degree angle just below a leaf node.
- Remove any flowers, buds, and lower leaves, leaving only 2–3 leaves at the top. This reduces water loss and focuses energy on root development.
3. Dip in Rooting Hormone
- Dip the cut end of the stem into rooting hormone powder or gel. This step encourages root growth and protects against diseases.
- Gently tap off any excess powder before planting.
4. Prepare the Soil and Plant the Cutting
- Fill a clean pot with well-draining potting mix or a mixture of sand and peat moss.
- Use a pencil or stick to create a small hole in the soil, then insert the cutting about 2–3 inches deep. Firmly press the soil around the base to secure it.
5. Create a Greenhouse Effect
- Cover the pot with a clear plastic bag or an upside-down plastic bottle (with the bottom cut off). This creates a mini greenhouse that retains moisture and promotes root development.
- Ensure the covering doesn’t touch the cutting by using small stakes if necessary.
6. Place in the Right Spot
- Position the pot in a location with bright, indirect sunlight. Avoid direct sunlight, as it can overheat the cutting.
- Maintain a consistent temperature of around 70°F (21°C) for optimal growth.
7. Water and Monitor
- Use a spray bottle to mist the soil regularly, keeping it moist but not waterlogged.
- Check for root growth after 4–6 weeks by gently tugging the cutting. Resistance indicates that roots have formed.
Common Challenges and How to Overcome Them
- Wilting Cuttings: Ensure the cutting is kept in a humid environment with adequate moisture.
- No Root Growth: Be patient; some cuttings may take longer to root. Double-check the soil mix and light conditions.
- Fungal Diseases: Use clean tools and a sterile soil mix to minimize the risk of infections.
Transplanting Your Rose Cutting
Once the cutting has developed a healthy root system, it’s time to transplant it into a larger pot or directly into the garden.
- Acclimatize the Plant: Gradually expose the rooted cutting to outdoor conditions over a week to prevent transplant shock.
- Choose the Right Spot: Select a location with well-draining soil and at least 6 hours of sunlight daily.
- Plant with Care: Dig a hole twice the size of the root ball, place the cutting, and gently fill it with soil. Water thoroughly to settle the roots.
Tips for Long-Term Care
- Watering: Keep the soil evenly moist but avoid overwatering.
- Fertilizing: Feed the plant with a balanced rose fertilizer during the growing season.
- Pruning: Regularly remove dead or diseased leaves and branches to encourage healthy growth.
- Pest Control: Monitor for aphids, spider mites, or black spot, and treat them promptly.
Why This Method Works
This propagation technique mimics a rose’s natural growth process. The combination of rooting hormone, a humid environment, and nutrient-rich soil creates ideal conditions for new roots to form. By following these steps, even beginners can propagate roses with a high success rate.
Final Thoughts
Propagating roses is a fulfilling gardening project that allows you to expand your collection, preserve beloved varieties, and enjoy the beauty of roses in your garden. With patience, attention to detail, and the right care, you can transform a simple cutting into a stunning rose bush.
Are you ready to try this propagation method? Share your progress, tips, and questions with fellow garden enthusiasts! Together, we can cultivate gardens bursting with vibrant, fragrant roses. 🌹
#RosePropagation #DIYGardening #GrowRoses #GardenGoals #PlantLovers #GardeningHacks #HomeGardenTips

