Introduction
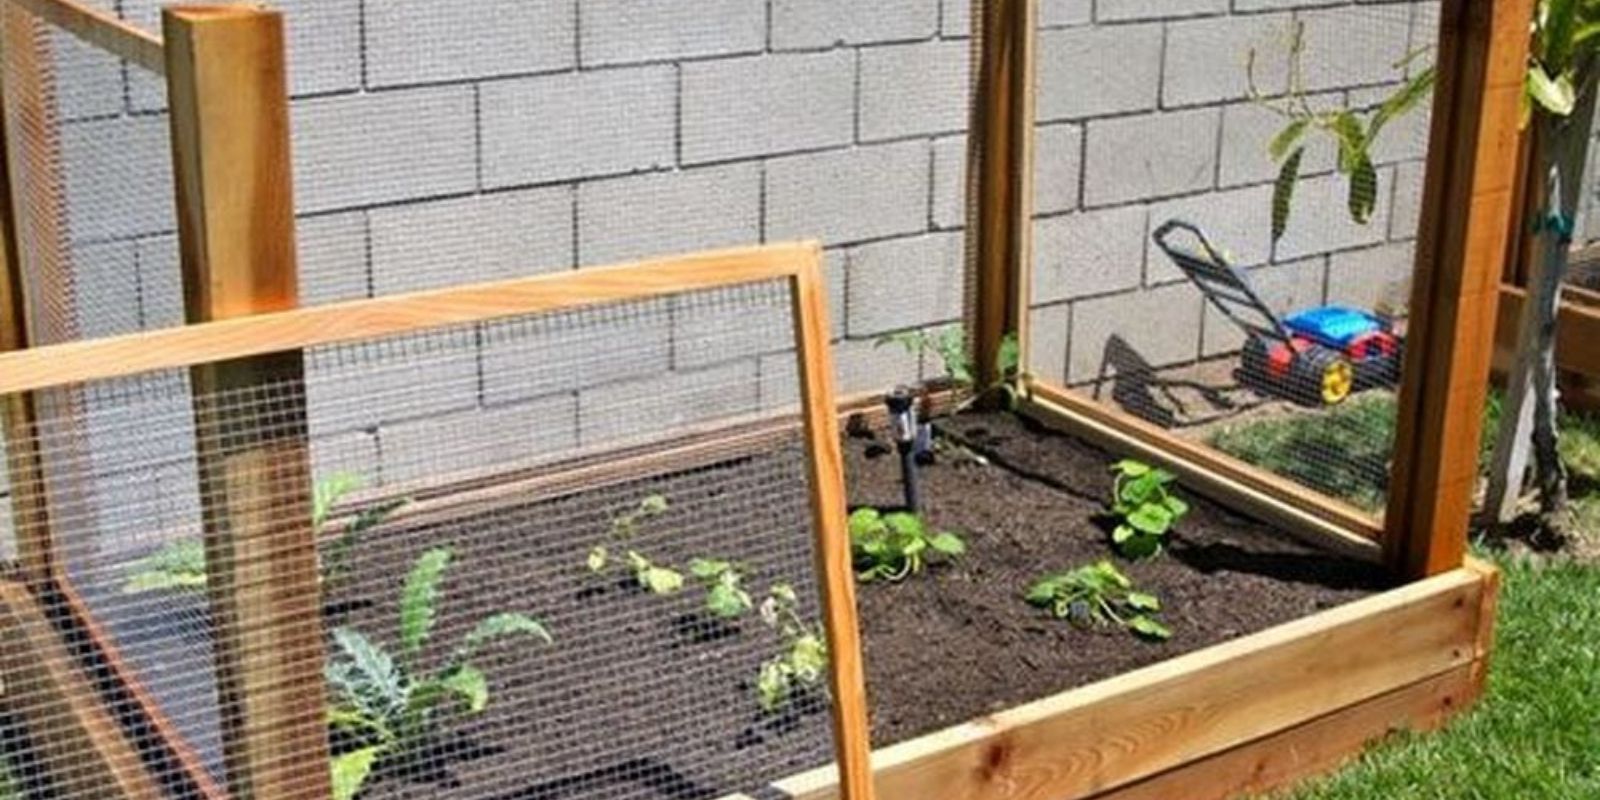
A garden fence serves multiple purposes: it keeps out pests, marks boundaries, and provides privacy. However, a fixed fence might not always meet all your needs, especially if you require easy access or want to adjust the fence layout seasonally. A removable garden fence offers a versatile solution, giving you the flexibility to install or remove sections of the fence as needed. This approach is not only practical but also customizable to fit various garden layouts and requirements.
In this article, we will guide you through the process of creating a removable garden fence. From planning and material selection to installation, you’ll learn how to build a fence that can be adapted to your gardening needs. Whether you’re dealing with seasonal changes, expanding your garden, or simply looking for a temporary solution, a removable fence provides the flexibility and functionality you need.
Planning Your Removable Garden Fence
1. Measure Your Garden Area
Before you start building, it’s essential to measure the area where you want to install the fence. This will help you determine the length of fencing required and the number of posts and panels needed.
- Measure the Perimeter: Use a measuring tape to calculate the total length of the fence perimeter. Include any gates or openings you may want.
- Mark the Locations: Use stakes and string to outline the perimeter of your fence. This will give you a visual guide for installation.
2. Choose Your Fence Material
Selecting the right material for your fence is crucial for durability and functionality. Consider the following options:
- Wood: A classic choice that can be customized to fit your garden’s aesthetic. Wood fences can be painted or stained and are relatively easy to work with.
- Wire: Ideal for keeping out small animals and can be combined with wooden or metal posts for support. Wire fences are often used for vegetable gardens and small enclosures.
- PVC: A low-maintenance option that’s resistant to weather and pests. PVC fences are easy to clean and come in various styles.
3. Plan the Fence Design
Decide on the height and style of the fence. The design should complement your garden while serving its intended purpose.
- Height: Ensure the fence is tall enough to deter the animals you’re trying to keep out. For most small animals, a height of 3-4 feet is sufficient.
- Style: Choose between solid panels for privacy or mesh panels for visibility. Consider adding gates for easy access.
Installing Your Removable Garden Fence
4. Install Fence Posts
The posts form the backbone of your fence and need to be sturdy and securely placed. For a removable fence, consider using posts with a simple installation and removal mechanism.
- Dig Post Holes: Use a post hole digger to create holes for the posts. The depth of the holes should be about one-third of the post length.
- Place the Posts: Insert the posts into the holes, ensuring they are evenly spaced and level. For removable posts, use a socket or sleeve system that allows the posts to be easily removed.
- Secure the Posts: Fill the holes with concrete or compacted soil to stabilize the posts. Allow the concrete to set according to the manufacturer’s instructions.
5. Attach Panels
Once the posts are in place, you can attach the panels. For a removable fence, use fasteners that allow for easy attachment and removal.
- Install Brackets or Hooks: Attach brackets or hooks to the posts. These will hold the panels in place while allowing for easy removal.
- Attach Panels: Secure the panels to the brackets or hooks. Ensure they are aligned and level.
- Check Stability: Test the panels to ensure they are securely attached but can be removed when needed.
Maintaining Your Removable Garden Fence
6. Regular Inspection
To ensure the longevity of your fence, conduct regular inspections.
- Check for Damage: Look for signs of wear, such as cracked posts or loose panels.
- Clean and Repair: Clean the fence periodically and make any necessary repairs to maintain its appearance and functionality.
7. Seasonal Adjustments
One of the advantages of a removable fence is the ability to adjust it according to seasonal needs.
- Adjust for Expansion: If you expand your garden, you can easily adjust the fence layout to accommodate new plantings.
- Seasonal Protection: Use the removable fence to provide extra protection during harsh weather or to shield specific plants from pests.
8. Storage
When the fence is not in use, store the panels and posts in a dry, protected area.
- Clean Before Storage: Ensure all components are clean and dry before storing them.
- Organize Components: Store posts and panels in an organized manner to prevent damage and make reassembly easier.
Tips for Success
9. Consider Gate Placement
Incorporate gates into your design for easy access to your garden. Gates should be wide enough to accommodate tools and equipment and should be easy to open and close.
10. Use Quality Materials
Investing in high-quality materials will extend the life of your fence and reduce maintenance. Choose durable wood, rust-resistant metal, or UV-resistant PVC to ensure your fence withstands the elements.
11. Plan for Customization
A removable fence can be customized to fit various needs. Consider adding features such as decorative elements, plant trellises, or built-in storage for garden tools.
Conclusion
Creating a removable garden fence offers flexibility and practicality for managing your garden space. By carefully planning, choosing the right materials, and following the installation steps, you can build a fence that meets your needs and enhances your garden. Whether you’re protecting plants from pests, marking boundaries, or adjusting the layout seasonally, a removable fence provides a versatile solution that can be easily adapted to changing conditions.
Embrace the flexibility of a removable garden fence and enjoy the benefits of a well-protected and accessible garden space. With the right design and maintenance, your removable fence will serve as a valuable asset for years to come.

