
Introduction
Orchids are among the most popular houseplants, prized for their stunning blooms and exotic appearance. They can be a delightful addition to any home, bringing a touch of elegance and color. However, orchids can be somewhat finicky, and their care requires a bit more attention compared to other houseplants. A common concern for new orchid owners is what to do when the beautiful flowers fall off. This article will guide you through the essential steps to care for a new orchid and how to manage the plant after its blooms have faded.
Understanding Orchids: Basics and Common Varieties
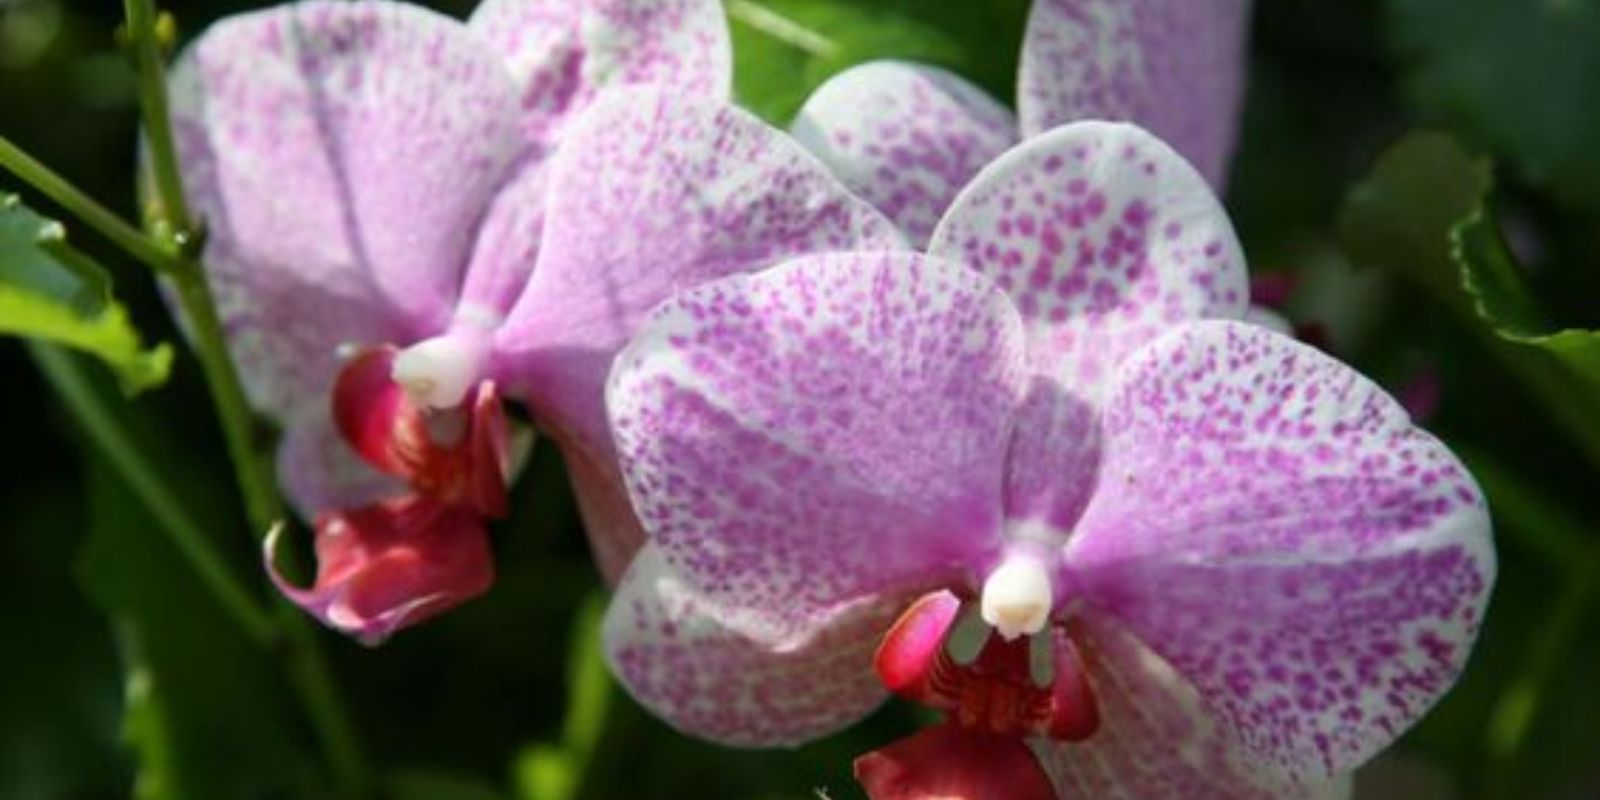
Before diving into care tips, it’s helpful to understand a bit about orchids. There are many different types of orchids, but some of the most common varieties for beginners include Phalaenopsis (moth orchids), Cattleya, and Dendrobium. Each variety has its own specific care requirements, but they generally share similar needs when it comes to light, water, humidity, and temperature.
Light Requirements
Orchids thrive in bright, indirect light. They naturally grow in tropical environments under the canopy of trees, where they receive filtered sunlight. Direct sunlight can be too harsh and cause leaf burn. A good spot for an orchid is near a north or east-facing window. If you only have a south or west-facing window, use sheer curtains to diffuse the light. If the leaves are dark green, your orchid may need more light; if they are yellowing, it might be getting too much light.
Watering and Humidity
One of the most critical aspects of orchid care is proper watering. Overwatering is a common mistake that can lead to root rot, a serious condition that can kill the plant. Orchids should be watered thoroughly but infrequently. The roots and potting medium should be allowed to dry out between waterings. Typically, watering once a week is sufficient, but this can vary depending on the climate and the specific needs of your orchid.
Orchids also appreciate higher humidity levels, similar to their native tropical environments. Maintaining humidity around 40-60% is ideal. You can achieve this by placing a humidity tray under the pot or by misting the plant occasionally. Be cautious not to over-mist, as too much moisture can also lead to fungal issues.
Temperature and Airflow
Orchids prefer moderate temperatures, typically between 65-75°F (18-24°C) during the day and a slightly cooler temperature at night. It’s essential to avoid placing orchids in areas with drafts or extreme temperature changes. Proper airflow is also important to prevent fungal diseases. If your home is well-ventilated, your orchid will benefit from the gentle circulation of air.
What to Do When the Blooms Fall Off
It’s common for new orchid owners to feel disappointed or concerned when their orchid’s blooms fall off. However, this is a natural part of the orchid’s life cycle, known as the dormancy period. Here’s what you should do when your orchid’s blooms fade:
1. Prune the Flower Spike
Once the flowers fall off, the first step is to prune the flower spike. Use sterilized scissors or a sharp knife to cut the spike just above a node (the small bumps on the spike) or all the way down to the base if the spike has turned brown. If the spike is still green, cutting just above a node can sometimes encourage a new shoot or “keiki” (baby plant) to grow, potentially leading to new flowers.
2. Adjust Watering and Feeding
During the dormancy period, orchids require less water and no fertilizer. Reduce the frequency of watering but do not let the roots dry out completely. Instead of weekly watering, you may switch to bi-weekly or monitor the moisture level in the potting medium to determine when it needs water. Stop fertilizing the plant during this period, as excess nutrients can stress the orchid when it’s not actively growing.
3. Check and Repot if Necessary
Orchids typically need repotting every one to two years, depending on the growth rate and the breakdown of the potting medium. The best time to repot is after the blooming period, during the dormancy phase. Choose a well-draining orchid mix, usually composed of bark, perlite, and charcoal, to ensure proper aeration around the roots. If you notice that the roots are crowded, mushy, or the potting medium has decomposed, it’s time to repot.
4. Maintain Optimal Conditions
Continue to provide the orchid with optimal light, temperature, and humidity conditions even when it’s not blooming. This period of rest is crucial for the plant to recover and prepare for the next blooming cycle. Keep an eye on the leaves and roots for any signs of distress, such as yellowing leaves or shriveled roots, and adjust care accordingly.
5. Be Patient
Patience is key when caring for orchids. It can take several months for an orchid to rebloom, depending on the species and growing conditions. During this time, continue providing the necessary care and avoid moving the plant frequently, as stability helps orchids thrive.
Conclusion
Caring for a new orchid can be a rewarding experience, especially when you see it bloom year after year. While it’s normal for the blooms to fall off, understanding how to care for your orchid during its dormancy period is crucial for its overall health and future blooming. By following the proper steps—adjusting watering and feeding, pruning the spike, and maintaining optimal growing conditions—you can ensure that your orchid remains healthy and ready for its next flowering cycle. Remember, the key to successful orchid care is consistency and patience. With time and attention, your orchid will continue to flourish and bring beauty to your home. Share your orchid care experiences and tips with fellow plant enthusiasts, and enjoy the journey of growing these exquisite plants!