
Orchids are stunning and exotic plants that many gardeners adore. However, they can also be temperamental, leaving owners perplexed when their blooms fall off and leaves dry out. If your orchid seems to be on its last legs, don’t throw it away! With the right care and patience, you can revive your orchid and enjoy its gorgeous blooms once more.
This comprehensive guide will show you how to rescue a struggling orchid, from diagnosing the problem to implementing a step-by-step recovery process.
Understanding the Signs of a Struggling Orchid
To revive your orchid, you need to recognize the symptoms of distress and understand their causes:
- Dry, Wrinkled Leaves: Often caused by dehydration or exposure to too much sunlight.
- No Flowers: Orchids naturally go through dormant periods, but stress from improper care can delay blooming.
- Yellow or Black Roots: Overwatering or fungal infections can lead to root rot.
- Shriveled Pseudobulbs: Indicative of a lack of water or nutrient deficiency.
Identifying these symptoms will help you tailor your care routine to address the specific issues your orchid is facing.
Why Do Orchids Struggle?
There are several reasons your orchid might be struggling:
- Overwatering: Orchids prefer a balance of moisture and air circulation around their roots. Too much water suffocates roots, leading to rot.
- Underwatering: While they dislike being soggy, orchids also need regular hydration to stay healthy.
- Improper Lighting: Orchids thrive in bright, indirect sunlight. Direct sun can scorch their leaves, while too little light hinders photosynthesis.
- Poor Potting Medium: Orchid roots need an airy medium like bark or sphagnum moss. Dense soil can trap water and suffocate roots.
- Neglect After Flowering: Orchids often go dormant after blooming, and owners sometimes assume they’ve died.
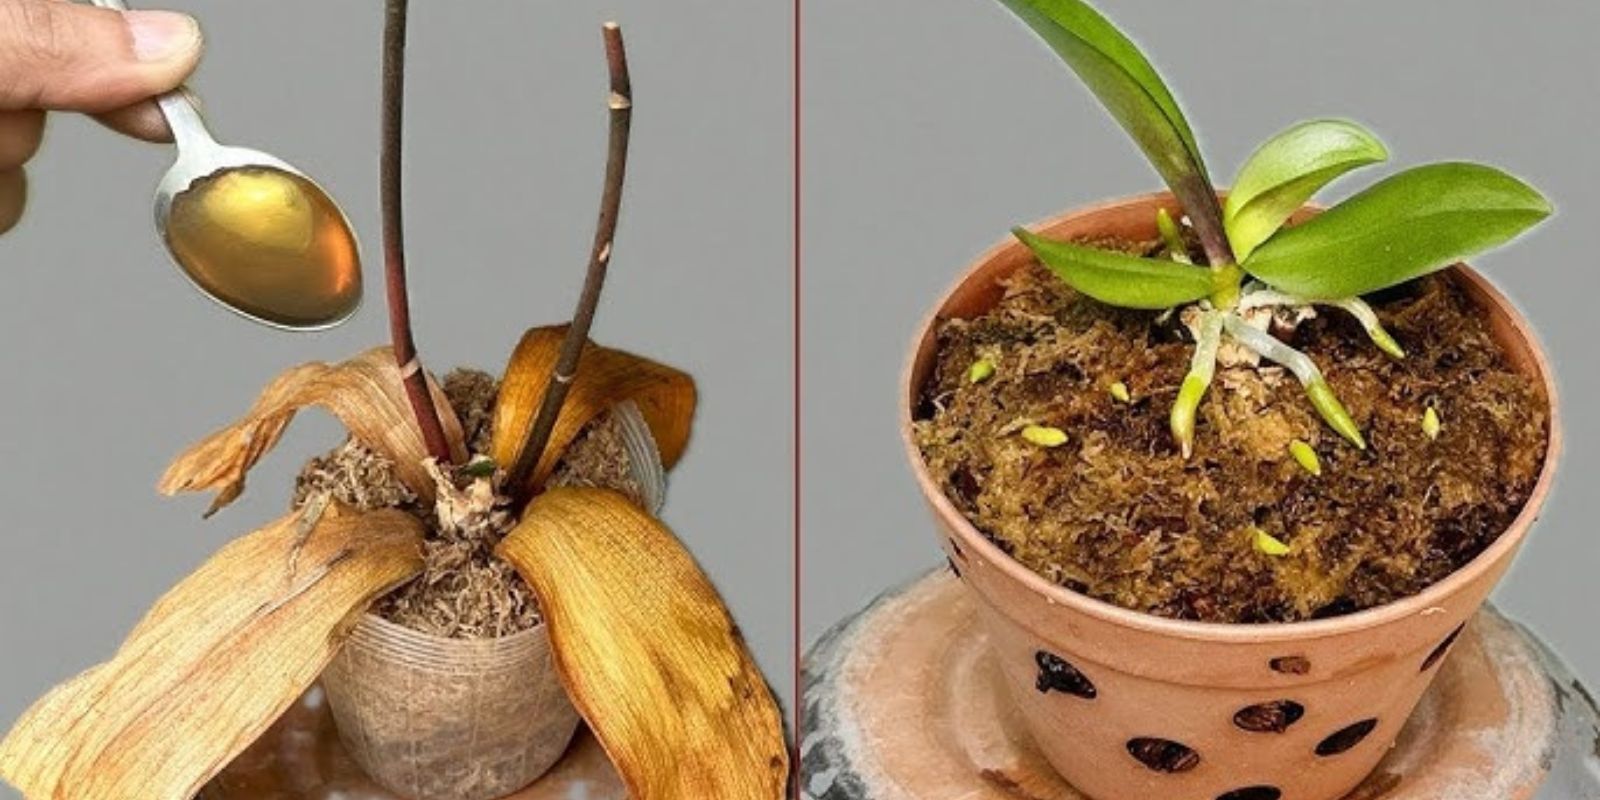
Step-by-Step Guide to Reviving Your Orchid
1. Assess the Orchid’s Health
The first step in saving your orchid is diagnosing the extent of the damage. Gently remove the plant from its pot and inspect the roots.
- Healthy Roots: Firm and green.
- Damaged Roots: Mushy, black, or brown and need to be removed.
2. Trim the Damaged Roots
Using sterilized scissors or pruning shears, cut away any unhealthy roots. Be careful not to damage the healthy ones, as they are vital for the plant’s recovery.
3. Hydrate the Orchid
Dehydration is a common cause of orchid distress. Rehydrate the plant by soaking the remaining healthy roots in lukewarm water for 10-15 minutes. This step helps revive the roots and prepares them for repotting.
4. Repot the Orchid
Repotting your orchid is essential, especially if the old potting medium is compacted or moldy. Follow these steps:
- Choose a clean pot with drainage holes.
- Use a fresh orchid potting mix, such as bark, sphagnum moss, or a combination. Avoid standard soil, as it retains too much moisture.
- Place the orchid in the pot, ensuring the roots are spread out, and gently fill in the gaps with the new medium.
5. Provide the Right Environment
Creating the ideal conditions for your orchid is crucial for its recovery:
- Lighting: Place your orchid in a spot with bright, indirect sunlight. North or east-facing windows are ideal.
- Humidity: Orchids thrive in humidity levels of 50-70%. Increase humidity by misting the plant daily or placing a humidity tray nearby.
- Watering: Water sparingly, only when the potting medium feels dry. Typically, orchids need watering every 7-10 days.
- Temperature: Orchids prefer temperatures between 65-75°F during the day and slightly cooler at night.
6. Support Growth with Fertilizer
Once your orchid begins to recover, use a balanced orchid fertilizer (20-20-20) every two weeks during the growing season. Dilute the fertilizer to half the recommended strength to avoid overfeeding.
Be Patient and Monitor Progress
Orchids are slow-growing plants, and it may take weeks or even months to see significant improvement. However, signs of recovery include:
- New Leaf Growth: Look for small green shoots at the base of the plant.
- Firm Roots: Healthy roots will feel plump and appear green or silvery-white.
- Stronger Leaves: Wrinkled leaves will start to regain their structure and sheen.
Common Mistakes to Avoid
- Overwatering: It’s better to underwater slightly than to let your orchid sit in water, which can lead to root rot.
- Ignoring Dormancy: Orchids naturally rest after blooming. This phase is essential for their recovery and future growth.
- Poor Air Circulation: Stagnant air can encourage fungal infections. Ensure your orchid has good ventilation.
- Repotting Too Often: Orchids only need repotting every 1-2 years unless the potting medium has deteriorated.
Why Revive an Orchid?
Reviving an orchid is more than just saving a plant; it’s a fulfilling gardening challenge. Orchids are resilient and, with proper care, can reward you with beautiful blooms year after year. Moreover, saving your orchid reduces waste and adds a sense of accomplishment to your gardening journey.
Conclusion
Saving a struggling orchid is a rewarding process that requires patience, care, and a little know-how. By following these steps, you can transform a dying plant into a thriving one that graces your home with its beauty once again. Remember, every orchid has the potential to bounce back if given the right care.
✨ Have you revived an orchid before? Share your experience or drop a 🌸 below to show some love for these gorgeous plants! ✨
#OrchidCare #SaveYourPlants #HouseplantRescue #GardeningHacks #PlantLovers #BringPlantsBackToLife #DIYGardening