
Orchids are one of the most popular and elegant plants, admired for their stunning blooms and vibrant colors. While they are often perceived as difficult to grow and propagate, there is a simple, cost-effective, and natural way to propagate orchids using a banana peel. This method is not only sustainable but also highly effective, making it perfect for beginner and seasoned gardeners alike. In this article, we’ll explore the step-by-step process of using a banana peel to propagate your orchids and keep them thriving.
Why Use a Banana Peel for Orchids?
Banana peels are packed with essential nutrients that promote plant growth. They are rich in potassium, phosphorus, calcium, and other micronutrients, all of which are vital for healthy root and flower development. When used to propagate orchids, banana peels act as a natural rooting hormone, providing the necessary environment for root stimulation and overall growth.
The method is also eco-friendly, allowing you to recycle kitchen waste and avoid chemical-based rooting agents that may harm the environment. Plus, it’s simple, inexpensive, and yields great results when done correctly.
What You’ll Need
Before starting, gather the following materials:
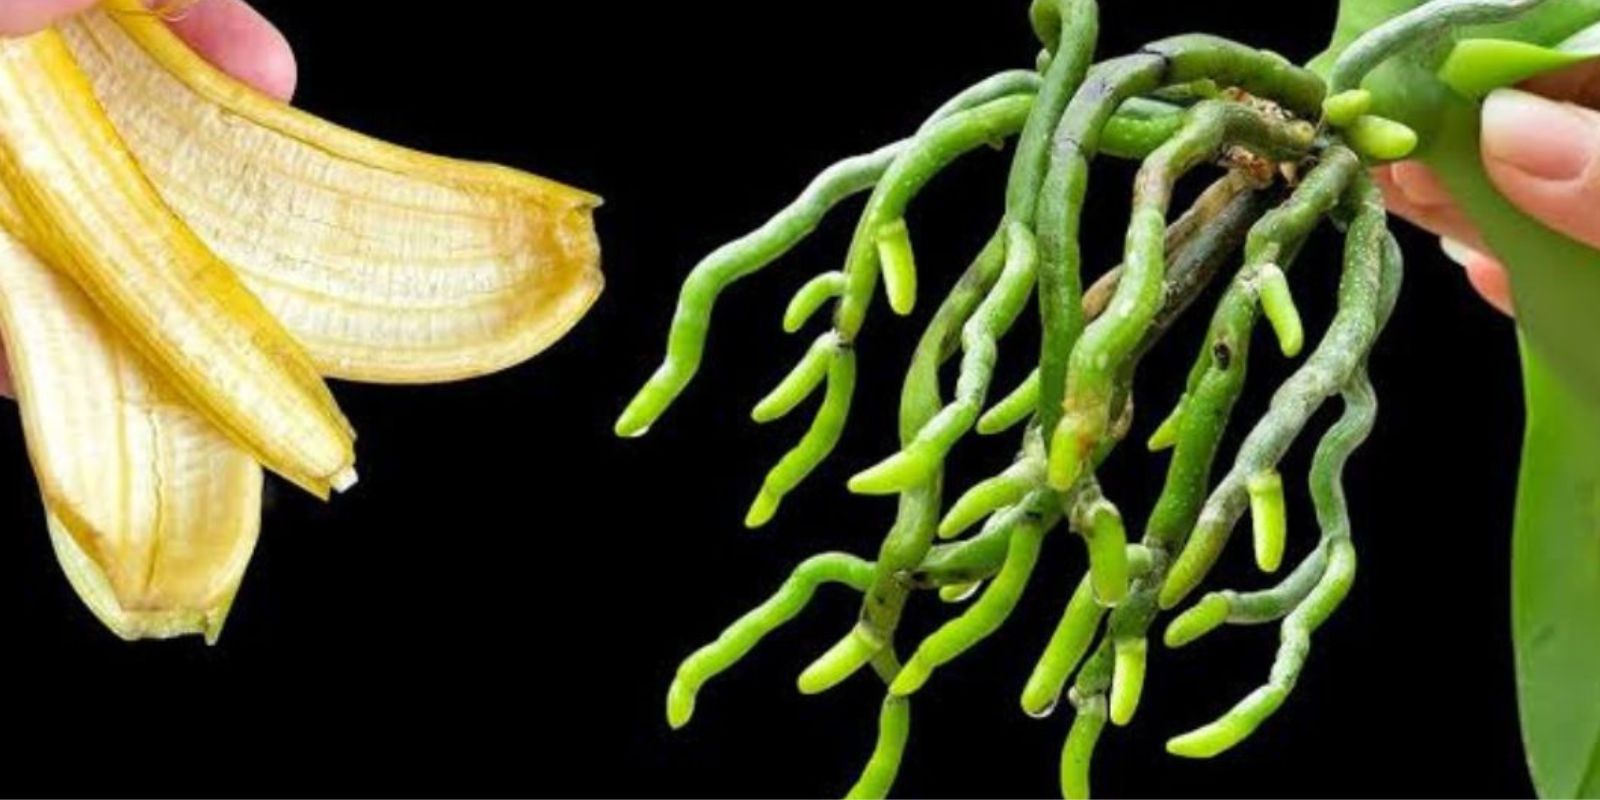
- A fresh banana peel (preferably organic, to avoid pesticides)
- Clean water
- A blender or a container for soaking
- A sterilized knife or scissors
- A healthy orchid cutting with aerial roots
- A small pot with orchid potting mix (bark-based for proper drainage)
Step-by-Step Guide to Propagate an Orchid with a Banana Peel
Step 1: Prepare the Banana Peel Mixture
- Take a fresh banana peel and cut it into small pieces using a sterilized knife.
- Place the pieces in a blender and add about one cup of water. Blend the mixture until smooth to create a nutrient-rich liquid.
- If you don’t have a blender, you can soak the banana peel pieces in water for 24 hours to extract the nutrients.
Step 2: Prepare the Orchid Cutting
- Select a healthy orchid cutting with at least one aerial root. Aerial roots are essential as they absorb the nutrients from the banana solution more effectively.
- Sterilize your scissors or knife to ensure no infections are transferred to the cutting.
- Trim the cutting just below a node, ensuring it is clean and free of any damaged parts.
Step 3: Soak the Orchid Cutting
- Place the orchid cutting into the banana peel solution.
- Allow it to soak for 1-2 hours. This step helps the cutting absorb the potassium, phosphorus, and other nutrients, which stimulate root growth and strengthen the plant.
Step 4: Plant the Orchid Cutting
- After soaking, prepare a small pot with orchid-specific potting mix. This mix typically includes bark and perlite to ensure proper drainage.
- Gently place the cutting into the pot, ensuring the aerial roots are in contact with the mix. Avoid burying the cutting too deep, as orchids thrive best when their roots are slightly exposed.
Step 5: Provide Proper Care
- Place the potted orchid in a location with bright, indirect light. Avoid direct sunlight, which can scorch the plant.
- Maintain moderate humidity levels, as orchids prefer a slightly humid environment. You can use a humidity tray or mist the plant lightly.
- Water the orchid sparingly, allowing the potting mix to dry out slightly between waterings. Overwatering can lead to root rot, which is a common issue with orchids.
Benefits of Using a Banana Peel for Propagation
- Rich in Nutrients:
Banana peels are a natural source of potassium, phosphorus, and calcium, all of which are essential for root development and flower production. - Eco-Friendly:
Using banana peels recycles kitchen waste and reduces reliance on chemical fertilizers or rooting hormones. - Cost-Effective:
This method is inexpensive and requires minimal resources, making it accessible for gardeners of all levels. - Improved Root Health:
The nutrients in banana peels help strengthen the orchid’s roots, promoting faster and healthier growth.
Common Mistakes to Avoid
While this method is simple, there are a few common mistakes to watch out for:
- Using Overripe or Moldy Peels:
Always use fresh banana peels to avoid introducing mold or harmful bacteria to the plant. - Overwatering the Orchid:
Orchids require well-draining soil and should not be overwatered. Always check the moisture level of the potting mix before watering. - Exposing to Direct Sunlight:
Orchids thrive in bright, indirect light. Direct sunlight can scorch the leaves and stunt growth. - Skipping Sterilization:
Sterilize all tools used to cut or handle the orchid cutting to prevent infections or diseases.
Tips for Long-Term Orchid Care
Once your orchid cutting has established roots and begun to grow, follow these tips for year-round health and blooming:
- Regular Feeding:
Feed your orchid with a diluted orchid fertilizer every 2-3 weeks during the growing season. - Prune Wisely:
Remove dead or yellowing leaves and spent flower spikes to encourage new growth. - Repot Periodically:
Orchids should be repotted every 1-2 years to refresh the potting mix and accommodate root growth. - Monitor Pests and Diseases:
Check for pests such as spider mites or mealybugs and treat them immediately with an organic insecticide.
Conclusion
Propagating orchids using a banana peel is a simple, eco-friendly method that combines sustainability with effective gardening. By utilizing kitchen waste, you can provide your orchids with the nutrients they need to grow and thrive without relying on chemical fertilizers. Whether you’re a seasoned orchid enthusiast or a gardening beginner, this method is worth trying.
Have you tried propagating orchids before? Share your experience or tips in the comments below! Let’s inspire others to grow their gardens naturally. 🌿✨