
Orchids are a captivating addition to any indoor garden, but for many, the excitement of their first bloom is quickly replaced with frustration when those vibrant flowers fade and fail to return. The good news? Orchids are not as tricky as they seem. With the right care and a bit of know-how, you can coax your orchid to rebloom time and time again. Here’s a comprehensive guide to mastering the art of orchid reblooming.
Understanding Your Orchid
Before diving into the secrets, it’s essential to understand the basic needs of your orchid. The most common houseplant variety is the Phalaenopsis (Moth Orchid), known for its elegant, long-lasting blooms. Orchids are epiphytic plants, meaning they naturally grow on tree branches in the wild. This unique characteristic influences their care, particularly their need for air circulation and well-draining potting media.
1. Choose the Perfect Location
Orchids thrive in bright, indirect sunlight. Too much direct sunlight can scorch their delicate leaves, while too little light can hinder flowering. A location near an east-facing window is ideal. If your home lacks sufficient natural light, consider using a grow light to supplement their needs.
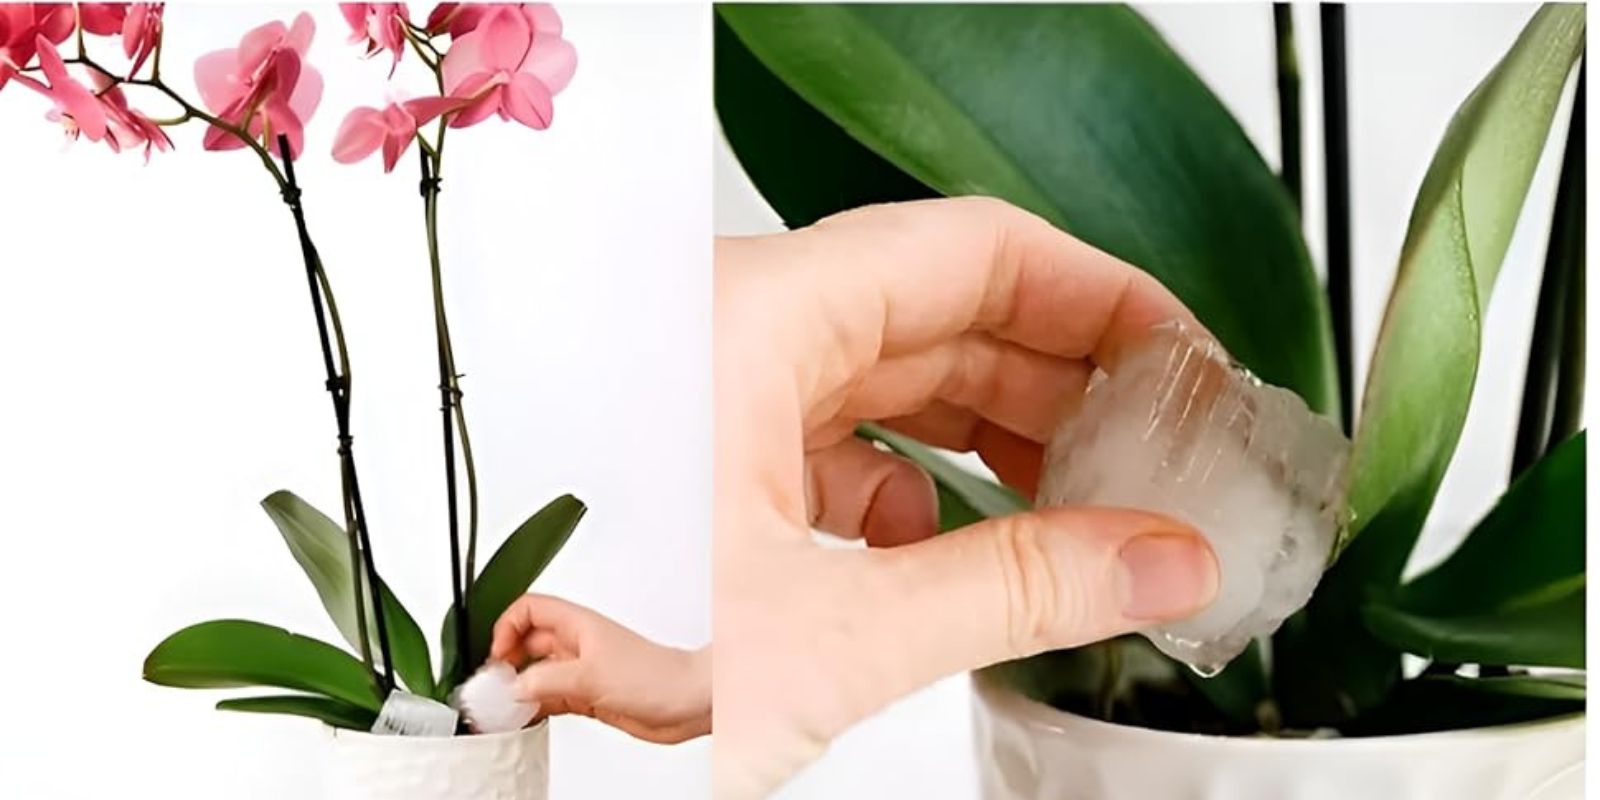
2. Master the Art of Watering
Overwatering is the number one killer of orchids. These plants prefer to dry out slightly between waterings. A good rule of thumb is to water once a week, or when the potting mix feels dry to the touch. Always use room-temperature water and avoid letting the roots sit in standing water, as this can lead to root rot.
3. Maintain the Right Temperature
Orchids are sensitive to temperature changes, which play a significant role in their blooming cycle. Most orchids prefer daytime temperatures of 70–80°F and nighttime temperatures of 60–65°F. To encourage reblooming, a 10°F drop in nighttime temperature is crucial. This temperature shift mimics their natural environment and signals the plant to produce flowers.
4. Boost Humidity Levels
Orchids flourish in environments with 50–70% humidity. If your home is on the drier side, you can create a more humid environment by:
- Placing the orchid pot on a tray filled with water and pebbles.
- Grouping orchids together to create a microclimate.
- Using a room humidifier.
Keep in mind that good air circulation is just as important as humidity, so ensure your orchid isn’t in a stuffy or overly damp location.
5. Fertilize Regularly but Sparingly
Orchids are light feeders, but they do benefit from regular fertilization during their growth phases. Use a balanced orchid fertilizer, such as 20-20-20, diluted to half-strength, and feed your plant every two weeks. Once the orchid begins to spike or bloom, reduce feeding to once a month.
6. Trim the Flower Spike Strategically
After your orchid’s blooms fade, don’t rush to cut off the spike entirely. Instead, assess the health of the spike:
- If it’s still green, trim just above the second or third node (bump on the spike). This may encourage new flower buds.
- If the spike has turned brown and dried out, trim it at the base. This allows the plant to focus energy on producing a new spike.
7. Repot When Necessary
Over time, orchid potting media breaks down, reducing air circulation to the roots. Repot your orchid every 1–2 years, preferably after it has finished blooming. Use a well-draining orchid mix, typically made of bark, perlite, and sphagnum moss. Choose a pot with good drainage holes to prevent waterlogging.
8. Stress for Success
Orchids sometimes need a little stress to trigger blooming. If your orchid is healthy but stubbornly refuses to rebloom, try:
- Slightly reducing water frequency for a few weeks.
- Exposing the plant to cooler nighttime temperatures.
- Changing its location to give it a fresh perspective.
However, don’t overdo it—too much stress can harm the plant.
9. Keep the Leaves Clean
Dust and grime can block sunlight and reduce photosynthesis. Wipe the leaves gently with a damp cloth every couple of weeks. Avoid using any leaf shine products, as these can clog the pores of the leaves.
10. Be Patient and Consistent
Orchids work on their own timeline, which means patience is key. Some orchids rebloom within a few months, while others may take a year or more. Consistency in care is what matters most. Stick to a routine, and your efforts will eventually be rewarded with beautiful blooms.
Bonus Tips for Long-Term Success
- Monitor for Pests: Orchids can occasionally attract pests like mealybugs and spider mites. Regularly inspect your plant and treat infestations promptly with insecticidal soap or neem oil.
- Rotate Your Orchid: Gently rotate the pot every few weeks to ensure even light exposure and prevent lopsided growth.
- Learn from Your Plant: Every orchid is unique, so pay attention to how yours responds to different conditions and adjust your care routine accordingly.
Why Orchids Are Worth the Effort
Despite their reputation for being fussy, orchids are incredibly rewarding plants. Their blooms can last for months, adding elegance and beauty to your home. With the right care and a little patience, you’ll not only enjoy their flowers repeatedly but also develop a deeper appreciation for the artistry of nature.
Final Thoughts
Mastering the art of making orchids rebloom is a journey of trial and error, but it’s one that any gardener can succeed in. These 10 secrets, when applied consistently, will transform your orchid care routine and keep your plants thriving for years to come.
💬 Have you tried any of these tips? Share your experiences or ask questions in the comments below—we’d love to hear from you!