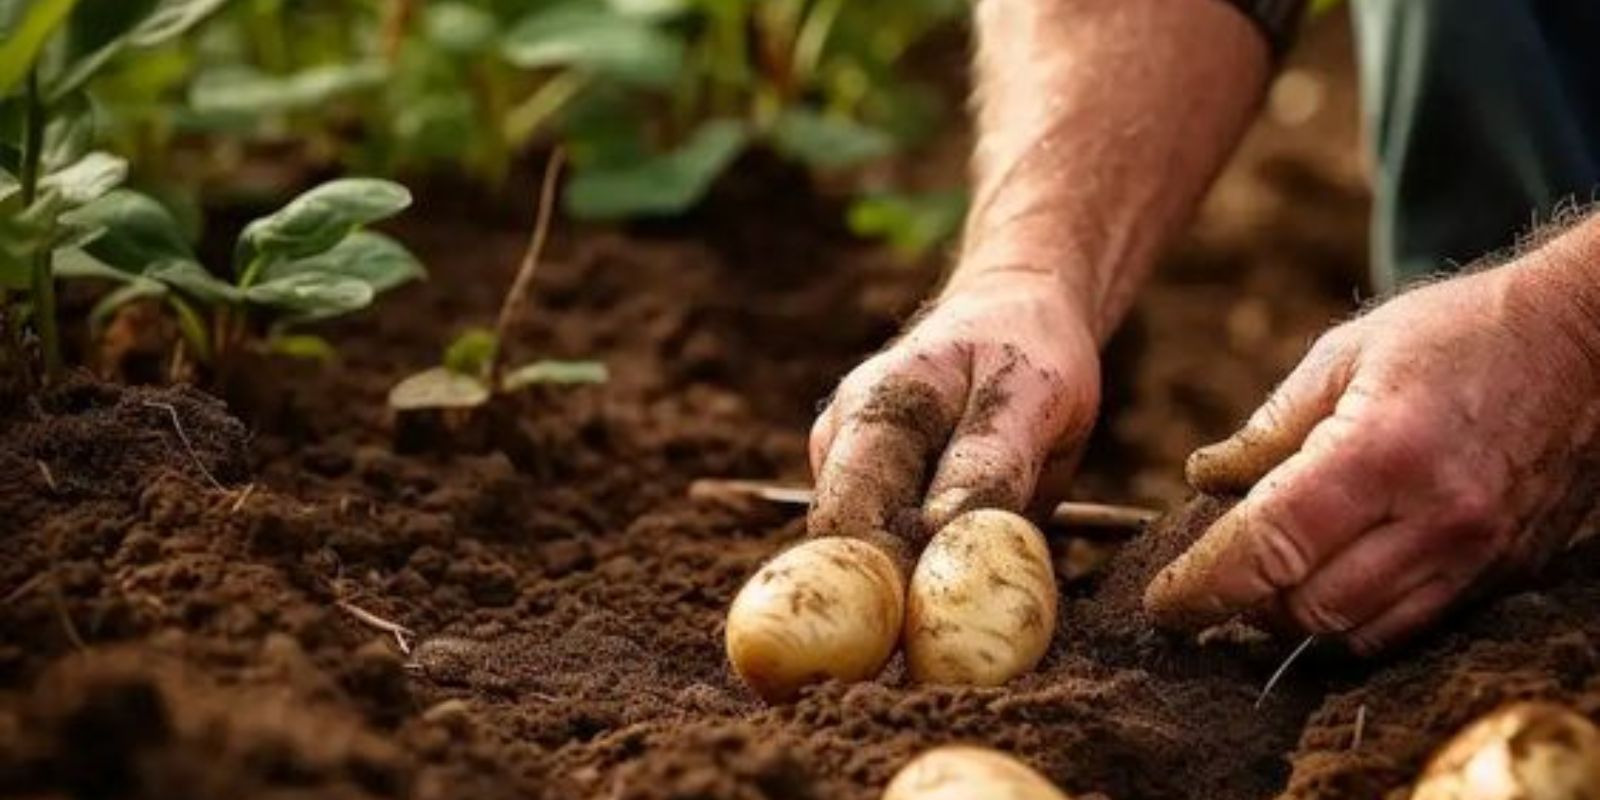
Potatoes are a staple in many gardens due to their versatility and ease of growth. One key technique for maximizing your potato yield is cutting the seed potatoes before planting. This method, while simple, can significantly impact the health and productivity of your potato crop. This article will explore why cutting potatoes before planting is beneficial and provide a comprehensive guide on how to plant them for a successful harvest.
Introduction
Growing potatoes is a rewarding experience for both novice and experienced gardeners. Potatoes are not only delicious but also relatively easy to grow, making them a popular choice for home gardens. However, to ensure a bountiful harvest, it’s crucial to use the correct planting techniques. One of the most important steps is cutting the seed potatoes before planting. This practice helps to promote healthier plants and a more abundant crop. In this article, we’ll delve into the reasons behind this method and offer a step-by-step guide to planting potatoes effectively.
Why Cut Potatoes Before Planting?
1. Maximizes Seed Efficiency
Cutting seed potatoes into smaller pieces allows you to utilize more of your seed stock. Instead of planting whole potatoes, which might be wasteful, you can divide them into several pieces, each with at least one eye (bud). This way, you can grow more plants from the same amount of seed, making your planting more efficient and cost-effective.
2. Promotes Stronger Growth
When you cut potatoes, each piece with an eye has the potential to grow into a new plant. The eyes are the growing points from which the plant’s shoots and roots will develop. By cutting and planting these pieces, you encourage each section to produce a strong, healthy plant. This can lead to better yields and a more robust crop overall.
3. Reduces the Risk of Disease
Cutting the potatoes and allowing the cut surfaces to dry before planting helps reduce the risk of disease. Freshly cut potato surfaces are more susceptible to rot and infection. Allowing the cut pieces to dry for a day or two forms a protective layer over the cut surfaces, which can help prevent fungal infections and other diseases that might affect your plants.
How to Cut and Plant Potatoes
1. Choose Quality Seed Potatoes
Start with healthy seed potatoes, which can be purchased from garden centers or online. Look for potatoes that are firm, free of blemishes, and have several eyes. Avoid using supermarket potatoes, as they may be treated with sprout inhibitors or carry diseases.
2. Prepare the Potatoes
- Cutting: Use a sharp knife to cut the seed potatoes into chunks, ensuring that each piece has at least one or two eyes. The pieces should be about the size of a golf ball. If you’re using larger potatoes, you can cut them into smaller chunks.
- Drying: Place the cut pieces on a tray or newspaper in a cool, dry place for 1-2 days. Allowing the cut surfaces to dry helps form a callous, which reduces the risk of rot and disease.
3. Prepare the Planting Site
- Location: Choose a sunny spot in your garden with well-drained soil. Potatoes thrive in full sunlight and require at least 6 hours of direct sunlight each day.
- Soil Preparation: Loosen the soil to a depth of 12-15 inches and incorporate compost or well-rotted manure. Potatoes prefer loose, sandy loam or loamy soil that drains well. Avoid planting in clay or waterlogged soil.
4. Planting the Potatoes
- Depth and Spacing: Dig trenches or holes about 4-6 inches deep. Space the potato pieces 12 inches apart within the trench. Ensure the eyes are facing up to encourage proper sprouting.
- Planting: Place the potato pieces in the trench and cover them with soil. Water the area thoroughly to help settle the soil around the potatoes.
5. Care and Maintenance
- Watering: Keep the soil consistently moist, but not waterlogged. Potatoes need regular watering to develop properly, especially during dry spells.
- Hilling: As the potato plants grow, mound soil around the base of the plants. This process, known as hilling, helps to prevent the tubers from being exposed to sunlight, which can cause them to turn green and become toxic.
- Weeding: Keep the area around the potato plants free of weeds, which can compete for nutrients and water. Use mulch to help suppress weeds and retain soil moisture.
6. Harvesting
- Timing: Potatoes are typically ready to harvest when the plants begin to die back, and the foliage turns yellow. This usually occurs about 2-4 weeks after the plants flower.
- Harvesting: Gently dig up the potatoes using a garden fork or spade, being careful not to damage the tubers. Allow the harvested potatoes to cure in a cool, dry place for a week before storing them.
Conclusion
Cutting seed potatoes before planting is a simple yet effective technique that can enhance your potato harvest. By maximizing seed efficiency, promoting stronger plant growth, and reducing the risk of disease, this method helps ensure a more successful crop. Following the outlined steps for cutting, preparing, planting, and caring for your potatoes will lead to a bountiful harvest that you can enjoy throughout the year.
Share your potato planting experiences or ask questions below—let’s grow our knowledge and our gardens together! 🥔🌱

