
A sloping garden might seem like a challenge, but it can be an incredible opportunity to create a visually stunning and functional outdoor space. Whether you’re looking to plant a lush garden, set up a seating area, or make it safe for children to play, leveling your sloped garden can dramatically improve its usability. This article will guide you through every step of the process, from assessing the slope to planting on your newly leveled surface.
Understanding the Benefits of Leveling a Sloping Garden
A sloping garden can cause water drainage issues, make mowing difficult, and limit the potential for using the space effectively. Leveling your garden:
- Improves Accessibility: Allows you to use the area more effectively, from gardening to relaxing.
- Enhances Aesthetics: Creates a polished and organized look with terraces or flat lawns.
- Prevents Erosion: Stabilizes the soil to avoid erosion caused by water runoff.
- Adds Property Value: A well-maintained garden can significantly increase your home’s value.
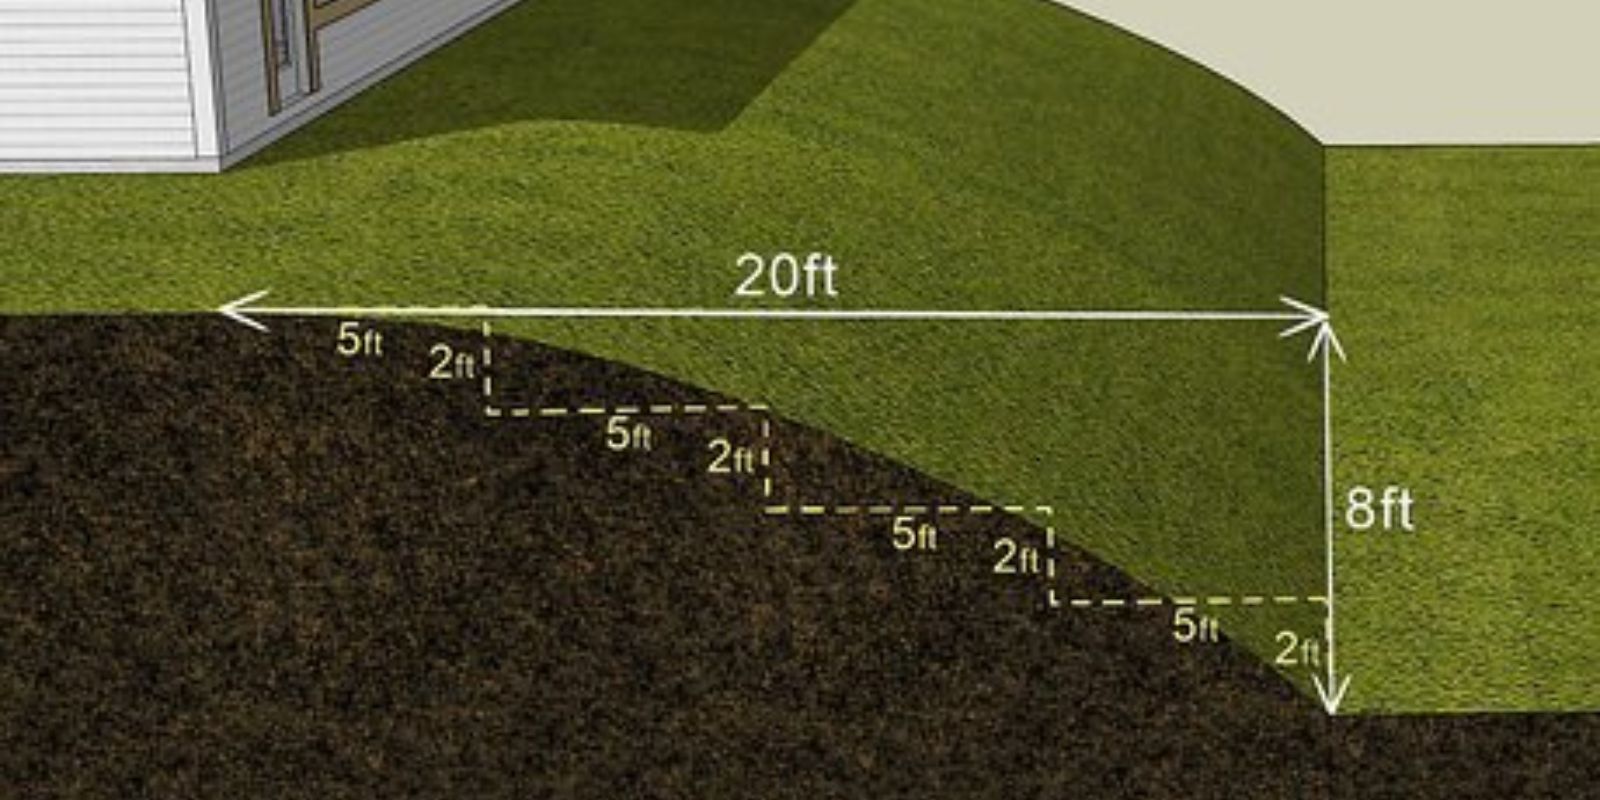
Step 1: Assessing the Slope
The first step is to understand the degree and nature of your garden’s slope.
- Measure the Gradient: Use stakes, a string, and a level to measure the angle of the slope. This helps determine how much leveling is needed.
- Mark the Sections: Divide the garden into manageable sections using stakes and strings. Visualizing the layout makes planning easier.
Step 2: Planning Your Layout
Decide how you want to use the space and what type of leveling will suit your needs.
- Terraced Design: Ideal for steep slopes, terraces create multiple levels supported by retaining walls. These levels can be used for planting or pathways.
- Smooth Slope: For gentle gradients, you can even out the land without creating terraces. This works well for lawns or open spaces.
- Retaining Walls: Use retaining walls to create stability and separation between levels. Choose materials like wood, stone, or concrete.
Step 3: Clearing the Area
Remove obstacles that may interfere with the leveling process.
- Clear Vegetation: Uproot plants, grass, and weeds. Save any plants you wish to replant later.
- Remove Rocks and Debris: Clear stones, branches, and other debris to prepare for leveling.
Step 4: Building Retaining Structures
If you plan to create terraces or significant levels, retaining structures are crucial.
- Material Selection: Use treated timber, natural stone, or concrete blocks for durability.
- Install Retaining Walls: Dig a trench for the base, lay the foundation material, and stack the retaining wall material securely. Ensure each layer is level to prevent future instability.
Step 5: Filling and Compacting Soil
Once the retaining walls or slope outlines are ready, fill the area with soil.
- Add Soil in Layers: Begin filling the lower areas with soil. Add one layer at a time, compacting each to avoid settling.
- Use Topsoil for the Final Layer: For planting areas, finish with nutrient-rich topsoil. This ensures plants can thrive.
Step 6: Installing Proper Drainage
Poor drainage can lead to waterlogging or soil erosion. Plan a system to manage water effectively.
- Gravel Drainage: Add a layer of gravel before soil to aid water flow.
- Drainage Pipes: For steeper slopes, consider installing drainage pipes to channel water away from the garden.
- Rain Gardens: Incorporate areas designed to catch and absorb excess water naturally.
Step 7: Replanting and Beautifying
Now that your garden is leveled, it’s time to add life and character to your space.
- Plant Grass or Ground Cover: For slopes, consider plants like creeping thyme or clover to stabilize the soil. For terraces, plant grass or lay sod.
- Design Planting Beds: Use the levels to create distinct planting zones for vegetables, flowers, or shrubs.
- Decorative Features: Add mulch, stones, or paving to define pathways and enhance the overall look.
Pro Tips for Maintaining Your Leveled Garden
- Regular Maintenance: Check for signs of erosion or settling, especially after heavy rain.
- Reinforce Retaining Walls: Periodically inspect walls for cracks or instability.
- Add Organic Matter: Improve soil quality with compost or organic fertilizers to ensure healthy plant growth.
Creative Ideas for Leveled Gardens
- Vertical Gardens: Use retaining walls for vertical planters, adding dimension and utility.
- Outdoor Living Spaces: Create a patio or seating area on a flat surface for relaxation or dining.
- Theme Gardens: Design terraces as individual zones with unique themes, like a herb garden, butterfly garden, or water feature.
Challenges and Solutions
- High Costs: Leveling and retaining walls can be expensive. Opt for DIY solutions with recycled materials to save money.
- Drainage Problems: Address drainage issues early with proper planning and materials.
- Time-Intensive: Large projects require patience and effort. Work in stages to make it manageable.
Conclusion
Transforming a sloping garden into a leveled paradise may seem daunting, but the rewards are worth the effort. By following these steps, you can unlock the full potential of your outdoor space, making it functional, beautiful, and sustainable.
💬 Have you tried leveling your garden? Share your experiences or questions below, and let’s get your dream garden started!