
In a world increasingly concerned about sustainability, finding innovative ways to repurpose everyday items is essential. One of the most impactful ways to do this is through gardening and crafting projects that not only enhance your home but also reduce waste. One such project is transforming old plastic bottles into beautiful planters. This DIY endeavor is perfect for those looking to add a touch of greenery to their living space while contributing positively to the environment.
In this article, we will explore the benefits of recycling plastic bottles, the steps to create stunning bottle planters, and the joy that comes from nurturing your own plants. Let’s dig in!
The Benefits of Repurposing Plastic Bottles
Before diving into the step-by-step process, let’s discuss why repurposing plastic bottles is a great idea:
1. Environmental Impact
Plastic pollution is a significant issue worldwide, with millions of plastic bottles ending up in landfills and oceans each year. By recycling and repurposing plastic bottles, we can help reduce this environmental burden. Using old bottles for planters not only keeps them out of landfills but also reduces the demand for new plastic products.
2. Cost-Effective Gardening
Starting a garden can be expensive, especially if you invest in pots, soil, and plants. Using plastic bottles as planters allows you to save money while creating unique and personalized gardening containers. It’s a budget-friendly option for beginner gardeners or anyone looking to expand their plant collection.
3. Creative Expression
Transforming plastic bottles into planters is a fun and creative project that allows you to express your personality. You can paint, decorate, and customize your planters in countless ways, turning your gardening space into a vibrant and artistic expression of yourself.
4. Stress Relief and Mental Well-Being
Gardening has been shown to reduce stress and improve mental health. Engaging in hands-on activities like crafting planters and caring for plants can boost your mood and provide a sense of accomplishment. Creating a beautiful environment filled with greenery can also enhance your overall well-being.
Getting Started: Materials You’ll Need
To embark on your journey of creating beautiful bottle planters, gather the following materials:
1. Plastic Bottles
Any size plastic bottle will work, from small water bottles to large soda bottles. The size you choose will depend on the type of plants you wish to grow.
2. Scissors or a Utility Knife
You’ll need a sharp pair of scissors or a utility knife to cut the bottles. Be cautious when using sharp tools, and ensure you have a stable surface to work on.
3. Drainage Materials
To prevent overwatering and root rot, you’ll need drainage materials like small stones, gravel, or even old coffee grounds.
4. Potting Soil
Purchase high-quality potting soil suitable for the plants you want to grow. If you’re planting herbs or flowers, ensure the soil is well-draining.
5. Plants or Seeds
Choose your favorite plants or seeds to populate your new planters. Consider selecting small plants like succulents, herbs, or flowers that thrive in container gardening.
6. Decorative Supplies (Optional)
If you want to personalize your planters, gather paints, markers, twine, stickers, or any other decorative items that inspire you.
Step-by-Step Guide to Creating Plastic Bottle Planters
Now that you have your materials ready, follow these simple steps to transform your plastic bottles into stunning planters:
Step 1: Prepare Your Plastic Bottles
Start by cleaning your plastic bottles thoroughly. Remove any labels and residue, ensuring they are free from any contaminants. Rinse them with water and let them dry completely.
Step 2: Cut the Bottles
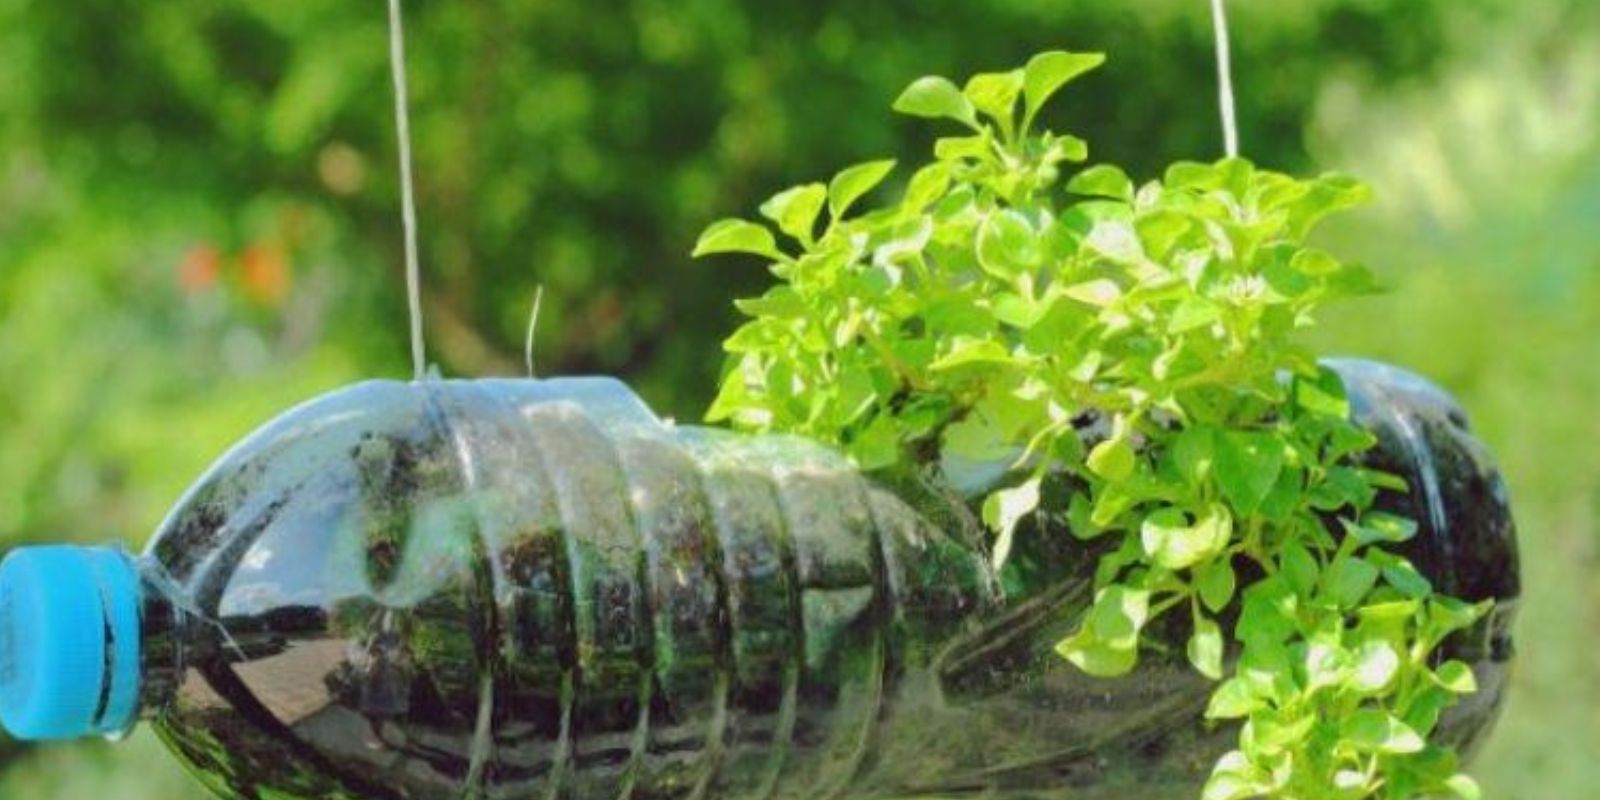
Using your scissors or utility knife, carefully cut the plastic bottles in half. You can choose to create a traditional planter by using the bottom half, or you can create a hanging planter using the top half. For hanging planters, make sure to create holes for drainage and attach twine or string to hang them.
Step 3: Add Drainage
To ensure proper drainage, add a layer of small stones or gravel to the bottom of your planter. This step is crucial, as it prevents water from pooling at the bottom and causing root rot.
Step 4: Customize Your Planters
Here comes the fun part! If you want to personalize your planters, use paints or markers to decorate them. You can create beautiful patterns, write inspirational quotes, or even draw designs that reflect your personality. If you prefer a more natural look, you can leave the bottles as they are or wrap them with twine for a rustic touch.
Step 5: Fill with Potting Soil
Once your planters are decorated, fill them with potting soil. Leave enough space at the top for your plants. Use a trowel or your hands to gently pack the soil down, ensuring it is firm but not too compacted.
Step 6: Plant Your Greens
Now it’s time to add your chosen plants or seeds. If you’re using seedlings, carefully remove them from their original containers and place them into the soil. For seeds, follow the instructions on the seed packet for planting depth. Cover the seeds with soil and gently water them.
Step 7: Water and Care for Your Planters
After planting, give your new planters a good watering to help settle the soil around the roots. Ensure the water drains properly through the bottom. Place your planters in a location with adequate sunlight and monitor their moisture levels regularly.
Step 8: Enjoy Your Greenery!
As your plants grow, you’ll be able to enjoy the fruits of your labor. Caring for your plants will bring you joy and a sense of accomplishment, while the beautiful planters will enhance your living space.
Additional Tips for Success
- Choose the Right Plants: Consider the light and temperature requirements of your plants. Some plants thrive in full sun, while others prefer shade. Make sure to select plants that will flourish in your chosen location.
- Experiment with Different Sizes: Don’t be afraid to use various bottle sizes and shapes. Combining different planters can create a visually appealing display in your garden or home.
- Consider Herbs: If you’re a cooking enthusiast, consider growing herbs in your bottle planters. Basil, parsley, and mint are excellent options that can be easily snipped for culinary use.
- Monitor Growth: Keep an eye on your plants and adjust care as needed. Pruning, repotting, or fertilizing may be necessary as they grow.
- Get Creative: Think outside the box when it comes to decorating your planters. You can use fabric, lace, or even mosaic tiles to create a unique design.
The Joy of Gardening with Repurposed Planters
Transforming plastic bottles into beautiful planters is not only an enjoyable and creative project, but it also aligns with eco-friendly principles. As you nurture your plants and watch them thrive, you’ll find joy in the process and a sense of fulfillment in contributing to a sustainable lifestyle.
Engaging in this type of gardening project is a wonderful way to involve family and friends, making it a fun activity for all ages. Encourage children to get involved and teach them about the importance of recycling and caring for plants.
Conclusion
In a world where waste is prevalent, repurposing plastic bottles into beautiful planters is a step toward sustainability. This DIY project not only allows you to showcase your creativity but also provides an opportunity to nurture plants and enhance your living space.
So, gather your materials, roll up your sleeves, and start transforming those plastic bottles into stunning planters today. Enjoy the process, connect with nature, and embrace the beauty of gardening!
Let’s get planting! 🌱✨ #DIYPlanter #EcoFriendly #GardeningIdeas #Upcycle #PlantLovers #SustainableLiving #HomeDecor