
Vanilla is one of the most sought-after and beloved flavors in the world, used in everything from baking to perfumes. But did you know that you can grow your own vanilla at home? Although cultivating vanilla orchids may seem like a complex and exotic task, with patience and the right conditions, it’s possible to grow this beautiful and fragrant plant yourself. In this guide, we’ll take you through everything you need to know about growing vanilla from scratch, from planting to harvesting your own vanilla beans.
Introduction to Growing Vanilla
Vanilla is derived from the beans of the vanilla orchid (Vanilla planifolia), which is native to Mexico. The orchid plant itself is a climbing vine, requiring a support system to grow properly. Despite being a tropical plant, growing vanilla in non-tropical climates is possible with the right care and environment.
Vanilla orchids are quite different from most other houseplants. They require specific humidity, temperature, and sunlight levels to thrive. Additionally, they bloom only once a year, and their flowers last just one day. The process of pollination is also tricky and often requires manual intervention. However, with dedication, you can enjoy growing your own vanilla beans right in your own garden or indoors.
1. Choosing the Right Vanilla Orchid
The first step in growing vanilla is selecting the right plant. The most common species used for commercial vanilla production is Vanilla planifolia. This is the variety you’ll want to look for when starting your own vanilla-growing journey.
- Sourcing Vanilla Plants: You can purchase young vanilla orchids from reputable nurseries, either online or locally. If you’re in a suitable climate (zones 10-12), you may be able to plant them outdoors, but in cooler climates, it’s best to grow them indoors.
- Age and Size: When purchasing your vanilla orchid, make sure it’s young but mature enough to establish roots. Vanilla orchids can take 2 to 3 years before they start producing flowers and beans, so be prepared for a bit of a wait.
2. Creating the Right Environment for Vanilla Orchids
Vanilla orchids are native to the humid, warm climates of Mexico and the tropics. To grow them successfully, you need to replicate these conditions.
Temperature
Vanilla thrives in temperatures ranging from 75°F to 85°F (24°C to 29°C). These temperatures are ideal for both growing and flowering. Too much fluctuation or cold temperatures can stunt growth and prevent flowering.
Humidity
Vanilla orchids need high humidity to grow successfully. The humidity should be around 60% to 80%. If you live in a dry climate, you can increase humidity by placing a humidifier nearby, regularly misting the plant, or using a humidity tray beneath the plant.
Light
Vanilla orchids need bright, indirect light. Direct sunlight can scorch the leaves and cause the plant to dry out. If you’re growing vanilla indoors, a bright windowsill or a location with filtered sunlight is ideal.
Air Circulation
Good air circulation is essential to prevent mold and mildew growth. Ensure that the plant has adequate airflow around it, but avoid placing it in a drafty area.
3. Planting Vanilla Orchids
Planting vanilla orchids requires a sturdy support structure, as they are vines. Here’s how to get started:
Potting Mix
Vanilla orchids require well-draining soil to grow properly. A mix of orchid bark, perlite, and sphagnum moss is ideal for these plants. You can purchase a specialized orchid mix or make your own by combining these ingredients. This mix will ensure that the plant’s roots do not become waterlogged.
Container
Choose a container that is large enough for the plant to grow in but not too big. Vanilla orchids don’t like to be too root-bound, but they also don’t thrive in pots that are too large. Ensure the pot has drainage holes to prevent water from accumulating at the bottom.
Support Structure
Since vanilla is a climbing vine, you need to provide some sort of structure for it to grow on. You can use a trellis, bamboo stakes, or a sturdy wooden pole to support the plant. As the vine grows, you’ll need to guide it onto the structure to encourage upward growth. Make sure the support is tall enough for the vine to reach its full height, which can be up to 30 feet (9 meters) in ideal conditions.
Planting Depth
Place your vanilla orchid in the pot with the roots spread out gently. Fill in the pot with the orchid mix around the roots and water lightly. Be sure not to bury the stem too deep—let the plant’s root system sit just below the surface.
4. Caring for Your Vanilla Orchid
Once your vanilla orchid is planted, it’s time to give it the care it needs to thrive.
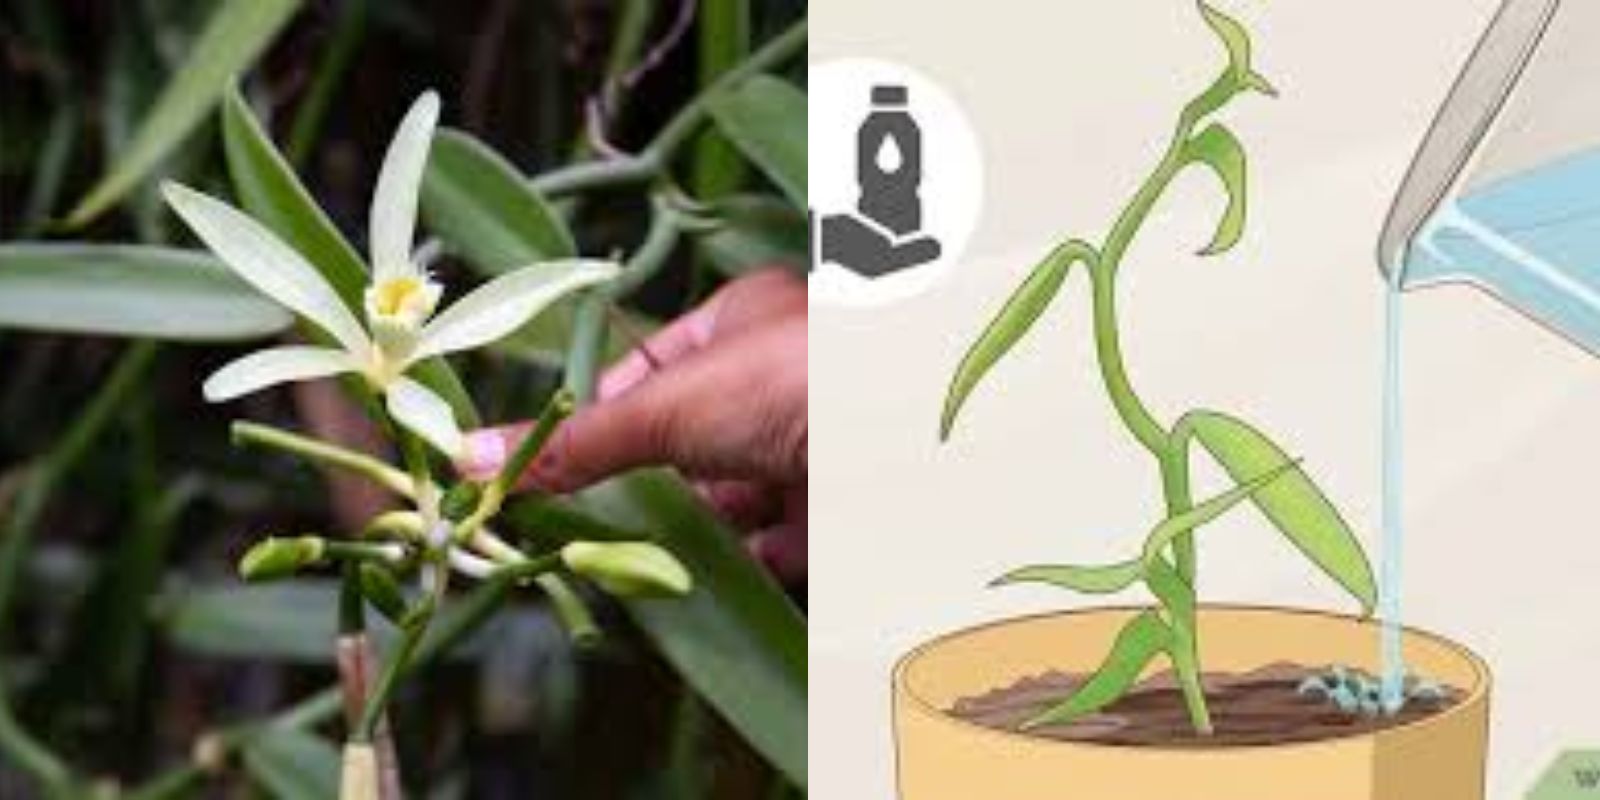
Watering
Vanilla orchids require regular watering, but they don’t like to be soaked. Water the plant thoroughly when the top inch of the soil feels dry. Be sure to allow excess water to drain from the bottom of the pot, as waterlogged soil can lead to root rot.
Fertilizing
Vanilla orchids are not heavy feeders but do benefit from occasional fertilization. Use a balanced, water-soluble orchid fertilizer once a month during the growing season (spring and summer). During the dormant period in fall and winter, reduce fertilization or stop altogether.
Pruning
Pruning is essential for keeping the vanilla orchid healthy and helping it grow into a strong vine. Regularly cut back any dead or damaged growth and guide the vines onto the support structure. You can also trim the vines to encourage branching and denser growth.
5. Pollinating Vanilla Orchids
Pollination is one of the trickiest aspects of growing vanilla. Vanilla flowers bloom once a year, typically in the summer, and each flower only lasts for 24 hours. In nature, vanilla orchids are pollinated by specific species of bees and hummingbirds. However, in the absence of these pollinators, you’ll need to hand-pollinate your vanilla flowers.
Hand Pollination Process
- Look for the flower’s natural pollination window: This occurs in the morning when the flower is freshly opened.
- Use a fine tool, such as a small brush or a toothpick, to gently lift the flap of the flower and expose the male and female parts.
- Transfer pollen from the male part (anther) to the female part (stigma) by gently moving the pollen from one to the other.
- Repeat this process for each flower.
Successful pollination results in the formation of a vanilla bean, which typically takes around 9 months to mature.
6. Harvesting Vanilla Beans
Once your vanilla beans have matured (they will start turning yellow), it’s time to harvest them. The beans are ready to be harvested when they are plump and slightly soft to the touch.
Curing Vanilla Beans
After harvesting the beans, they need to be cured to develop their characteristic flavor and fragrance. The curing process is intensive and involves the following steps:
- Blanching: Immerse the beans in hot water (around 140°F or 60°C) for a few minutes to kill the enzymes and start the curing process.
- Sweating: Wrap the beans in a clean cloth and place them in a warm, dark place for 2-3 days.
- Drying: After sweating, hang the beans in a cool, dry place to fully dry out. This process takes several weeks.
- Conditioning: Once dried, store the beans in an airtight container for 2-3 months to allow the flavors to develop fully.
Conclusion
Growing vanilla at home is a challenging but incredibly rewarding process. With patience, the right environment, and careful attention, you can cultivate your own vanilla orchids and eventually harvest your very own vanilla beans. Whether you’re a beginner gardener or an experienced plant enthusiast, growing vanilla is a unique and exciting adventure.
Though it may take a few years to enjoy the fruits of your labor, the process of nurturing these beautiful orchids, pollinating their delicate flowers, and harvesting your own beans will make every moment worth it. Happy growing!