
Introduction:
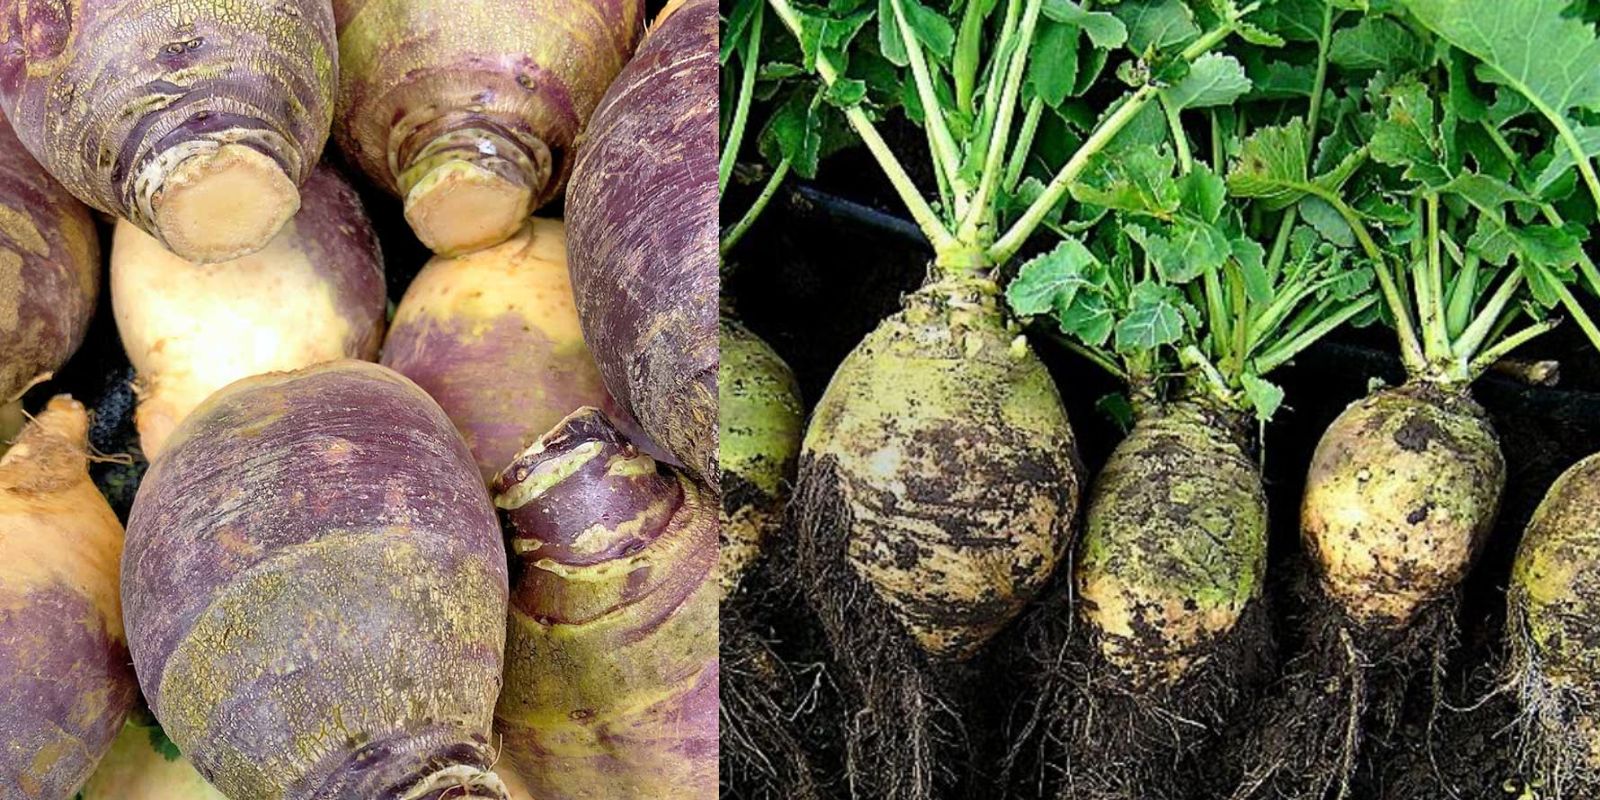
Rutabagas, also known as “Swedes” or “Swedish turnips,” are an underrated root vegetable that thrive in cool weather, making them the perfect addition to your fall garden. Known for their mild, slightly sweet flavor, rutabagas can be used in a variety of dishes like soups, stews, and roasts, or even mashed as a substitute for potatoes. They’re packed with nutrients, including vitamins C and B6, potassium, and fiber, making them a great addition to any diet. The best part? They’re relatively easy to grow, even for novice gardeners, and can be stored for months after harvest, ensuring you have fresh produce throughout the winter.
In this article, we’ll walk you through the steps of growing, caring for, and harvesting rutabagas to ensure you have a bountiful crop this fall.
1. Choose the Right Planting Time
Rutabagas are a cool-weather crop that take about 90 days to mature, so timing is crucial. They grow best when planted in late summer or early fall, depending on your climate, allowing them to mature as temperatures cool down. The goal is to time planting so they reach maturity before the first hard frost. Ideally, seeds should be planted about 90 to 100 days before your area’s average first frost date. In colder climates, this means planting in late July or early August. In more temperate climates, you can push planting to mid-August or early September.
Since rutabagas take longer to mature than other root crops like turnips, planting them too late can result in small, underdeveloped roots. If you start them early, they will have plenty of time to grow large and flavorful.
2. Prepare the Soil
Rutabagas prefer well-drained, loose soil that is rich in organic matter. They thrive in soil with a pH between 5.5 and 7.0, so it’s essential to test your soil beforehand. If the soil is too acidic, adding lime will help bring it into the ideal range. Loose soil allows rutabagas to form large, healthy roots, while compact or clay-heavy soils can lead to misshapen or stunted growth.
To prepare your soil, work in compost or well-rotted manure several weeks before planting. This will improve the soil’s fertility and structure, providing the rutabagas with the nutrients they need for strong growth. Organic matter also helps retain moisture, which is key to growing healthy root crops.
3. Sow the Seeds
Once your soil is prepared and the temperature is right, it’s time to sow your rutabaga seeds. Rutabagas can be directly sown into the garden, as they don’t transplant well due to their deep taproots. Sow the seeds about ½ inch deep and 2-3 inches apart in rows that are spaced 18 inches apart. This spacing allows the plants to have enough room to grow without competing for resources.
After sowing, gently firm the soil over the seeds and water them lightly. Rutabagas need consistent moisture to germinate, so make sure the soil stays evenly moist until the seeds sprout, which should take about 7-10 days.
4. Water Regularly
Rutabagas require consistent moisture, especially during the early stages of growth and as the roots begin to develop. The key is to keep the soil evenly moist but not waterlogged. Too much water can cause the roots to rot, while too little water will lead to tough, woody roots. Aim to provide about 1 inch of water per week, either through rainfall or irrigation.
As the plants grow, you can gradually reduce watering, but never let the soil dry out completely. Mulching around the plants with straw or shredded leaves can help retain moisture and keep the soil cool, which is especially important in warmer climates.
5. Thin the Seedlings
Once your rutabaga seedlings have grown to about 3-4 inches tall, it’s time to thin them out. This step is essential for giving the remaining plants enough space to develop large, healthy roots. Thin the plants so that they are spaced 6-8 inches apart. Crowded plants will compete for nutrients, water, and sunlight, leading to smaller roots.
Thinning is easy to do – simply snip the excess seedlings at ground level with scissors rather than pulling them out to avoid disturbing the roots of nearby plants. The thinned seedlings can even be used in salads or as a garnish, adding a mild, peppery flavor to your meals.
6. Fertilize as Needed
Rutabagas are fairly light feeders, but they do benefit from an occasional boost of nutrients. Before planting, the addition of compost or well-rotted manure should provide most of the nutrients they need. However, if your soil is lacking in nutrients, you can apply a balanced fertilizer (such as a 10-10-10 formula) about halfway through the growing season.
Be cautious not to over-fertilize, especially with nitrogen, as this can result in lush, leafy growth at the expense of root development. A light application of fertilizer when the plants are about 4-6 weeks old should be enough to encourage steady growth.
7. Mulch to Retain Moisture and Control Weeds
Applying mulch around your rutabaga plants is an effective way to retain moisture, control weeds, and regulate soil temperature. Mulch helps keep the soil cool during warm days and prevents it from drying out too quickly. Organic mulches, like straw, shredded leaves, or grass clippings, are ideal because they break down over time, adding nutrients to the soil.
Mulching also helps prevent weeds from competing with your rutabagas for water and nutrients. Keeping the area weed-free is crucial, especially during the early stages of growth when the seedlings are still small and vulnerable.
8. Monitor for Pests and Diseases
Rutabagas are relatively hardy, but they can still be affected by pests and diseases. Common pests include flea beetles, aphids, and cabbage root maggots, all of which can damage the leaves or roots. To protect your plants, consider using row covers to keep pests at bay or applying organic insecticides like neem oil.
Rutabagas are also prone to fungal diseases like clubroot, which affects the roots and causes stunted growth. To prevent disease, practice crop rotation and avoid planting rutabagas in the same spot for at least three years. Proper soil drainage and spacing can also help reduce the risk of fungal issues.
9. Harvesting Rutabagas
Rutabagas are ready for harvest when they reach 3-5 inches in diameter, which typically occurs about 90 days after planting. The best time to harvest is after a few light frosts, as the cold temperatures help sweeten the flavor of the roots. To harvest, simply loosen the soil around the root and pull it up by the greens.
Once harvested, rutabagas can be stored for several months in a cool, dry place, such as a root cellar or basement. They can also be stored in the refrigerator for a few weeks.
10. Enjoy Your Rutabaga Harvest
Rutabagas are incredibly versatile in the kitchen. You can roast them, mash them, add them to soups and stews, or even use them raw in salads. Their slightly sweet, earthy flavor pairs well with a variety of herbs and spices, making them a fantastic addition to your fall and winter meals.
Conclusion:
Growing rutabagas is a rewarding experience that yields a nutritious and delicious crop perfect for fall cooking. With a little planning, care, and attention, you can enjoy a bountiful harvest of these cool-weather root vegetables. Whether you’re a seasoned gardener or a beginner, rutabagas are a great addition to your garden, offering a flavorful and healthy food source throughout the cooler months.
Engage with Us!
Have you grown rutabagas in your garden? Share your tips, tricks, and experiences with us in the comments! 🌱 #GrowRutabagas #FallHarvest #CoolWeatherGardening #RootVegetables #HomeGrown