
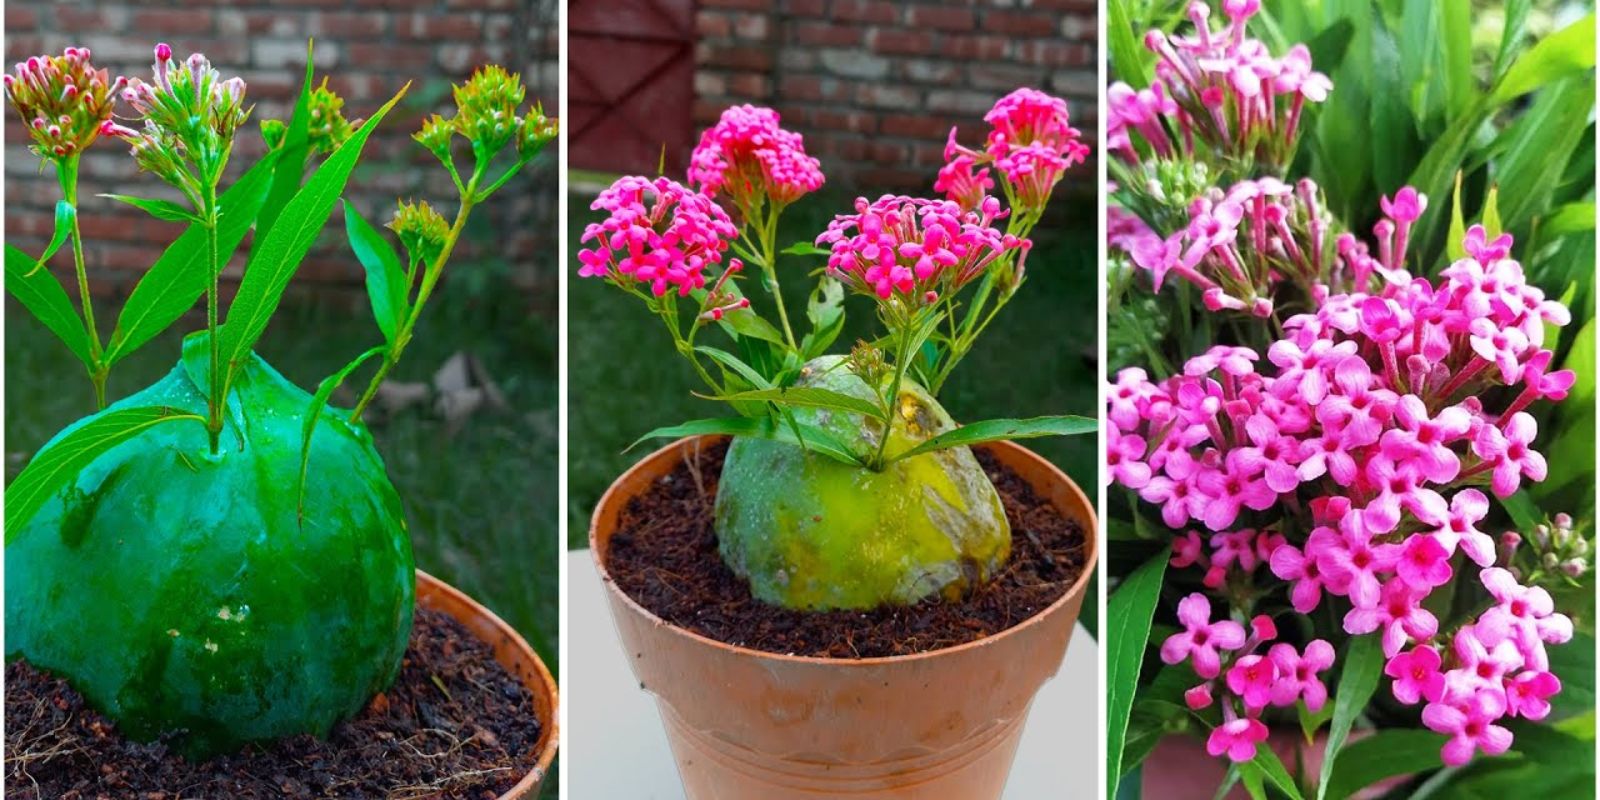
Panama Rose (also known as Rondeletia leucophylla or Panama Rose Bush) is a stunning tropical shrub known for its vibrant, fragrant flowers. It thrives in warm climates and is a favorite in gardens for its beautiful clusters of red or pink blooms. The good news for gardening enthusiasts is that Panama Rose can be easily propagated from cuttings, and the process is relatively simple with natural rooting techniques. Whether you’re looking to expand your garden or share the beauty of this flowering shrub with friends, growing Panama Rose from cuttings can be a rewarding experience.
In this article, we’ll walk you through a step-by-step guide on how to propagate Panama Rose from cuttings using natural rooting. We’ll cover the materials you’ll need, how to prepare and root your cuttings, and tips for ensuring success. Plus, we’ll explore why natural rooting is the best method for growing healthy, thriving Panama Rose plants.
Why Grow Panama Rose from Cuttings?
Growing Panama Rose from cuttings has several benefits over starting from seeds. It allows gardeners to bypass the slower germination process and get a jump start on growing a mature plant. Moreover, cuttings from a healthy parent plant will result in offspring that are genetically identical to the parent, ensuring that the new plants will have the same vibrant flowers, growth habits, and disease resistance.
Propagating Panama Rose from cuttings also saves money and time. While purchasing a new Panama Rose plant can be expensive, taking cuttings from a mature plant is a cost-effective way to expand your collection. Additionally, using natural rooting techniques eliminates the need for synthetic rooting hormones or other chemicals, making it an eco-friendly and sustainable gardening method.
Materials Needed for Rooting Panama Rose Cuttings
Before you start propagating Panama Rose, gather the following materials:
- Healthy Panama Rose Plant: The mother plant should be disease-free and have vibrant, strong growth. You’ll be taking cuttings from this plant to propagate new plants.
- Sharp Pruning Shears or Knife: Use sharp tools to make clean cuts that will encourage faster healing and better rooting.
- Water: Clean, room-temperature water for rooting the cuttings.
- Clear Glass Jar or Container: A transparent container allows you to monitor root development easily.
- Well-Draining Potting Soil: Once the cuttings have rooted, you will need good-quality potting soil for transplanting.
- Small Pots or Containers: For planting the rooted cuttings once they are ready to move into soil.
- Plastic Bag or Cloche (optional): For creating a humid environment to help the cuttings root more effectively.
Step-by-Step Guide to Growing Panama Rose Cuttings Using Natural Rooting
Now that you have the materials, let’s dive into the step-by-step process for propagating Panama Rose cuttings.
Step 1: Choose a Healthy Cutting
Start by selecting a healthy stem from the Panama Rose plant. The cutting should be about 4-6 inches long, ideally taken from a non-flowering stem. Avoid stems that show signs of disease, damage, or excessive blooming. The best cuttings come from young, vigorous growth. Choose a stem that has at least a few leaves on it, but not so many that it becomes overly top-heavy.
Step 2: Prepare the Cutting
Once you’ve selected a suitable stem, use your sharp pruning shears or knife to take the cutting. Make the cut just below a leaf node, as this is where roots are most likely to form. Trim off any excess leaves from the bottom half of the cutting, leaving just a few leaves at the top. This will help the cutting focus its energy on root development rather than maintaining foliage.
Next, cut the bottom of the cutting at a 45-degree angle to increase the surface area for rooting. This angled cut helps the cutting absorb water more effectively.
Step 3: Rooting in Water
Fill a clear glass jar or container with room-temperature water, ensuring there’s enough liquid to submerge the cut end of the Panama Rose cutting without drowning the leaves. Place the cutting in the jar, with the cut end submerged in water. It’s important that only the bottom portion of the cutting is in water, as the upper leaves should remain above the surface to avoid rot.
Place the jar in a bright, indirect light location. Avoid direct sunlight, as it can cause the cutting to overheat or dry out. Keep the water level consistent, adding more water if necessary. Every few days, change the water in the jar to ensure that it stays clean and oxygenated, which helps prevent any fungal growth or rot.
Over time, the cutting will begin to form roots. It typically takes about 2-3 weeks for the roots to develop. You’ll see tiny white roots growing from the bottom of the cutting. Once the roots are a few inches long and well-established, the cutting is ready for transplanting into soil.
Step 4: Prepare the Potting Soil
While the cutting is rooting in water, prepare a small pot or container with well-draining potting soil. Panama Rose thrives in soil that drains well, as it doesn’t like to sit in waterlogged conditions. You can use a standard potting mix and add perlite or sand to improve drainage.
Fill the pot with soil, leaving enough room at the top to accommodate the rooted Panama Rose cutting. Lightly water the soil to moisten it before transplanting the cutting.
Step 5: Transplant the Rooted Cutting
Once the cutting has developed a strong root system, carefully remove it from the water. Gently shake off any excess water from the roots, being careful not to damage them. Create a small hole in the center of the potting soil and place the rooted cutting in the hole. Make sure the roots are spread out and not tangled.
Fill in the soil around the cutting and gently press it down to secure the plant. Water the cutting well after transplanting to help it settle into the new environment. Be sure to water the plant regularly, keeping the soil moist but not soggy.
Step 6: Create a Humid Environment (Optional)
While Panama Rose is relatively easy to propagate, it can benefit from a humid environment during the rooting process. To increase humidity, you can place a plastic bag or a cloche over the cutting and pot. This will trap moisture and create a greenhouse-like effect, encouraging faster root growth. Just make sure to open the bag or cloche occasionally to allow for some airflow and prevent mold or mildew from forming.
Step 7: Care for Your New Panama Rose Plant
After transplanting, place your new Panama Rose plant in a bright location with indirect sunlight. During the first few weeks, it may take time for the cutting to adjust to its new environment. Be patient and avoid overwatering the plant. Once you notice new growth, it’s a sign that the plant has successfully established itself.
Tips for Success
- Patience: Rooting from cuttings takes time, and not every cutting will be successful. Be patient, and try multiple cuttings to increase your chances of success.
- Cleanliness: Always use clean tools when taking cuttings or working with the plant to avoid introducing diseases or fungi.
- Watering: Water the plant consistently, but be careful not to overwater. Panama Rose prefers soil that is moist but well-drained.
- Temperature: Panama Rose plants thrive in warm conditions, so make sure the cutting is placed in a warm environment to promote rooting.
Conclusion
Propagating Panama Rose from cuttings using natural rooting techniques is a simple and effective way to grow this beautiful tropical shrub. By following the steps outlined in this guide, you can easily propagate Panama Rose and expand your garden with minimal effort. Plus, this method is eco-friendly, eliminating the need for chemical rooting hormones and ensuring that you are nurturing your plants in a sustainable way.
With patience and proper care, your Panama Rose cutting will grow into a lush, vibrant plant that will add color and beauty to your garden for years to come. Happy gardening!