
Planting fall bulbs is an exciting way to ensure a colorful and vibrant spring garden. The thought of seeing your garden come to life with beautiful flowers like tulips, daffodils, and crocuses in the spring can be incredibly rewarding. However, for many gardeners, the process of planting these bulbs isn’t always as simple as it seems. There are a few essential tips and lessons that I wish I knew before planting fall bulbs, and in this article, I’ll share those with you.
Whether you’re a beginner or have some gardening experience, understanding the fundamentals of fall bulb planting is key to achieving the best results. This guide will take you through the steps, pitfalls to avoid, and tips that will set you up for success.
Why Plant Fall Bulbs?
Before we get into the nitty-gritty details, let’s first discuss why planting bulbs in the fall is so important. Fall planting allows bulbs to establish their roots in the soil before winter sets in. The cold temperatures of winter trigger bulbs to start their dormancy process, allowing them to store energy for the following spring. When the warmth of spring arrives, the bulbs will bloom in all their glory, giving you an early burst of color.
Some popular fall-planted bulbs include:
- Tulips
- Daffodils
- Crocuses
- Hyacinths
- Alliums
These flowers will be the first to bloom in your garden after the cold of winter, providing much-needed color and life.
Key Things to Know Before Planting Fall Bulbs
Now, let’s dive into the things I wish I knew before planting fall bulbs. These insights will help you avoid common mistakes and ensure that your bulbs thrive when spring arrives.
1. Choose the Right Bulbs for Your Climate
One of the most important things to consider before planting fall bulbs is selecting bulbs that are appropriate for your climate zone. Bulbs are not one-size-fits-all, and choosing the wrong ones can lead to poor growth or even failure to bloom.
Tip:
Always check the USDA Hardiness Zone Map to see which bulbs will do well in your area. Some bulbs, like daffodils and crocuses, are hardy in colder climates, while others, like tulips, may require colder winters to thrive.
Another key point is to look for bulbs that are known to be resistant to local pests and diseases. This will reduce the need for chemicals and make your gardening process more natural.
2. Timing is Everything
When it comes to planting fall bulbs, timing is crucial. Planting too early or too late can affect the bulb’s growth and blooming process.
Ideal Planting Time:
Plant your bulbs in late September to early November, before the first hard frost. This gives the bulbs enough time to root properly while the soil is still warm, which encourages healthy root growth. If you wait too long, the ground may freeze before the bulbs have had a chance to establish themselves.
However, don’t wait until winter. If the ground becomes too cold, the bulbs won’t be able to root properly and could die.
Tip:
Planting bulbs just before the first frost will give them a head start in their dormancy, but make sure the ground isn’t frozen when you plant them.
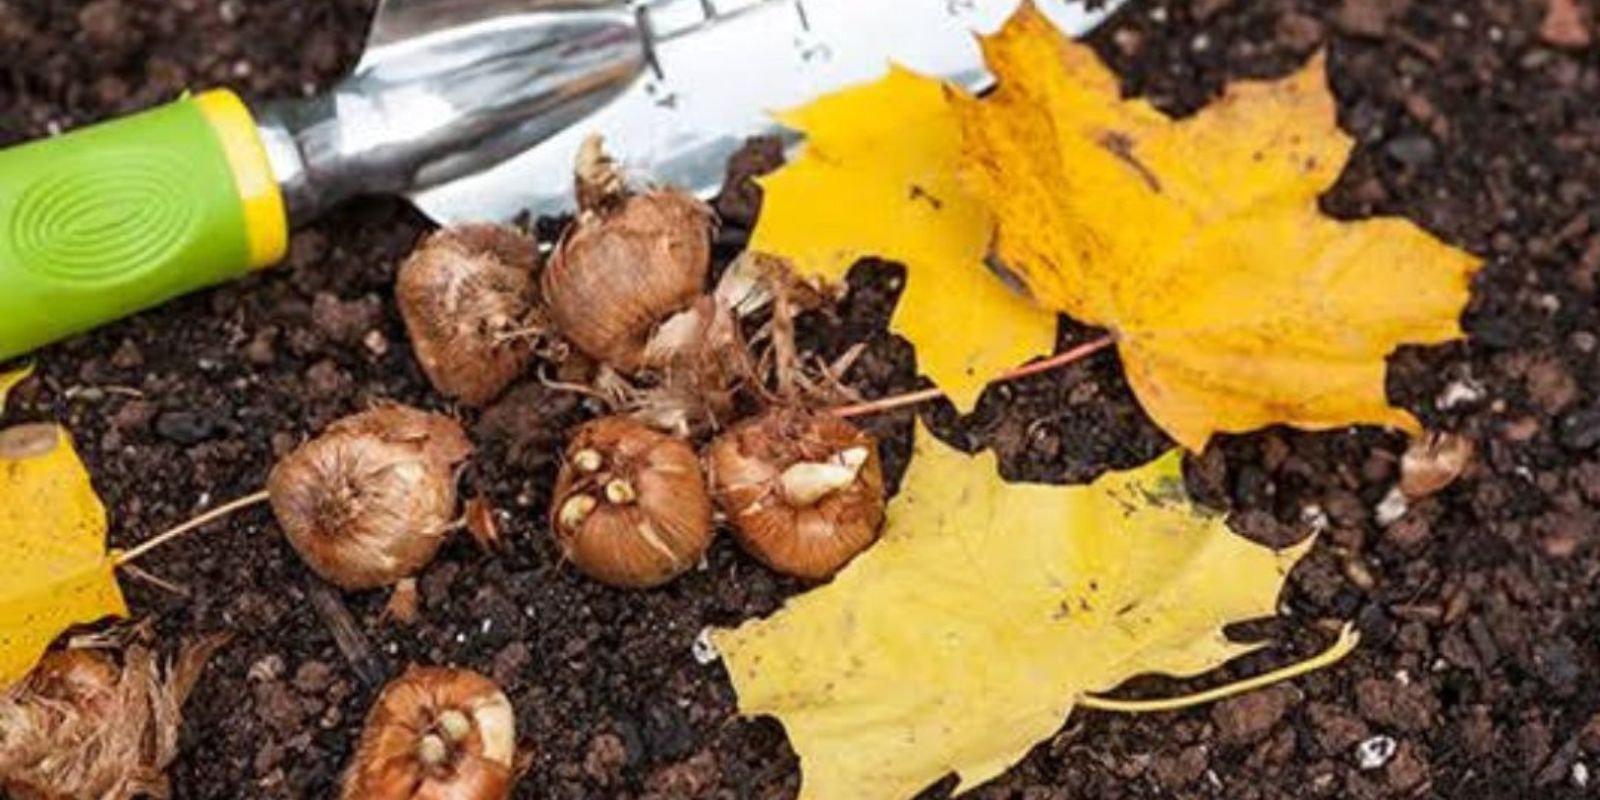
3. Plant at the Right Depth
One mistake many beginner gardeners make is not planting bulbs deep enough or planting them too shallow. The depth at which you plant your bulbs is important because it influences how well they will grow and flower in the spring.
General Rule for Depth:
A good rule of thumb is to plant bulbs at a depth that is about three times the height of the bulb. For example, a bulb that is 2 inches tall should be planted 6 inches deep. Different bulbs may require slightly different planting depths, so it’s important to read the instructions on your bulb packaging.
Tip:
If you plant bulbs too shallow, they may not have enough soil to support their roots, and they may not bloom properly. On the other hand, if you plant them too deep, they may struggle to break through the soil when it’s time to grow.
4. Soil Quality and Drainage Are Key
The quality of your soil and its drainage capabilities are just as important as the depth at which you plant your bulbs. Bulbs need well-drained soil to avoid rot and disease.
Tip:
If your soil is heavy and clay-like, consider amending it with compost or other organic matter to improve drainage. You can also plant bulbs in raised beds to ensure good drainage. Sandy or loamy soil is ideal for fall bulbs.
When planting, make sure the area has proper drainage, as stagnant water can cause bulbs to rot over the winter.
5. Don’t Over-Fertilize
It’s tempting to think that more fertilizer means better growth, but over-fertilizing can do more harm than good. Bulbs need nutrients, but they also need time to break down and establish themselves before they begin to bloom.
Tip:
A light application of a balanced, slow-release fertilizer when planting is all your bulbs need. Too much fertilizer can lead to weak or stunted growth.
You can also mix in some bone meal, which is a great source of phosphorus and encourages strong root development.
6. Mulch for Protection
Once you’ve planted your bulbs, it’s essential to mulch the area. Mulch helps to insulate the soil, keeping the temperature stable and protecting the bulbs from the cold. It also helps retain moisture, which is important for healthy root growth.
Tip:
Use a 2-3 inch layer of mulch, such as shredded leaves, straw, or wood chips, to cover the planting area. This will protect your bulbs and keep them safe through the winter months.
7. Water After Planting
While fall bulbs don’t require as much water as other plants, they still need some moisture to help them settle in. Water your bulbs thoroughly after planting to help the soil settle and promote early root growth.
Tip:
Make sure to water the bulbs lightly in the fall if there isn’t enough rain. Once the ground freezes, stop watering. Excess water during the cold months can lead to bulb rot.
8. Mark Your Bulb Planting Spots
It’s easy to forget where you’ve planted your bulbs, especially once the ground is covered in snow. To avoid disturbing the bulbs when planting other things in the spring, mark the areas where you’ve planted your bulbs.
Tip:
Use garden markers or small flags to indicate where you’ve planted your bulbs. This will prevent accidental digging in the spring and help you avoid disturbing the bulbs while planting other flowers or vegetables.
9. Avoid Overcrowding
While it’s tempting to plant a lot of bulbs close together to create a colorful display, overcrowding can prevent your bulbs from reaching their full potential.
Tip:
Give your bulbs enough space to grow. Typically, bulbs should be spaced at least 2-3 inches apart, depending on the size of the bulb. This will ensure that each bulb has room to grow and bloom properly.
10. Don’t Forget to Enjoy the Process
Gardening can sometimes be stressful, especially if you’re worried about getting everything right. But one of the best parts of gardening is the joy of the process, and planting fall bulbs is no exception. Take your time, enjoy the fresh air, and appreciate the opportunity to prepare for the vibrant blooms that await you in the spring.
Conclusion
Planting fall bulbs is a wonderful way to prepare your garden for the upcoming spring season. By choosing the right bulbs, planting them at the correct time and depth, ensuring good soil and drainage, and taking care of your bulbs with proper mulching and watering, you can look forward to a gorgeous and colorful garden. Armed with these tips, you’ll avoid common mistakes and set yourself up for a successful blooming season.
Happy gardening! 🌷🌸
#FallBulbs #SpringBlooms #GardenTips #BulbPlanting #Gardening101 #FallGardening #GreenThumb #FlowerGarden #GardeningJoy