
Orchids, with their exotic beauty and diverse varieties, are among the most cherished houseplants. However, their delicate nature often intimidates even experienced gardeners. The secret to a thriving orchid is consistency—specifically, a well-structured weekly maintenance routine that addresses the plant’s unique needs. This comprehensive guide will walk you through a step-by-step approach to keeping your orchids healthy, vibrant, and blooming throughout the year.
Introduction to Orchid Care
Orchids are not just ornamental plants; they are living organisms that require specific conditions to flourish. Unlike common houseplants, orchids have particular needs when it comes to light, water, humidity, and nutrition. Ignoring these needs can lead to stress, disease, and ultimately, the decline of your plant. By adopting a consistent weekly care routine, you can prevent these issues and ensure your orchids remain in peak condition.
Step 1: Inspect Your Orchids
The first step in your weekly orchid maintenance routine is a thorough inspection. This process helps you identify any potential problems early on, allowing you to take corrective action before they worsen.
- Check for Pests: Look for tiny insects on the leaves, stems, and roots. Common pests like aphids, spider mites, and mealybugs can cause significant damage if left untreated. If you find any, use an insecticidal soap or a neem oil solution to eliminate them.
- Examine the Leaves and Roots: Healthy orchid leaves should be firm, bright green, and free from spots. Yellowing, browning, or mushy leaves indicate a problem that needs immediate attention. Similarly, the roots should be firm and white or green. Dark, soft, or mushy roots may signal root rot, often caused by overwatering.
- Remove Dead or Yellowing Leaves: As part of your inspection, remove any dead or yellowing leaves. These leaves can harbor pests and diseases, so it’s best to dispose of them immediately. Use sterilized scissors or pruning shears to avoid spreading any potential infections.
Step 2: Watering Routine
Watering orchids can be tricky because these plants are sensitive to both under-watering and over-watering. The key is to understand your specific orchid’s water needs and adjust accordingly.
- Watering Frequency: Most orchids require watering once a week, but this can vary depending on the species, the potting medium, and the environment. For example, Phalaenopsis orchids prefer their medium to dry out slightly between waterings, while other types, like Paphiopedilum, may need more consistent moisture.
- Watering Method: Water your orchids thoroughly, allowing water to flow through the potting medium and out of the drainage holes. Ensure that the pot is not sitting in water, as this can lead to root rot. It’s best to water orchids in the morning so that any excess moisture on the leaves has time to evaporate during the day.
Step 3: Humidity Control
Orchids are native to tropical and subtropical climates, where humidity levels are much higher than in most homes. Maintaining the right humidity level is crucial for orchid health.
- Ideal Humidity Levels: Orchids generally thrive in humidity levels between 40% and 70%. If your home is dry, especially during winter, you may need to take extra steps to maintain these levels.
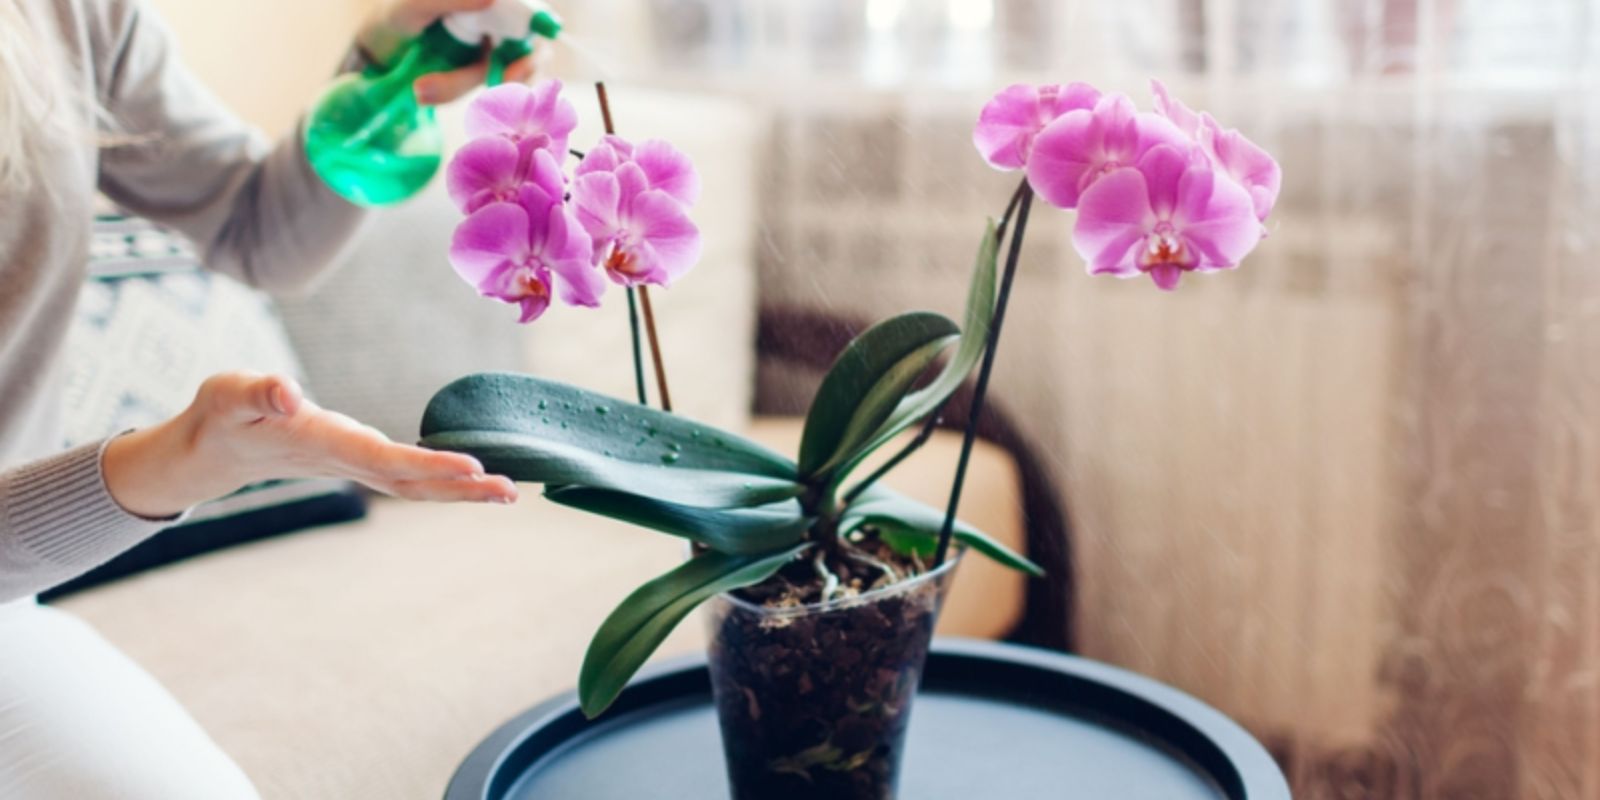
- Humidity Solutions: Use a humidity tray, which is a shallow tray filled with water and pebbles. Place the orchid pot on the pebbles, ensuring that the roots do not sit in the water. Alternatively, mist the orchids daily with water, or use a humidifier in the room where your orchids are located.
Step 4: Light Management
Light is one of the most important factors in orchid care. Too much direct sunlight can scorch the leaves, while too little light can prevent blooming.
- Optimal Light Conditions: Orchids generally prefer bright, indirect light. An east-facing window is often ideal, providing enough light without the intense midday sun. If your orchids are not receiving enough light, consider using grow lights.
- Adjusting Light Exposure: If your orchid’s leaves are turning yellow or reddish, it may be getting too much light. Conversely, dark green leaves indicate insufficient light. Adjust the orchid’s position accordingly to achieve the right balance.
Step 5: Fertilization
Orchids require regular feeding during their growing season to produce strong roots, healthy leaves, and vibrant blooms. However, they are sensitive to over-fertilization, so it’s important to feed them correctly.
- Type of Fertilizer: Use a balanced orchid fertilizer, typically labeled 20-20-20, which contains equal parts of nitrogen, phosphorus, and potassium. Choose a water-soluble fertilizer for easy application.
- Fertilizing Schedule: During the growing season (spring and summer), fertilize your orchids every other week. In the fall and winter, when growth slows down, reduce fertilization to once a month or stop altogether. Always dilute the fertilizer to half the recommended strength to avoid burning the roots.
Step 6: Ensure Proper Air Circulation
Good air circulation is essential to prevent fungal diseases and promote healthy growth. Orchids in stagnant air are more prone to infections.
- Airflow Solutions: Place a fan near your orchids to keep the air moving, but ensure it’s not blowing directly onto the plants. This will help evaporate excess moisture and reduce the risk of fungal issues.
- Avoid Crowding: Make sure your orchids have enough space between them for air to circulate freely. Crowded plants are more susceptible to disease.
Step 7: Potting Medium Maintenance
The potting medium is crucial to the health of your orchid’s roots. Over time, the medium breaks down, which can lead to poor drainage and root rot.
- Inspect the Medium: Check the potting medium weekly to ensure it’s still providing good aeration and drainage. If it looks compacted or decayed, it’s time to repot your orchid.
- Repotting Frequency: Orchids generally need to be repotted every one to two years. This allows you to refresh the medium and check the roots for any signs of rot.
Conclusion
A well-maintained orchid is a joy to behold, and by following this weekly maintenance routine, you can keep your orchids in excellent health. Consistency is key, and with just a little effort each week, you’ll enjoy stunning blooms and vibrant plants all year round. Whether you’re a seasoned orchid enthusiast or a beginner, adopting this routine will help you master the art of orchid care. Start today, and watch your orchids thrive!