
Potatoes are one of the most versatile and widely grown vegetables in home gardens. Not only do they provide essential nutrients, but they also thrive in various soil types and climates. However, to achieve the best yields and healthiest plants, gardeners often look for ways to enhance soil fertility and improve plant health. One of the most effective and natural amendments available is Epsom salt, a compound rich in magnesium and sulfate. In this article, we’ll explore the benefits of Epsom salt for potato plants, how to use it effectively, and tips for maximizing your potato harvest.
Understanding Epsom Salt
Epsom salt is a naturally occurring mineral compound consisting of magnesium sulfate. It has been used for centuries in gardening and agriculture due to its numerous benefits. Magnesium is an essential nutrient for plant growth, playing a crucial role in photosynthesis, seed germination, and nutrient absorption. Sulfate, on the other hand, aids in the synthesis of proteins and enzymes, promoting overall plant health.
Benefits of Epsom Salt for Potatoes
Using Epsom salt in your potato garden can yield several significant benefits:
- Enhances Nutrient Absorption: Magnesium helps plants absorb essential nutrients, including nitrogen, phosphorus, and potassium, which are vital for growth and tuber development.
- Promotes Stronger Growth: Magnesium supports chlorophyll production, leading to healthier, greener plants that can photosynthesize more efficiently.
- Increases Yields: By enhancing nutrient uptake and promoting healthy growth, Epsom salt can lead to larger and more abundant potato yields.
- Improves Soil Quality: Epsom salt can help improve soil structure, making it more aerated and better draining, which is essential for healthy root development.
- Reduces Blossom End Rot: This common problem in potatoes and other crops is often caused by a calcium imbalance. Epsom salt can help address this issue by providing the necessary magnesium for calcium absorption.
How to Use Epsom Salt for Potato Plants
Using Epsom salt in your potato garden is simple and effective. Here’s a step-by-step guide to incorporating this nutrient booster into your planting routine:
Step 1: Prepare the Soil
Before planting your potatoes, it’s essential to prepare the soil properly. Here’s how to do it:
- Choose the Right Location: Select a sunny spot in your garden with well-draining soil. Potatoes thrive in loose, fertile soil that allows for proper tuber growth.
- Test Your Soil: Consider conducting a soil test to determine its pH and nutrient levels. Potatoes prefer slightly acidic to neutral soil (pH 5.5 to 7.0).
- Add Organic Matter: Incorporate organic matter, such as compost or well-rotted manure, to improve soil fertility and structure.
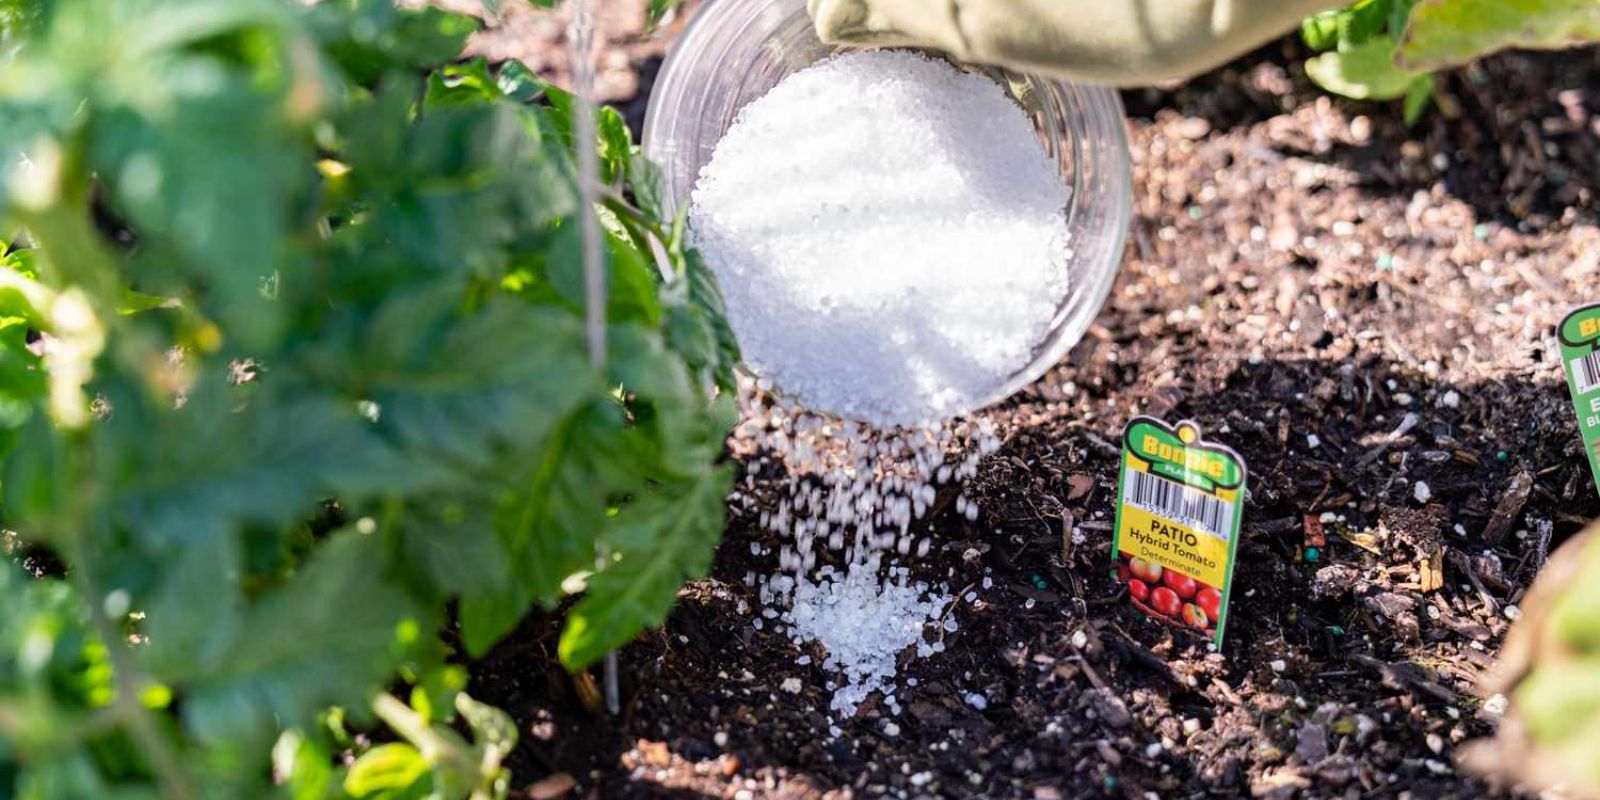
- Mix in Epsom Salt: As part of your soil preparation, mix 1 to 2 tablespoons of Epsom salt per gallon of soil. This will enhance magnesium levels in the soil before planting.
Step 2: Plant Your Potatoes
With your soil prepared, it’s time to plant your potatoes:
- Choose Quality Seed Potatoes: Select certified disease-free seed potatoes that are firm and healthy.
- Cut Seed Potatoes: If your seed potatoes are large, you can cut them into pieces, ensuring each piece has at least one eye.
- Planting Depth: Dig holes or trenches about 4 to 6 inches deep. Space the seed potatoes about 12 inches apart, allowing enough room for tuber development.
- Cover with Soil: Place the seed potatoes in the holes, and cover them with soil. You can also add a small amount of Epsom salt to the planting hole for an extra nutrient boost.
Step 3: Watering and Maintenance
Proper watering and maintenance are essential for healthy potato plants:
- Water Regularly: Potatoes need consistent moisture, especially during the growing season. Water deeply but infrequently to encourage deep root growth.
- Apply Epsom Salt Solution: Every four to six weeks during the growing season, you can use an Epsom salt solution to provide additional magnesium. Mix 1 tablespoon of Epsom salt in a gallon of water, and use this solution to water your potato plants.
Step 4: Monitor Plant Health
Keep a close eye on your potato plants as they grow. Look for signs of nutrient deficiencies, such as yellowing leaves or stunted growth. If you notice these symptoms, consider adjusting your Epsom salt application or overall care routine.
Step 5: Foliar Spray Application
In addition to soil application, you can use Epsom salt as a foliar spray to address nutrient deficiencies quickly:
- Prepare the Foliar Spray: Mix 1 tablespoon of Epsom salt in a spray bottle filled with water.
- Timing: Apply the foliar spray in the early morning or late afternoon to prevent leaf burn. Aim for a cloudy day if possible.
- Spray the Leaves: Thoroughly coat the leaves of your potato plants with the Epsom salt solution. This will allow the magnesium to be absorbed directly through the leaves, providing an immediate boost.
Step 6: Harvest Time
As your potato plants grow and flourish, you can expect a bountiful harvest:
- Signs of Maturity: Potatoes are typically ready for harvest about 90 to 120 days after planting. Look for yellowing leaves and the dieback of the foliage as signs that your potatoes are mature.
- Careful Harvesting: When harvesting, gently dig around the plants to avoid damaging the tubers. Use a garden fork or spade, being careful not to puncture or bruise the potatoes.
- Curing Potatoes: After harvesting, allow your potatoes to cure in a cool, dark place for a few weeks. This process helps to heal any minor injuries and improves flavor and storage life.
Tips for Maximizing Your Potato Harvest
- Crop Rotation: Practice crop rotation to prevent soil depletion and reduce the risk of diseases. Avoid planting potatoes in the same spot for consecutive years.
- Pest Control: Monitor for pests like aphids and potato beetles, and use organic pest control methods when necessary. Companion planting with marigolds or basil can help deter pests.
- Mulching: Applying a layer of mulch can help retain soil moisture, suppress weeds, and maintain a consistent temperature for the developing tubers.
- Fertilization: Consider using a balanced fertilizer formulated for vegetables, in addition to Epsom salt, to provide a well-rounded nutrient profile.
- Timing is Key: Plant your potatoes early in the season, as soon as the soil can be worked, to take advantage of the cool weather and ensure a longer growing season.
- Harvest at the Right Time: Timing your harvest is crucial. Leaving potatoes in the ground too long can lead to spoilage, while harvesting too early can result in smaller yields.
Conclusion
Epsom salt is a valuable tool in the gardener’s toolkit, especially when it comes to growing healthy, robust potato plants. By enhancing nutrient absorption, promoting stronger growth, and improving soil quality, Epsom salt can significantly impact your potato harvest.
Whether you’re a seasoned gardener or just starting out, incorporating Epsom salt into your potato-growing routine is a simple and effective way to ensure your plants thrive. With proper care and the right techniques, you can enjoy a bountiful crop of delicious homegrown potatoes. Happy gardening, and may your potato plants flourish!
Viral Gardening Hashtags: #EpsomSalt #PotatoGrowing #GardeningTips #OrganicGardening #HomeGrown #HealthyPlants #GardenHarvest #SustainableGardening #GreenThumb #PlantCare #VegetableGardening