
Introduction
If you’re a gardener looking for efficient ways to keep your plants hydrated while conserving water, an olla may be the solution you’ve been searching for. This ancient irrigation technique has been used for centuries in arid regions around the world, providing plants with a steady supply of moisture directly to their roots. By using a simple, unglazed clay pot, you can ensure your garden thrives with minimal effort. In this comprehensive guide, we’ll walk you through everything you need to know about making and using an olla for your garden.
What is an Olla?
An olla (pronounced “oy-ya”) is a traditional irrigation vessel made from unglazed clay. Its porous nature allows water to seep through the walls of the pot, creating a slow and steady supply of moisture for the plants surrounding it. This method of irrigation not only conserves water but also reduces the need for frequent watering, making it ideal for busy gardeners.
Benefits of Using an Olla
- Water Conservation: Because ollas release water slowly, they reduce evaporation and runoff, allowing more water to reach the plant roots where it’s needed most.
- Effortless Irrigation: Once installed, ollas require little maintenance. You can fill them once or twice a week, depending on the weather and plant needs.
- Healthier Plants: By delivering water directly to the roots, ollas encourage deep root growth and healthier plants.
- Eco-Friendly: Using ollas is a sustainable practice that reduces your reliance on traditional irrigation methods and minimizes your water footprint.
- Reduced Weeding: Because the soil around the olla remains moist, it can help suppress weed growth, making it easier to maintain your garden.
Materials Needed
Before you get started, gather the following materials:
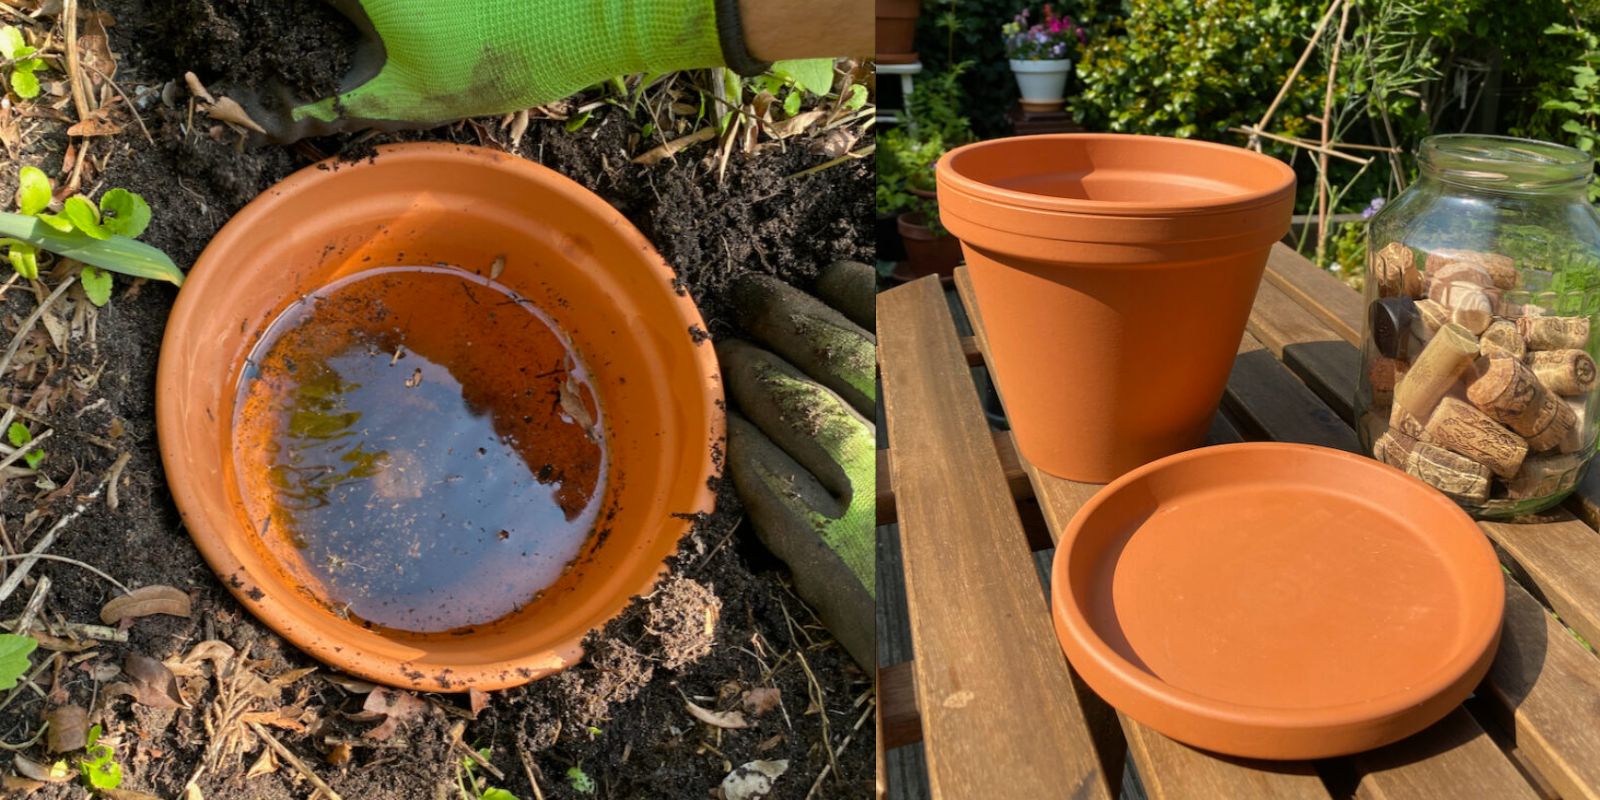
- Unglazed Clay Pot: The size depends on your garden; larger pots can hold more water but require more digging.
- Pot Lid: A lid helps reduce evaporation and keeps debris out of the pot.
- Trowel or Spade: For digging the hole to place the olla.
- Water: To fill the olla once it’s installed.
- (Optional) Dish or Plate: To place under the olla if you want to catch any overflow.
Step-by-Step Guide to Making and Using an Olla
Step 1: Choose the Right Location
Select a spot in your garden where plants need consistent moisture. Ollas work well in vegetable gardens, flower beds, and around shrubs. Avoid areas with heavy clay or rocky soil, as they can impede water movement.
Step 2: Gather Your Materials
Make sure you have all your materials ready. You can find unglazed clay pots at garden centers or online. If you can’t find a pot with a lid, you can create one using a small plate or a piece of cardboard.
Step 3: Prepare the Olla
Clean the clay pot thoroughly to remove any dust or debris. This step is crucial to ensure that the pot is ready to function effectively. If the pot has been exposed to chemicals or paints, consider using a new one.
Step 4: Dig the Hole
Using your trowel or spade, dig a hole in the soil deep enough to bury the pot up to its neck. Make sure the hole is wide enough to accommodate the pot comfortably.
Step 5: Place the Olla
Set the unglazed clay pot in the hole, ensuring it is level. Fill in the soil around the pot, leaving only the neck exposed. This will help stabilize the olla and prevent it from tipping over.
Step 6: Fill the Olla
Once the pot is securely in place, fill it with water through the opening at the top. You may need to water it several times initially until the soil around the olla has absorbed enough moisture.
Step 7: Cover the Olla
If you have a lid, place it on top of the olla to minimize evaporation. This will help keep the water inside for longer periods.
Step 8: Monitor Water Levels
Check the water level in the olla regularly, especially during hot or dry weather. Refill it as necessary. Depending on your climate and the size of your olla, you may only need to refill it once or twice a week.
Step 9: Observe Plant Growth
Watch how your plants respond to the olla irrigation method. You should notice healthier, more vigorous growth, and you may find that you have fewer weeds to contend with.
Tips for Success
- Placement: If you’re using multiple ollas, space them out according to the size of the plants you’re watering. Larger plants may need ollas placed closer together.
- Check Soil Moisture: Even with an olla, it’s a good idea to occasionally check the moisture level of the surrounding soil to ensure it’s not too dry or overly saturated.
- Use Multiple Ollas: For larger gardens, consider using multiple ollas to cover a wider area. This will allow you to water more plants effectively.
- Combine with Mulching: Adding mulch around the olla can help retain moisture in the soil and further reduce evaporation.
- Adjust for Seasonal Changes: During hotter months, you may need to fill the olla more frequently. In cooler months, you might need to reduce watering.
Troubleshooting Common Issues
- Water Seepage: If you find that the olla is not providing enough moisture, check for any cracks in the pot. If it’s damaged, consider replacing it.
- Algae Growth: If you notice algae or slime forming in the olla, it may be due to stagnant water. Make sure to clean the pot regularly and ensure the lid is on to prevent sunlight from promoting algae growth.
- Clogging: Occasionally, the porous walls of the olla may clog with soil or organic matter. If you suspect this is happening, gently clean the pot or replace it as necessary.
- Root Competition: In cases where plants seem to be struggling, check if roots from nearby plants are competing for the water. You may need to reposition the olla.
Conclusion
Making and using an olla for irrigation is a simple and effective way to provide your garden with the moisture it needs while conserving water. By following the steps outlined in this guide, you can create a sustainable irrigation system that promotes healthier plants and reduces your gardening workload. With the benefits of ollas, you can enjoy a thriving garden while being mindful of your environmental impact.
So why wait? Start making your ollas today and watch your garden flourish with minimal effort! Happy gardening!
Hashtags