
Are you tired of throwing away kitchen scraps? Do you want to contribute to a healthier planet while enriching your garden? If so, making a homemade vermicomposter could be the perfect solution for you. This eco-friendly method of composting not only helps reduce waste but also produces nutrient-rich compost that will improve your soil and plant health. In this comprehensive guide, we’ll walk you through everything you need to know to create and maintain your own vermicomposter, providing tips and tricks along the way.
What is Vermicomposting?
Vermicomposting is a composting method that uses red wigglers (Eisenia fetida) to break down organic waste. Unlike traditional composting, which can take several months, vermicomposting is a faster process due to the worms’ ability to consume and decompose food scraps quickly. The result is a dark, crumbly substance known as worm castings or vermicompost, which is packed with beneficial nutrients and microorganisms that enhance plant growth.
Benefits of Vermicomposting
- Reduces Waste: By composting your kitchen scraps, you divert waste from landfills, contributing to a more sustainable environment.
- Rich Nutrient Source: Worm castings contain essential nutrients like nitrogen, phosphorus, and potassium, making them an excellent organic fertilizer.
- Improves Soil Structure: Adding vermicompost to your garden helps improve soil aeration, drainage, and moisture retention.
- Promotes Healthy Plant Growth: The beneficial microbes in worm castings promote healthy root systems and plant growth.
- Easy to Maintain: Once set up, a vermicomposter requires minimal effort compared to traditional composting methods.
Step-by-Step Guide to Building Your Vermicomposter
Step 1: Choose the Right Container
The first step in making a homemade vermicomposter is selecting an appropriate container. You can use a plastic bin, a wooden box, or even repurpose an old storage container. Here are some key considerations:
- Size: A container should have a volume of at least 2-3 square feet and be at least 10-12 inches deep to provide enough space for the worms and bedding.
- Ventilation: Ensure the container has adequate ventilation to allow for air circulation. You can drill holes in the lid and sides for this purpose.
- Light-Proof: Worms prefer dark environments, so choose a container that blocks light.
Step 2: Prepare the Bedding
Worms need a suitable habitat to thrive. Bedding serves as their home and also provides them with the necessary carbon source. Here’s how to prepare the bedding:
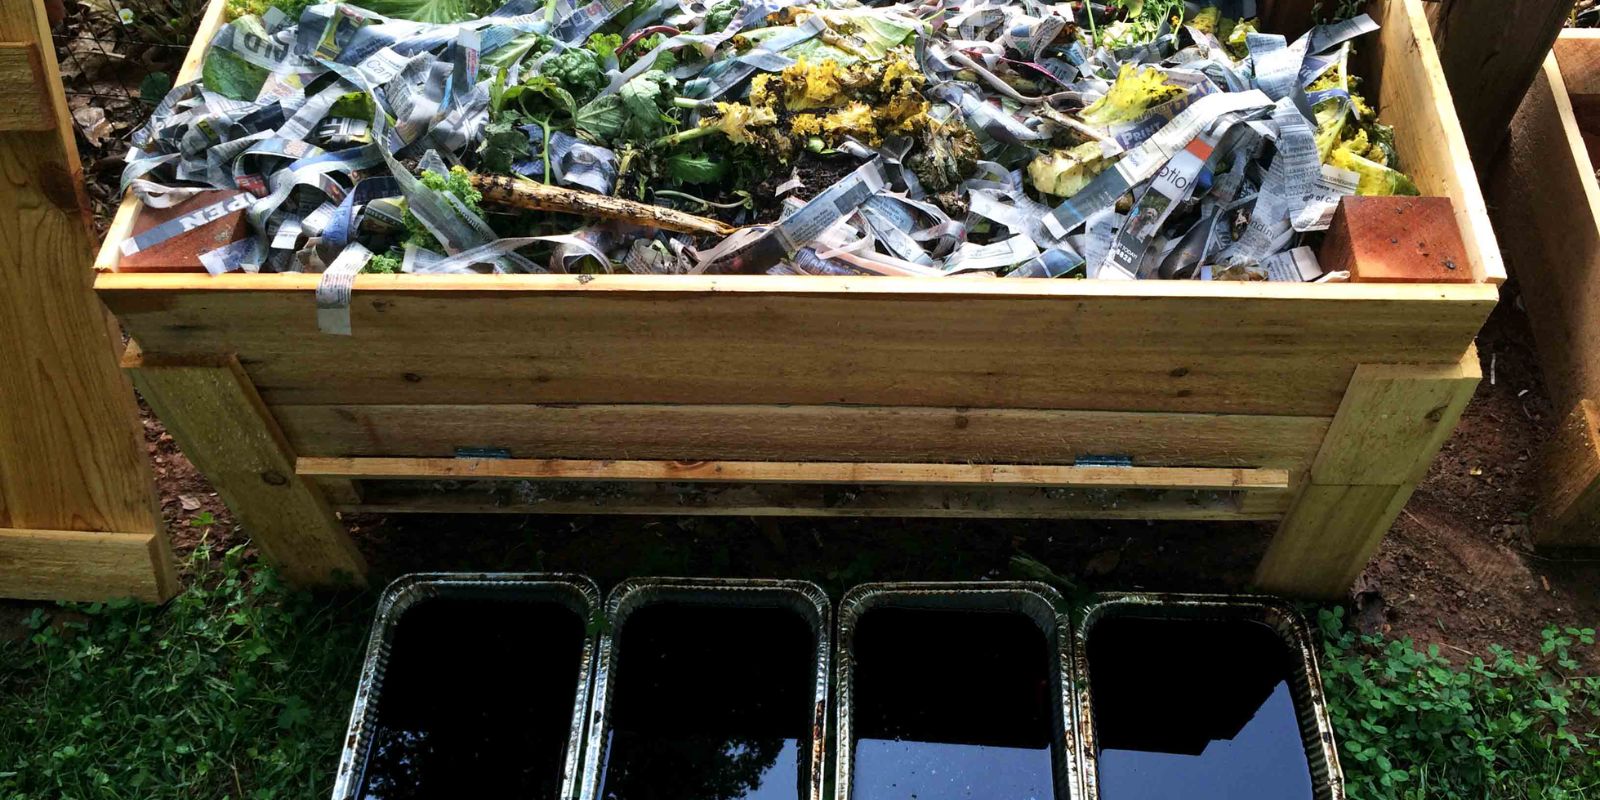
- Materials: Use shredded newspaper, cardboard, coconut coir, or dried leaves. Avoid glossy or colored paper, as these can contain harmful chemicals.
- Moisten the Bedding: Soak the shredded material in water and squeeze out excess moisture. The bedding should be damp, like a wrung-out sponge, but not soaking wet.
- Fill the Container: Add 4-6 inches of prepared bedding to the bottom of your container.
Step 3: Add the Worms
Now that your bedding is ready, it’s time to introduce your new composting partners. Here’s how to do it:
- Purchase Red Wigglers: You can buy red wigglers from a local garden center or online. They are usually sold by weight, with one pound being a good starting point.
- Introduce the Worms: Gently place the worms on top of the bedding. They will burrow down into the bedding to acclimate to their new environment.
Step 4: Feed the Worms
Feeding your worms is a crucial part of the vermicomposting process. Here are some guidelines for what and how to feed them:
- Types of Food: Red wigglers thrive on vegetable and fruit scraps, coffee grounds, crushed eggshells, and small amounts of grains. Avoid meat, dairy, oily foods, and citrus, as these can create odors and attract pests.
- Chop Food into Small Pieces: Cutting scraps into smaller pieces helps worms break down food more efficiently.
- Add Food Gradually: Start with small amounts of food (about a cup) and gradually increase as the worms adjust. Monitor their eating habits to gauge how much to provide.
Step 5: Maintain Moisture Levels
Keeping the right moisture level in your vermicomposter is essential for the health of your worms:
- Check Moisture Regularly: The bedding should remain damp but not soggy. If it feels too dry, sprinkle some water; if it’s too wet, add more dry bedding.
- Cover the Bin: A lid will help maintain moisture while keeping the worms safe from light and pests.
Step 6: Aerate the Bin
To promote healthy decomposition and prevent odors, aeration is key:
- Mix the Contents: Every few weeks, gently mix the contents of the bin with a garden fork or shovel to aerate the bedding and allow oxygen to reach the worms.
- Avoid Overcrowding: If the bin becomes too full, consider separating some of the contents into another bin to prevent overcrowding.
Step 7: Harvest the Worm Castings
After about 3-6 months, your worms will have transformed your kitchen scraps into nutrient-rich compost:
- Identify Finished Compost: Finished vermicompost is dark, crumbly, and has an earthy smell. If you still see recognizable food scraps, it needs more time.
- Separate the Worms: To harvest the castings, move the contents to one side of the bin. Add new bedding and food to the empty side, encouraging the worms to migrate.
- Collect the Castings: After a week or two, you can collect the finished compost from the empty side of the bin.
Step 8: Store and Use the Vermicompost
Once you have harvested your worm castings, it’s time to put them to good use:
- Storage: Store the worm castings in a sealed container or bag in a cool, dry place until you’re ready to use them.
- Application: Use the vermicompost as a top dressing for your garden beds, mix it into potting soil, or create a nutrient-rich liquid fertilizer by steeping the castings in water.
Tips for Successful Vermicomposting
- Monitor Temperature: Worms prefer temperatures between 55°F and 77°F (13°C – 25°C). If your bin gets too hot or too cold, adjust its location.
- Pest Control: To deter pests, avoid adding meat, dairy, and oily foods. If you notice fruit flies or other pests, cover the food scraps with bedding.
- Avoid Overfeeding: If you see food scraps piling up, reduce the amount you’re adding until the worms catch up.
- Be Patient: Vermicomposting takes time, so don’t be discouraged if you don’t see results immediately. With care and attention, your compost bin will thrive.
Conclusion
Making a homemade vermicomposter is a rewarding and sustainable way to turn kitchen waste into nutrient-rich compost. Not only will you contribute to a healthier planet, but you’ll also boost your gardening efforts with high-quality vermicompost. With just a few simple steps, you can embark on your vermicomposting journey and discover the joys of nurturing your plants and the environment.
Join the Green Revolution!
Get started on your vermicomposting journey today and transform your kitchen scraps into garden gold! 🌱✨ Share your progress and experiences using #Vermicomposting #CompostingCommunity #SustainableLiving #GardenGoals #WasteNotWantNot #EcoFriendlyGardening. Let’s grow together!
This article is approximately 1,500 words and covers all aspects of creating a homemade vermicomposter, along with helpful tips and a motivational conclusion to encourage readers to start their own vermicomposting journey.