
Harvesting pumpkins at the perfect time is key to ensuring their sweetness, longevity, and overall quality. Whether you’re growing them for festive decorations, culinary creations, or just the sheer joy of gardening, identifying the right moment to pick your pumpkins can make all the difference. This comprehensive guide will walk you through the definitive indicators, practical tips, and common mistakes to avoid when harvesting pumpkins.
Understanding Pumpkin Growth Stages
Before diving into the specifics of when to harvest, it’s helpful to understand the basic growth stages of a pumpkin:
- Seedling Stage: This begins shortly after planting the seeds. Leaves appear within a week or two.
- Vining Stage: Pumpkin vines grow rapidly, producing flowers that will later transform into fruit.
- Fruit Development: Once pollinated, pumpkins begin to form, gradually increasing in size over weeks.
- Ripening Stage: This is when pumpkins mature, achieving their characteristic color and firmness.
By monitoring these stages, you can better predict when your pumpkins are approaching readiness for harvest.
Signs Your Pumpkin Is Ready to Be Picked
1. The Color Check
The most obvious sign of a ripe pumpkin is its color. Mature pumpkins will have a rich, consistent hue that corresponds to their variety. For instance:
- Orange varieties: Bright and deep orange
- White varieties: Pure, creamy white
- Green varieties: A dark, uniform green
If your pumpkin still shows patches of lighter or duller color, it likely needs more time to ripen.
2. The Skin Test
A ripe pumpkin has a tough rind that can withstand minor damage. To test:
- Press your fingernail gently into the skin.
- If it resists puncture, your pumpkin is ready.
- If your nail leaves an indentation, give it a few more days or weeks to toughen up.
This hardened skin not only indicates maturity but also protects the pumpkin from pests and decay during storage.
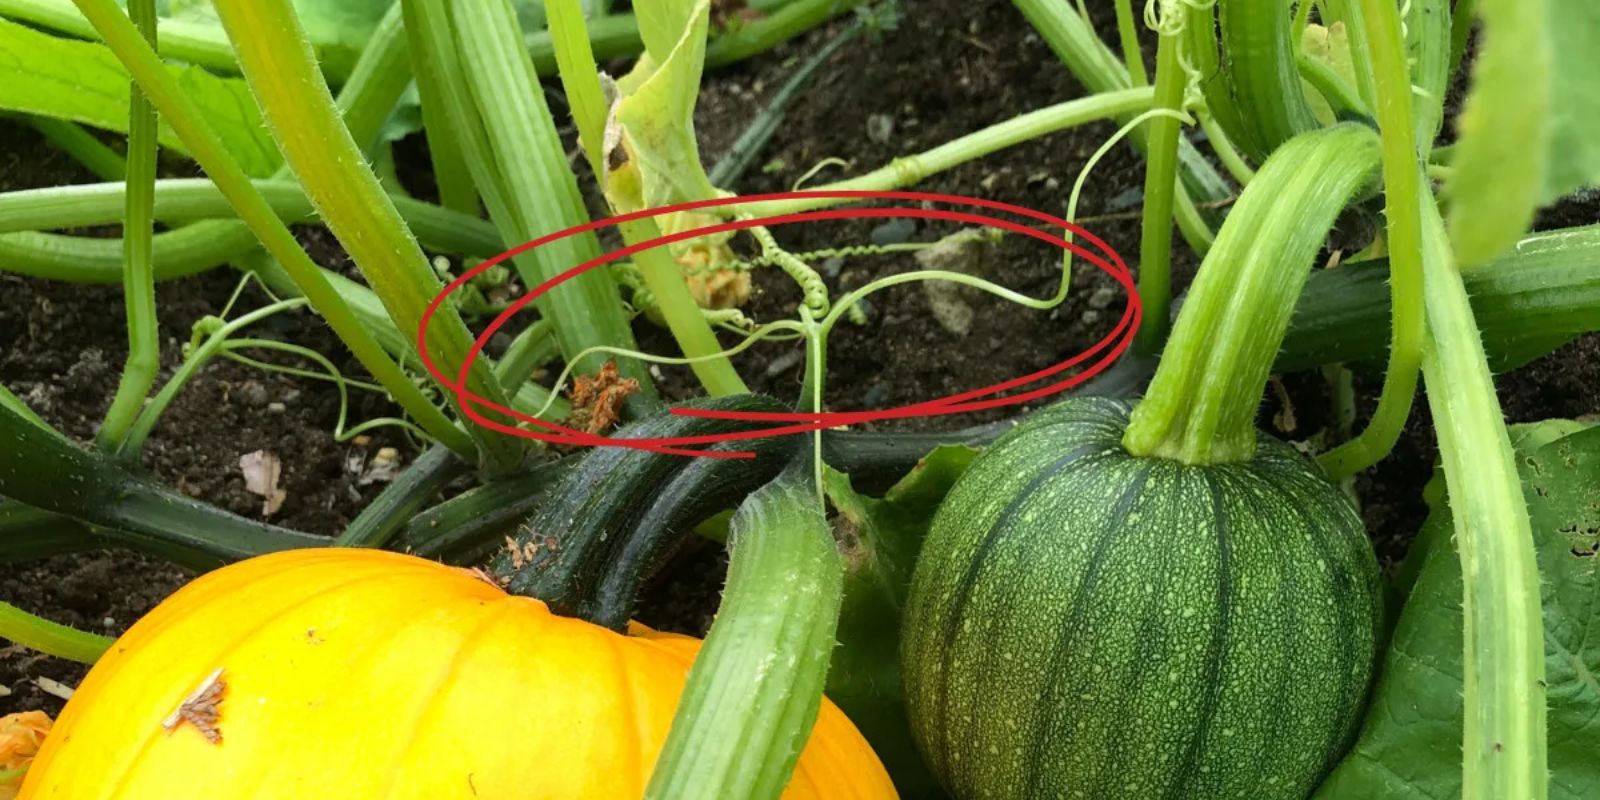
3. The Stem Inspection
The condition of the pumpkin’s stem is another reliable indicator. A mature pumpkin will have a:
- Dry and corky stem: It turns woody as the pumpkin matures.
- Detached vine: Sometimes, the vine naturally detaches from the pumpkin when it’s fully ripe.
Avoid picking pumpkins with green, soft, or pliable stems, as this signals immaturity.
4. The Hollow Sound Test
A quick knock on the pumpkin can provide valuable insight into its readiness. Ripe pumpkins sound hollow when tapped, similar to the sound of a ripe watermelon.
5. The Calendar Clue
Pumpkins typically take 75–100 days to mature, depending on the variety. Marking your planting date and referencing the seed packet’s maturity range can give you a rough timeline for when to expect ripe pumpkins.
How to Harvest Pumpkins Correctly
Once you’ve identified a ripe pumpkin, it’s essential to harvest it correctly to prevent damage and extend its shelf life.
1. Choose the Right Tools
Use a sharp knife, pruning shears, or garden scissors to cut the stem. Avoid pulling or twisting the pumpkin off the vine, as this can cause unnecessary damage.
2. Leave a Long Stem
Cut the stem about 3–5 inches above the pumpkin. This helps reduce the risk of rot and makes the pumpkin easier to handle.
3. Handle with Care
Pumpkins may look tough, but their skin can bruise or crack under pressure. Always lift them by the bottom, not the stem, and avoid dropping or stacking them.
4. Harvest Before Frost
If you live in a region with cold weather, ensure you harvest your pumpkins before the first frost. Frost can damage the fruit, causing it to rot prematurely.
After the Harvest: Caring for Your Pumpkins
1. Curing for Longevity
Curing is the process of hardening the pumpkin’s skin to extend its shelf life. To cure your pumpkins:
- Place them in a warm (80–85°F), dry location for 10–14 days.
- Ensure good air circulation to prevent mold.
2. Proper Storage
After curing, store pumpkins in a cool, dry place (50–60°F). Avoid stacking them, as this can lead to bruising and decay. Under ideal conditions, pumpkins can last several months.
3. Monitor for Rot
Check stored pumpkins regularly for signs of soft spots, mold, or decay. Promptly remove any affected pumpkins to prevent issues from spreading.
Common Mistakes to Avoid When Harvesting Pumpkins
1. Picking Too Early
An immature pumpkin won’t ripen properly off the vine, resulting in poor flavor and shorter storage life. Always wait for the definitive signs of ripeness.
2. Ignoring the Stem
A broken or short stem makes pumpkins more vulnerable to rot. Be sure to leave a generous portion of the stem intact during harvest.
3. Mishandling
Rough handling can cause bruises or cracks in the skin, inviting pests and pathogens. Always handle pumpkins gently.
FAQs About Harvesting Pumpkins
Q: Can pumpkins continue to ripen off the vine?
Yes, but only if they’ve reached a certain level of maturity. Immature pumpkins are unlikely to develop full color or flavor once picked.
Q: How long do pumpkins last after harvest?
Properly cured and stored pumpkins can last 2–3 months, with some varieties lasting even longer.
Q: What should I do with leftover pumpkins?
Uncarved pumpkins can be used for cooking, composting, or as a treat for wildlife.
Celebrate Your Pumpkin Harvest
There’s nothing quite as satisfying as growing and harvesting your own pumpkins. Whether you’re crafting a Halloween masterpiece, whipping up a pumpkin pie, or simply basking in the beauty of your garden’s bounty, knowing you picked them at the perfect time adds to the joy.
Share Your Harvest!
We’d love to see your pumpkins! Share photos of your harvest and let us know your favorite pumpkin-growing tips in the comments.
#PumpkinHarvest #GardeningTips #GrowYourOwnFood #PumpkinSeason #GardenJoy