
Rhubarb is a perennial vegetable most commonly used as a fruit in cooking and baking. Its vibrant red stalks add a tart yet delightful flavor to pies, jams, sauces, and even savory dishes. Though rhubarb is often seen as a classic plant in traditional gardens, it’s quite versatile and can be grown successfully in a wide range of environments. This guide will take you through every step of growing rhubarb, from planting to harvesting, ensuring that you enjoy a bountiful and healthy crop year after year.
Introduction to Rhubarb
Native to Asia, rhubarb (Rheum rhabarbarum) has been cultivated for centuries, initially for its medicinal properties. Over time, its culinary uses became popular in Europe and North America, where its tangy taste has become a favorite in desserts. Despite its reputation as a cool-weather crop, rhubarb is relatively easy to grow and can thrive in a variety of climates, making it a great addition to any home garden.
Why Grow Rhubarb?
Rhubarb is a hardy, low-maintenance plant that returns every year, making it a reliable and long-lasting crop. It’s an ideal choice for gardeners looking for a plant that can thrive with little attention. Additionally, rhubarb is packed with essential nutrients like vitamin K, vitamin C, calcium, and fiber. Whether you want to enjoy fresh stalks in pies or preserve them for winter months, growing rhubarb can add variety and nutrition to your garden and kitchen.
Getting Started: What You’ll Need
Before diving into the process, it’s important to gather the right tools and materials:
- Rhubarb crowns or seeds (crowns are recommended for faster growth)
- Well-draining, fertile soil with a pH level of 6.0 to 6.8
- Organic compost or aged manure for nutrient-rich soil
- Watering can or irrigation system for consistent watering
- Mulch to help retain soil moisture and suppress weeds
Step 1: Choosing the Right Location
Rhubarb plants need a good balance of sunlight and cool temperatures to thrive. Ideally, rhubarb should be planted in a spot where it receives at least 6 hours of sunlight per day. However, if you live in a particularly warm climate, providing partial shade during the hottest part of the day can help prevent wilting and stress on the plants.
Additionally, rhubarb requires well-draining soil to avoid waterlogged roots, which can lead to rot. Make sure the planting area has good drainage, and avoid areas prone to flooding.
Step 2: Preparing the Soil
Rhubarb thrives in nutrient-rich soil. Before planting, work organic matter like compost or well-aged manure into the top 10 to 12 inches of soil. This provides a slow-release source of nutrients that the rhubarb will use throughout its growing season.
The soil should be slightly acidic to neutral (pH between 6.0 and 6.8). You can test your soil’s pH using a soil test kit. If your soil is too acidic, add lime to raise the pH, and if it’s too alkaline, add sulfur to lower it.
Step 3: Planting Rhubarb
Rhubarb can be grown from seeds or crowns, but crowns are preferred because they produce stalks much faster. Follow these planting steps for optimal results:
- Planting Time: The best time to plant rhubarb is in early spring, just after the ground has thawed, or in early fall, several weeks before the first frost.
- Spacing: Rhubarb plants grow large, so make sure to space them at least 3 feet apart. This allows the plants to spread without competing for nutrients.
- Plant Depth: Dig a hole that’s wide and deep enough to comfortably accommodate the rhubarb crown (about 2-3 inches deep). Place the crown in the hole with the buds facing up and cover with soil, leaving the buds just below the surface.
- Watering: After planting, water the rhubarb thoroughly to settle the soil around the roots.
Step 4: Caring for Rhubarb
Once your rhubarb is in the ground, it requires minimal care. However, a few key steps will help ensure that it grows vigorously and remains healthy:
- Watering: Rhubarb needs consistent moisture, especially during its first year of growth. Water your plants regularly, keeping the soil evenly moist but not waterlogged. Mulching around the base of the plants can help retain moisture and prevent weeds from competing for nutrients.
- Fertilizing: In early spring, apply a layer of organic compost or well-rotted manure around the plants to feed the soil. You can also use a balanced fertilizer to boost growth, particularly if your soil is nutrient-poor. Avoid applying fertilizer too late in the growing season, as this may encourage soft, late growth that is vulnerable to frost damage.
- Weeding: Rhubarb plants don’t compete well with weeds, so it’s important to keep the area around them weed-free. Regularly pull out weeds by hand or apply mulch to suppress their growth.
- Winter Care: In colder climates, rhubarb goes dormant during winter. Before the first frost, add a thick layer of mulch, straw, or compost to insulate the roots and protect them from freezing temperatures. In milder climates, rhubarb may remain semi-dormant and only require a light mulching.
Step 5: Harvesting Rhubarb
Rhubarb plants take about a year to establish themselves before you can begin harvesting. Be patient in the first year, allowing the plant to grow without harvesting to ensure a strong root system.
In the second year, you can begin to harvest the stalks. Follow these guidelines to harvest rhubarb properly:
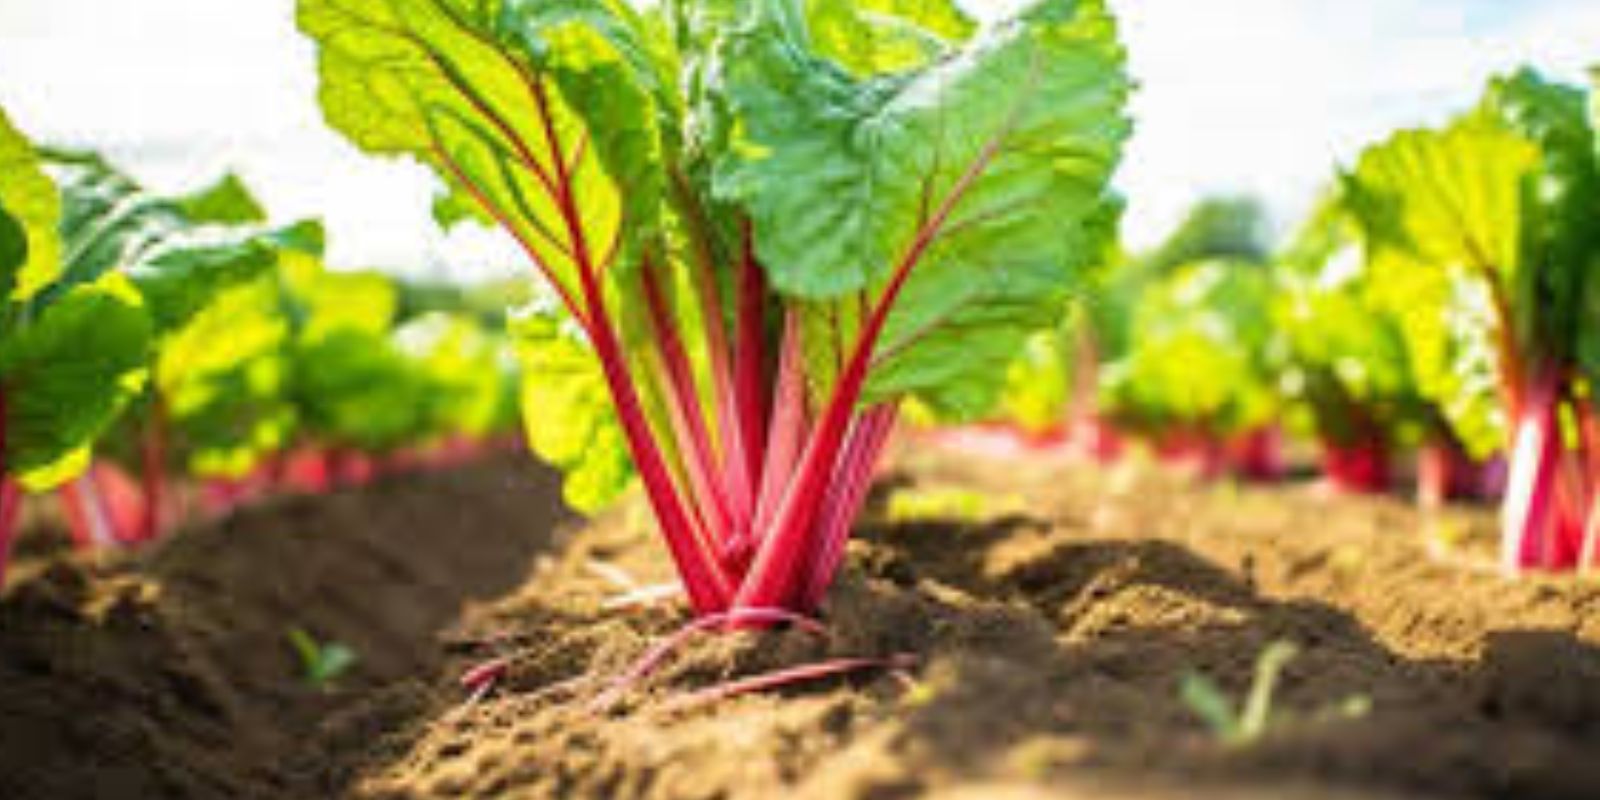
- Harvest Timing: The ideal time to harvest rhubarb is in late spring to early summer when the stalks are 12 to 18 inches long and bright red. Avoid harvesting too late in the season, as the stalks may become tough and stringy.
- How to Harvest: Gently grasp a stalk near its base and twist it away from the plant, pulling it out cleanly. Alternatively, you can use a sharp knife to cut the stalk at the base. Only harvest a few stalks at a time, leaving at least a third of the plant intact so that it can continue to grow.
- Leaf Caution: Remember, rhubarb leaves are toxic due to their high oxalic acid content. Always remove and discard the leaves immediately after harvesting the stalks.
Step 6: Common Problems and Solutions
While rhubarb is generally low-maintenance, it can encounter a few common problems:
- Crown Rot: This fungal disease is caused by overly wet soil or poor drainage. Prevent crown rot by planting rhubarb in well-drained soil and avoiding waterlogged conditions. If crown rot occurs, remove the affected plant and improve the drainage in the area.
- Pests: Slugs, snails, and aphids may occasionally attack rhubarb plants. Handpick pests or use organic pest control methods like diatomaceous earth or neem oil to keep infestations at bay.
- Bolting: Sometimes, rhubarb will send up a flower stalk, a process known as bolting. Bolting can weaken the plant and reduce its productivity. If you see a flower stalk forming, cut it off at the base as soon as possible to direct the plant’s energy back to producing stalks.
Step 7: Propagating Rhubarb
Rhubarb can be easily propagated by dividing the crowns every 5 to 10 years. In early spring or fall, carefully dig up the crown and cut it into sections, ensuring that each section has at least one bud. Replant the divisions immediately and water them thoroughly to help them establish.
Conclusion
Growing rhubarb is a rewarding experience that requires minimal effort for maximum reward. By following these simple steps—from selecting the right location and preparing the soil to caring for and harvesting your rhubarb—you’ll have a thriving plant that provides delicious, homegrown stalks year after year. Whether you’re a seasoned gardener or a beginner, rhubarb is an excellent addition to any garden, offering beauty, nutrition, and endless culinary possibilities.
So why wait? Get started on your rhubarb garden today and share your growing journey with us! 🌿🍓