
Introduction
Garlic is a culinary staple, renowned for its bold flavor and numerous health benefits. Cultivating garlic at home not only provides a fresh supply of this versatile ingredient but also enhances your gardening skills. Whether you’re an experienced gardener or a beginner, this comprehensive guide will walk you through the steps to grow garlic quickly and efficiently, ensuring a bountiful harvest.
1. Selecting the Right Garlic
The journey to a successful garlic harvest begins with choosing the right garlic bulbs. Opt for high-quality, disease-free bulbs from a reputable source. Garlic varieties fall into two main categories: softneck and hardneck. Softneck varieties are ideal for milder climates and produce larger bulbs with more cloves, while hardneck types are suited to colder climates and offer robust flavor. Choose a variety that best suits your local climate and your culinary preferences.
2. Preparing the Soil
Garlic thrives in well-drained, nutrient-rich soil. Choose a sunny location in your garden where the soil drains well to prevent waterlogging, which can lead to rot. If your soil is heavy or clayey, consider amending it with organic matter such as compost or well-rotted manure. This will improve soil structure, fertility, and drainage, creating an ideal environment for garlic growth.
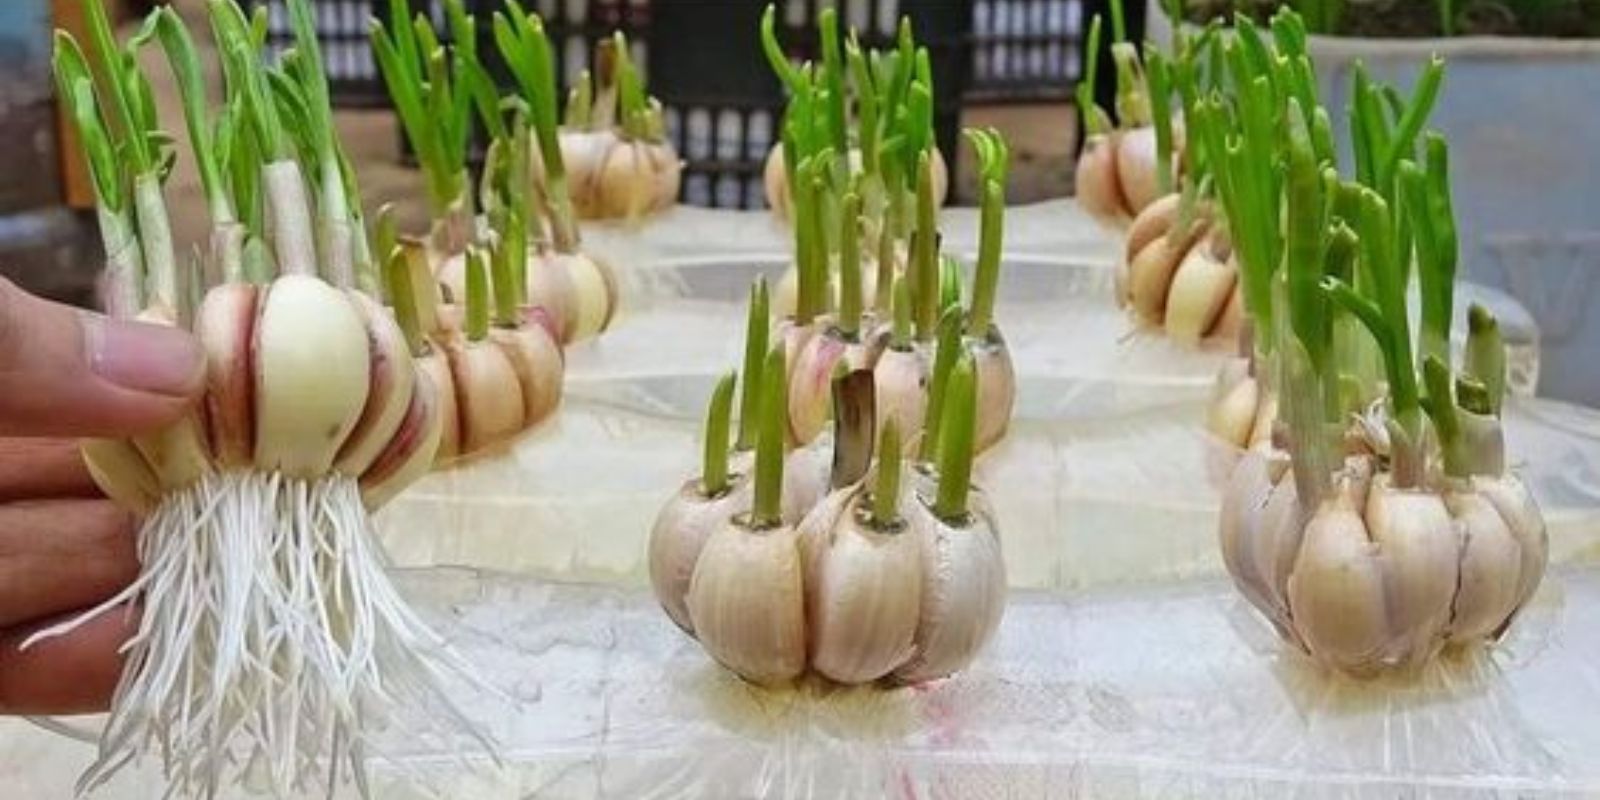
3. Planting Garlic Cloves
Planting garlic is a straightforward process, but timing and technique are crucial for a successful harvest. Start by breaking the garlic bulbs into individual cloves, keeping the papery skins intact. Each clove will grow into a new garlic bulb.
- Timing: Plant garlic in the fall, about 6-8 weeks before the ground freezes. This allows the cloves to establish roots before winter. In warmer climates, garlic can also be planted in early spring.
- Spacing: Space cloves 4-6 inches apart in rows that are 12-18 inches apart. Plant the cloves 2 inches deep with the pointed end facing up. Planting too shallow can result in poor root development, while planting too deep can hinder sprouting.
4. Watering and Mulching
Proper watering and mulching are essential for healthy garlic growth:
- Watering: Water the garlic well after planting. Keep the soil consistently moist, especially during dry periods. Avoid overwatering, as garlic is susceptible to fungal diseases in soggy conditions.
- Mulching: Apply a 2-4 inch layer of mulch, such as straw or shredded leaves, over the planted area. Mulch helps retain soil moisture, suppresses weeds, and provides insulation during colder months. It also adds organic matter to the soil as it decomposes.
5. Caring for Garlic Plants
Garlic is relatively low-maintenance, but a few key practices can enhance growth and yield:
- Weeding: Regularly remove weeds that compete with garlic for nutrients and water. Weeds can be hand-pulled or carefully removed with a hoe, being careful not to disturb the garlic bulbs.
- Fertilizing: Garlic generally benefits from a balanced fertilizer applied in early spring. Use a fertilizer with equal parts nitrogen, phosphorus, and potassium, or a specialized garlic fertilizer. Avoid excessive nitrogen, which can lead to lush foliage but poor bulb development.
- Pest and Disease Management: Monitor your garlic plants for pests such as garlic aphids or diseases like rust and mildew. Promptly address any issues with appropriate organic or chemical treatments to prevent spread.
6. Harvesting Garlic
Knowing when to harvest garlic is crucial for achieving optimal flavor and storage longevity:
- Timing: Garlic is ready for harvest when the lower leaves turn yellow and dry, while the upper leaves remain green. This typically occurs in mid to late summer, about 8-9 months after planting.
- Harvesting: Carefully dig up the garlic bulbs using a garden fork or shovel, taking care not to damage the bulbs. Gently brush off excess soil, but avoid washing the bulbs as this can lead to rot.
- Curing: Allow garlic to cure in a dry, well-ventilated area, such as a shed or garage. Hang the garlic bulbs in bunches or spread them out on a screen or mesh tray. Curing typically takes 2-3 weeks. Proper curing helps the garlic develop a robust flavor and extend its storage life.
7. Storing Garlic
Once cured, garlic should be stored properly to maintain its quality:
- Storage: Store garlic in a cool, dry place with good air circulation. A mesh bag, basket, or a hanging braid works well for storage. Avoid storing garlic in plastic bags or containers that can trap moisture and lead to mold growth.
- Longevity: Well-cured and properly stored garlic can last for several months. Check periodically for any signs of sprouting or decay and remove any affected bulbs to prevent spoilage.
Motivation
Growing garlic at home is not only a satisfying gardening endeavor but also a practical way to enjoy fresh, flavorful garlic throughout the year. By following these steps, you can ensure a successful and bountiful garlic harvest. Embrace the process, experiment with different garlic varieties, and share your gardening success with friends and family. Happy gardening! 🌿🧄