
Cardamom, often referred to as the “Queen of Spices,” is one of the most aromatic and prized herbs in the world. Native to the tropical regions of Asia, particularly India and Sri Lanka, cardamom is widely used in both culinary and medicinal applications. This beloved spice can be found in everything from Indian curries and desserts to Scandinavian pastries and even in coffee blends. The good news is that with a little patience and care, you can grow this fragrant herb right at home—even from seed.
Growing cardamom from seed might seem like a challenging task, but with the right knowledge and techniques, you can enjoy the joy of nurturing this exotic plant in your garden or even indoors. This guide will walk you through everything you need to know to successfully grow cardamom from seed, from planting to harvest.
Why Grow Cardamom at Home?
Before diving into the growing process, let’s explore why you should consider growing cardamom at home:
- Unique Flavor: Freshly grown cardamom seeds offer an intense flavor that dried and processed cardamom cannot match. Growing your own allows you to harvest the freshest pods and add them to your culinary creations.
- Medicinal Benefits: Cardamom is known for its numerous health benefits, including aiding digestion, improving oral health, and reducing inflammation. Having a fresh supply at home means you can easily incorporate it into your wellness routine.
- Tropical Beauty: Cardamom plants are lush, green, and visually stunning. Their broad, evergreen leaves add a tropical touch to any garden, and when they bloom, they produce beautiful white and purple flowers.
- Sustainability: Growing your own cardamom helps reduce your carbon footprint, as it eliminates the need to purchase cardamom that has been transported long distances. Plus, it allows you to take control over how the plants are grown, ensuring a pesticide-free harvest.
The Basics: What You Need to Get Started
Before you begin planting cardamom, it’s important to understand the plant’s needs and preferences. Cardamom is a tropical plant that thrives in warm, humid environments, so replicating these conditions at home is key to success. Here’s what you’ll need:
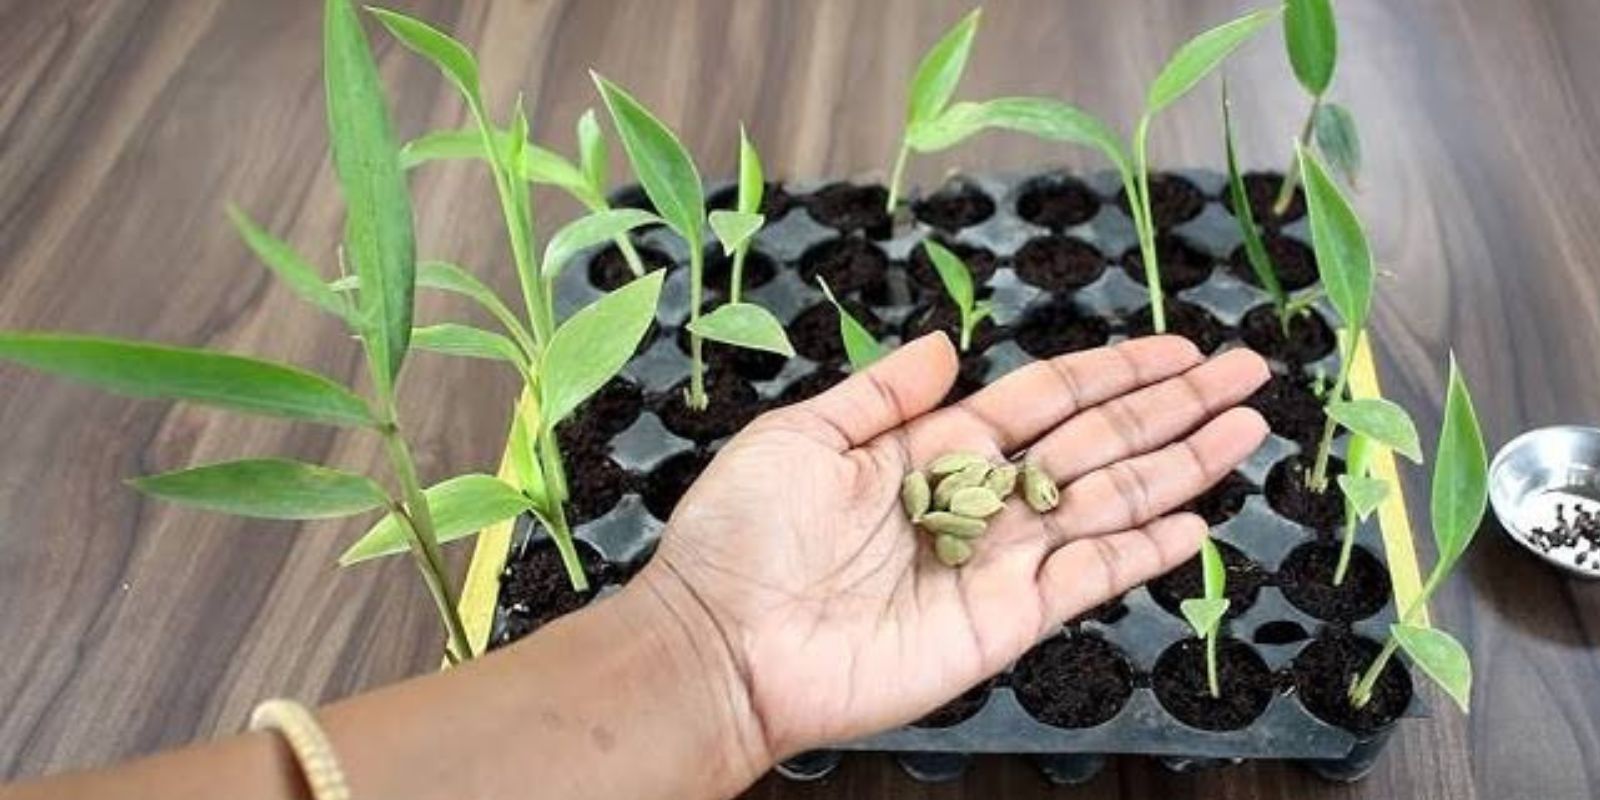
- Cardamom Seeds: The first and most important step is obtaining high-quality cardamom seeds. Fresh seeds are the best option because they have the highest germination rates. If you’re starting from store-bought cardamom pods, make sure they are fresh and have not been exposed to moisture.
- Container or Pot: Since cardamom is typically grown in the ground in tropical climates, you’ll need a large container or pot with good drainage. Choose a pot that is at least 6 inches deep to accommodate the root system.
- Soil: Cardamom prefers a rich, well-draining soil mix. A combination of potting soil, perlite, and sand works well to create a light, airy medium. This allows for proper drainage, which is important to avoid root rot.
- Watering System: Cardamom plants need consistent moisture but do not like sitting in water. A watering system, such as a well-draining pot with a saucer, can help maintain the right moisture levels.
- Temperature and Humidity: Cardamom thrives in temperatures between 70-85°F (21-29°C). Humidity is also crucial for the plant’s growth. Try to keep the plant in a humid environment, which can be achieved by placing it near other plants or using a humidity tray.
- Indirect Light: Cardamom plants do best in indirect sunlight. A bright, but not direct, light source is ideal. If you’re growing indoors, a windowsill that gets plenty of indirect sunlight or a grow light can be perfect.
Step-by-Step Guide to Growing Cardamom from Seed
Now that you’ve got the essentials ready, it’s time to get started with planting cardamom. Follow this step-by-step guide for the best results:
Step 1: Soaking the Seeds
To start, it’s important to soak the cardamom seeds before planting them. This step helps to break the seed coat and encourages faster germination. Place your seeds in a small container of warm water and let them soak for about 24 hours.
While soaking, you may notice that some seeds sink to the bottom while others float. Discard any floating seeds, as they are likely not viable.
Step 2: Preparing the Potting Mix
Cardamom plants need a soil mix that is rich in organic matter but well-draining. You can either purchase a ready-made potting mix for tropical plants or create your own by combining equal parts of potting soil, perlite, and sand. This mix ensures the soil stays light and well-aerated while providing enough nutrients for the plant.
Fill your chosen container with the potting mix, leaving about 1-2 inches of space from the top. Make sure the container has drainage holes to prevent waterlogging.
Step 3: Planting the Seeds
Once the seeds have soaked for 24 hours, it’s time to plant them. Using your finger or a small stick, make shallow holes about ½ inch deep in the potting mix. Place 2-3 seeds in each hole and gently cover them with soil. This ensures that you have a higher chance of germination, as not all seeds may sprout.
Step 4: Creating the Ideal Growing Environment
Cardamom seeds require warmth and humidity to germinate successfully. After planting the seeds, cover the container with a plastic wrap or plastic dome to create a greenhouse effect. This will help keep the humidity high and the temperature warm. Place the container in a location with indirect sunlight.
It’s important to check the soil regularly. Keep it consistently moist but not soggy. If you notice the surface drying out, mist it with water to maintain humidity.
Step 5: Germination and Care
Germination usually takes anywhere from 3 to 8 weeks. During this period, it’s essential to keep the soil consistently moist. Be patient, as cardamom seeds can take time to sprout. Once the seedlings emerge, remove the plastic cover and continue to provide them with indirect sunlight.
After a few months, when the seedlings are strong enough, you can thin them out by removing the weaker ones, leaving the healthiest ones to grow. This ensures that your cardamom plants have enough space to develop their roots and foliage.
Step 6: Transplanting to Larger Pots
As the cardamom plants continue to grow, they will need more space to develop their root system. If you started the seeds in a small pot, transplant the young plants into a larger pot once they’ve outgrown their initial container. Choose a pot that is at least 10-12 inches in diameter to give the roots ample room to spread.
Step 7: Ongoing Care and Maintenance
To ensure healthy growth, cardamom plants require regular maintenance. Here are some tips for caring for your growing plants:
- Watering: Keep the soil consistently moist but never soggy. Water deeply when the top inch of soil feels dry to the touch.
- Fertilizing: During the growing season, use a balanced liquid fertilizer once every 4-6 weeks to encourage strong growth.
- Pruning: Trim any dead or damaged leaves to keep the plant healthy and prevent disease. You can also remove spent flowers to encourage the growth of new ones.
- Temperature and Humidity: Keep the plant in a warm, humid environment. If you’re growing indoors, consider using a humidifier to maintain the necessary humidity levels.
Step 8: Harvesting Cardamom
Cardamom plants typically take about 2-3 years to mature enough for harvesting. When the plants begin to flower, you’ll start seeing green pods. These pods contain the precious seeds, which are the source of cardamom.
Wait until the pods turn yellow or brown and are fully ripe before harvesting. Cut the pods off the plant and allow them to dry out completely before opening them to extract the seeds.
Conclusion
Growing cardamom from seed is a rewarding and enjoyable process that allows you to enjoy this fragrant herb in your own home. With the right care and attention, you can cultivate a thriving cardamom plant and harvest its aromatic pods for culinary and medicinal use. Whether you live in a tropical climate or in a temperate zone, cardamom can be successfully grown in containers, bringing a touch of the tropics to your garden or home. So, start your cardamom-growing journey today and enjoy the many benefits of this powerful and aromatic spice!