
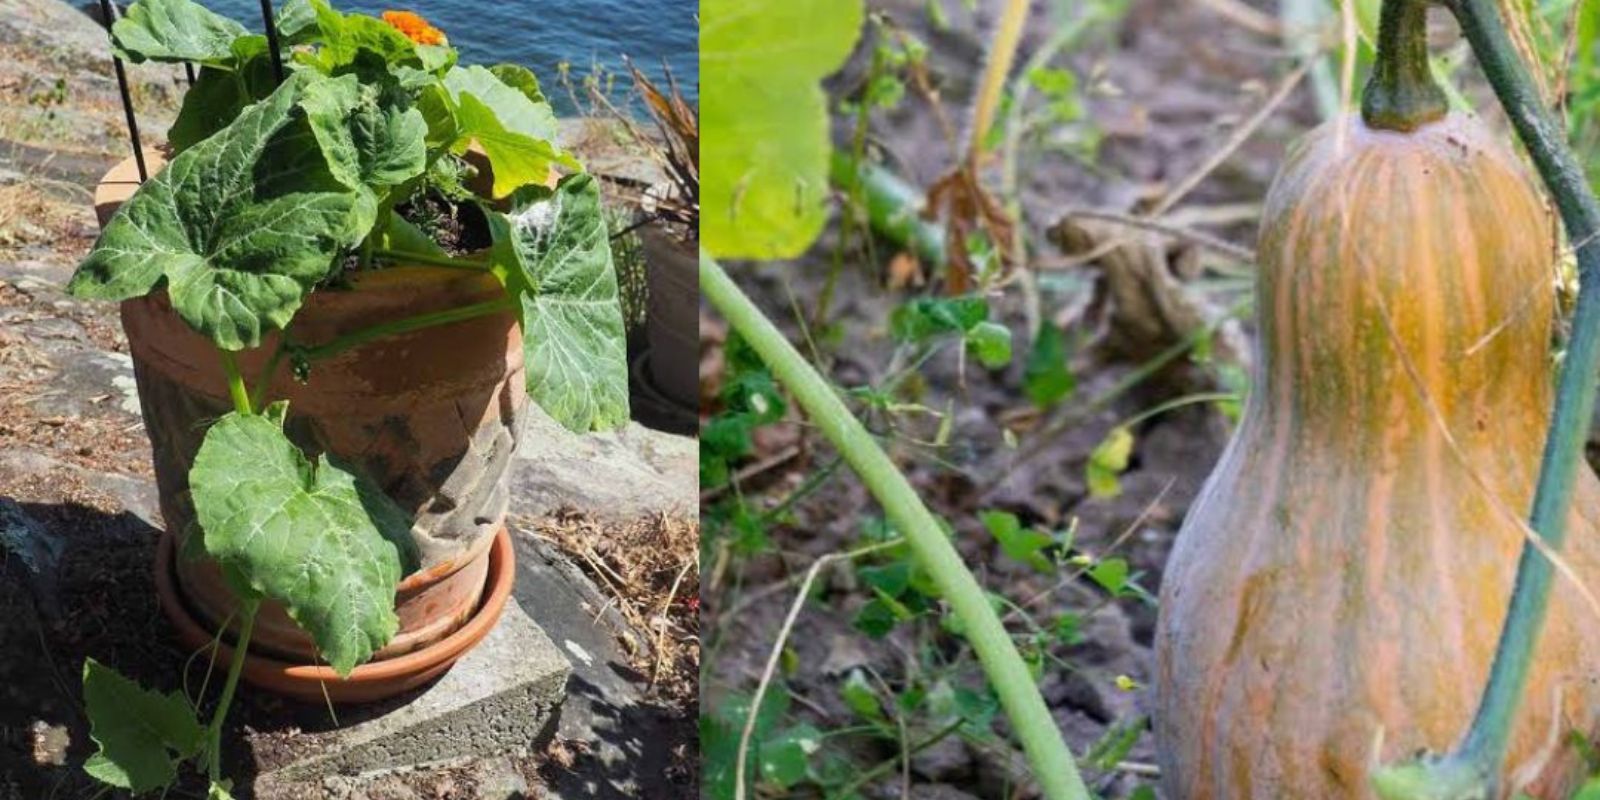
Butternut squash is a versatile and nutritious vegetable, beloved in soups, stews, and roasts. While it’s often grown in sprawling garden spaces, you can successfully cultivate this delicious vegetable in containers, even in small spaces like balconies or patios. This guide will walk you through everything you need to know, step by step, to grow fresh, healthy butternut squash in a container.
Why Grow Butternut Squash in Containers?
Container gardening is perfect for urban dwellers, those with poor soil, or gardeners seeking flexibility in plant placement. Butternut squash, with its climbing vines and hearty fruit, adapts well to container environments when given proper care. Additionally, growing in containers helps manage pests, provides better drainage, and allows you to move the plant to optimal sunlight.
Step 1: Choose the Right Container
The success of your butternut squash largely depends on the container you select.
Size
- Butternut squash has deep roots and sprawling vines, so a large container of at least 5-10 gallons is essential. A depth of 12-18 inches ensures sufficient room for root growth.
- If you’re growing multiple plants, dedicate one container per plant for best results.
Drainage
- Proper drainage is critical to avoid waterlogged soil, which can lead to root rot. Ensure the container has several drainage holes.
- Adding a 1-2 inch layer of gravel or pebbles at the bottom further improves drainage.
Material
- Choose containers made of plastic, ceramic, or fabric grow bags. These materials are lightweight, durable, and allow for better airflow, which benefits root health.
Step 2: Prepare the Soil and Plant
Soil Mix
Butternut squash thrives in nutrient-rich, well-draining soil. A high-quality vegetable potting mix is ideal, but you can create your own by mixing:
- 2 parts compost
- 1 part peat moss or coconut coir
- 1 part perlite or vermiculite
This combination ensures good drainage, aeration, and nutrient retention.
Planting the Seeds or Seedlings
- Seeds: Sow 2-3 seeds 1 inch deep into the soil. Once seedlings emerge, thin them to leave the strongest plant.
- Seedlings: If using nursery-grown seedlings, plant them at the same depth as their original container.
Spacing
If you’re planting multiple containers, place them 3-4 feet apart to provide ample space for vines to spread.
Step 3: Provide Support and Care
Support Structures
Butternut squash vines need support to grow vertically, which is particularly important in container gardening to save space.
- Use a sturdy trellis, cage, or stakes to guide the vines upward.
- Secure the vines gently with soft ties or garden twine to prevent damage.
Watering
- Butternut squash needs consistently moist soil. Check the soil daily and water when the top inch feels dry.
- Use a watering can with a narrow spout to direct water to the base of the plant, avoiding wetting the leaves.
Fertilizing
- Fertilize every 4-6 weeks with a balanced fertilizer (e.g., 10-10-10) or one high in potassium and phosphorus to encourage healthy fruit development.
- Avoid over-fertilizing, as excessive nitrogen can lead to lush leaves but fewer fruits.
Step 4: Control Pests and Harvest Your Squash
Pest Control
Common pests include squash bugs, aphids, and powdery mildew.
- Inspect plants regularly for pests and remove them manually.
- Use insecticidal soap or neem oil to treat infestations.
- Ensure good air circulation around the plant to prevent fungal diseases.
Pollination
- Butternut squash plants produce both male and female flowers. If pollination is low, you can hand-pollinate by transferring pollen from the male flower to the female flower using a small brush or cotton swab.
Harvesting
- The squash is ready to harvest when the skin turns a deep tan color, and the stem becomes dry and woody.
- Cut the squash from the vine, leaving 1-2 inches of stem attached. This helps extend its storage life.
Caring for Your Butternut Squash
Sunlight
Butternut squash requires at least 6-8 hours of sunlight daily. Place the container in a sunny location or move it as needed to follow the sun.
Temperature
This plant thrives in warm temperatures between 70-85°F (21-29°C). Protect it from frost by bringing the container indoors or covering it during cold snaps.
Mulching
Adding a layer of mulch around the base of the plant helps retain soil moisture, regulate temperature, and reduce weed growth.
Why Patience is Key
Growing butternut squash requires time and dedication. From planting to harvesting, the process takes about 90-120 days. However, the reward of fresh, homegrown squash is worth the effort!
Tips for Success
- Start Early: Plant seeds indoors in early spring and transplant them outdoors once the weather warms up.
- Rotate the Container: Regularly rotate the container to ensure all sides of the plant receive equal sunlight.
- Prune Wisely: Remove damaged or yellowing leaves to direct energy toward healthy growth.
Benefits of Growing Butternut Squash in Containers
- Space-Saving: Perfect for patios, balconies, or small gardens.
- Pest Control: Growing in containers allows better monitoring and management of pests.
- Portability: Easily move the container to follow sunlight or protect the plant from harsh weather.
Conclusion
Growing butternut squash in containers is a rewarding experience that doesn’t require a large garden. With the right container, proper care, and a bit of patience, you can enjoy a bountiful harvest of fresh, flavorful squash straight from your patio or balcony. Start your container gardening journey today, and let your green thumb flourish!