
Introduction
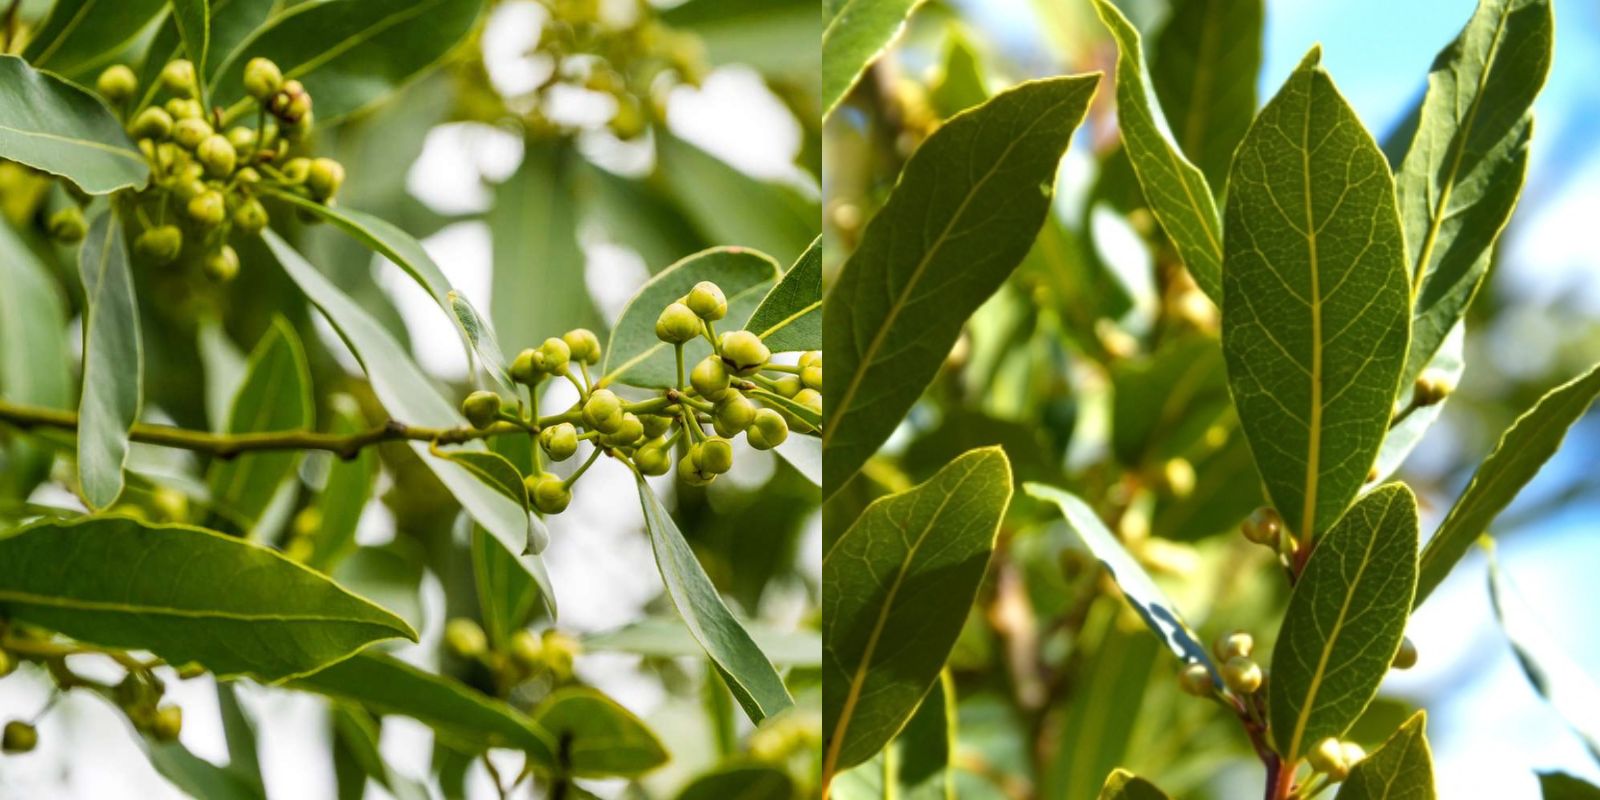
Bay Laurel (Laurus nobilis) is a classic Mediterranean herb known for its aromatic leaves, often used to enhance the flavor of soups, stews, and various dishes. Growing Bay Laurel at home, especially on a balcony, is not only practical but also adds a touch of greenery and elegance to your living space. With the right care and attention, you can cultivate a lush and leafy Bay Laurel that thrives in a container. This guide will walk you through everything you need to know to successfully plant and maintain a healthy Bay Laurel on your balcony.
1. Choosing the Right Container
The first step to growing Bay Laurel is selecting the appropriate container. Bay Laurel can grow into a substantial shrub or small tree, so it’s important to choose a pot that provides ample space for the roots to expand. Ideally, the container should be at least 18-24 inches in diameter and have sufficient drainage holes at the bottom. Good drainage is crucial because Bay Laurel doesn’t tolerate waterlogged soil, which can lead to root rot.
Opt for a sturdy container made of materials like terracotta or ceramic, which not only provide stability but also allow the soil to breathe. If you’re starting with a smaller plant, you can use a smaller pot initially and repot as the plant grows.
2. Preparing the Soil
Bay Laurel thrives in well-draining soil with a slightly acidic to neutral pH. A good potting mix should consist of equal parts potting soil, sand, and perlite or vermiculite to ensure excellent drainage while retaining enough moisture for the plant’s needs. You can also mix in some organic compost to provide the necessary nutrients for healthy growth.
Before planting, place a layer of gravel or broken pottery at the bottom of the container to improve drainage further. This prevents the soil from becoming compacted and promotes the flow of excess water away from the roots.
3. Planting Your Bay Laurel
Once your container is ready, it’s time to plant your Bay Laurel. If you’ve purchased a young plant, carefully remove it from its nursery pot, being mindful not to damage the roots. Place the plant in the center of your prepared container, ensuring that it sits at the same level it was growing in its previous pot. Fill in around the roots with your potting mix, gently pressing down the soil to eliminate air pockets. Water the plant thoroughly after planting to help settle the soil around the roots.
If you’re starting from a cutting, prepare the cutting by removing the lower leaves and dipping the cut end in rooting hormone. Insert the cutting into a small pot filled with a mix of sand and peat moss, and keep it in a warm, bright location until roots develop, typically in 6-8 weeks. Once the cutting has rooted, you can transplant it into your larger container.
4. Positioning and Sunlight Requirements
Bay Laurel thrives in full sun but can tolerate partial shade. Place your container in a location on your balcony where the plant can receive at least 6 hours of sunlight each day. South-facing balconies are ideal, but if you have a different orientation, ensure the plant gets sufficient light by moving it to the sunniest spot available.
If your balcony receives strong afternoon sun, consider providing some shade during the hottest part of the day to prevent the leaves from scorching. You can achieve this by placing the plant near a wall or using a light shade cloth.
5. Watering Your Bay Laurel
Watering is a critical aspect of Bay Laurel care. While the plant prefers moist soil, it’s important not to overwater, as this can lead to root rot. The frequency of watering will depend on the weather, the size of the container, and the plant’s stage of growth.
During the growing season (spring and summer), water the Bay Laurel regularly, allowing the top inch of soil to dry out between waterings. In the cooler months (fall and winter), reduce watering as the plant’s growth slows. Always check the moisture level of the soil before watering to avoid overwatering.
6. Fertilizing for Lush Growth
Bay Laurel benefits from regular feeding during the growing season to promote lush, green foliage. Use a balanced, slow-release fertilizer with an NPK ratio of 10-10-10 or 14-14-14. Apply the fertilizer every 4-6 weeks from spring through early fall, following the manufacturer’s instructions.
You can also supplement with organic fertilizers like fish emulsion or compost tea for additional nutrients. Be cautious not to over-fertilize, as this can lead to excessive growth that might outgrow your container quickly.
7. Pruning and Shaping
Pruning is essential for maintaining the shape and size of your Bay Laurel, especially when growing it in a container. Regular pruning encourages bushier growth and prevents the plant from becoming too leggy.
Start by removing any dead, damaged, or diseased branches. Next, trim back the tips of the branches to your desired shape, usually in early spring or late fall. You can prune your Bay Laurel into a formal shape, such as a sphere or cone, or allow it to grow more naturally with occasional trimming to maintain a tidy appearance.
Pruning also helps to improve air circulation around the plant, reducing the risk of pests and diseases.
8. Protecting Your Bay Laurel in Winter
Bay Laurel is hardy but can be sensitive to frost, particularly in colder climates. If you live in an area where temperatures drop below freezing, it’s important to protect your plant during the winter months.
One option is to move the container indoors to a bright, cool room or greenhouse. If moving the plant indoors isn’t possible, insulate the container by wrapping it in bubble wrap or burlap, and cover the top of the soil with mulch to protect the roots from freezing temperatures.
During the winter, water the Bay Laurel sparingly, as it requires less moisture when it’s not actively growing.
9. Harvesting Bay Leaves
Once your Bay Laurel is established, you can begin harvesting its aromatic leaves for culinary use. The best time to harvest is in the morning when the essential oils are most concentrated. Simply snip off individual leaves as needed, or prune entire branches if you require a larger quantity.
Bay leaves can be used fresh or dried for later use. To dry the leaves, spread them out in a single layer on a paper towel or drying rack in a warm, well-ventilated area. Once fully dry, store the leaves in an airtight container away from direct sunlight.
Conclusion
Growing a Bay Laurel on your balcony is a rewarding experience that offers both aesthetic and practical benefits. With the right container, soil, and care, your Bay Laurel can thrive for years, providing you with a steady supply of fresh, aromatic leaves. By following these steps, you’ll be well on your way to cultivating a lush, healthy Bay Laurel that enhances your balcony garden and your culinary creations. Start your Bay Laurel journey today and enjoy the timeless beauty and flavor it brings to your home!