
Introduction
Germinating walnut seeds is a rewarding but patient process that can lead to thriving walnut trees with time. Known for their impressive size and nutritional value, walnuts (Juglans spp.) require specific conditions to break dormancy and sprout. This guide will walk you through the detailed steps of germinating walnut seeds over a period of 7 months, ensuring you have the best chance for success. Whether you’re an avid gardener or a beginner looking to grow your own trees, these steps will help you navigate the process effectively.
1. Preparing Walnut Seeds
1.1. Seed Selection
The journey to germinating walnut seeds begins with selecting high-quality seeds. Opt for seeds from healthy, mature walnuts. Ideally, choose seeds from a variety known to perform well in your climate. Make sure the nuts are fresh and free from mold or damage.
1.2. Pre-Soaking the Seeds
Before planting, soak the walnut seeds in water for 24 hours. This pre-soaking step softens the tough outer shell, which can speed up the germination process. Place the seeds in a bowl of lukewarm water, ensuring they are fully submerged. This helps to soften the hard shell and initiate the germination process.
2. Cold Stratification
2.1. What is Cold Stratification?
Cold stratification mimics winter conditions and is essential for breaking the seed’s dormancy period. This process involves exposing the seeds to cold, moist conditions, which triggers the germination process.
2.2. Preparing for Stratification
After soaking, drain the seeds and place them in a plastic bag or container with moist sand, peat moss, or vermiculite. Ensure the medium is damp but not waterlogged. Mix the seeds with the medium to ensure even moisture distribution.
2.3. Storage Conditions
Seal the bag or container and store it in the refrigerator. The ideal temperature for cold stratification is between 34°F and 41°F (1°C and 5°C). Leave the seeds in the refrigerator for 60 to 90 days. Regularly check the moisture level of the medium and keep it damp throughout the stratification period.
3. Monitoring and Checking for Sprouts
3.1. Checking for Germination Signs
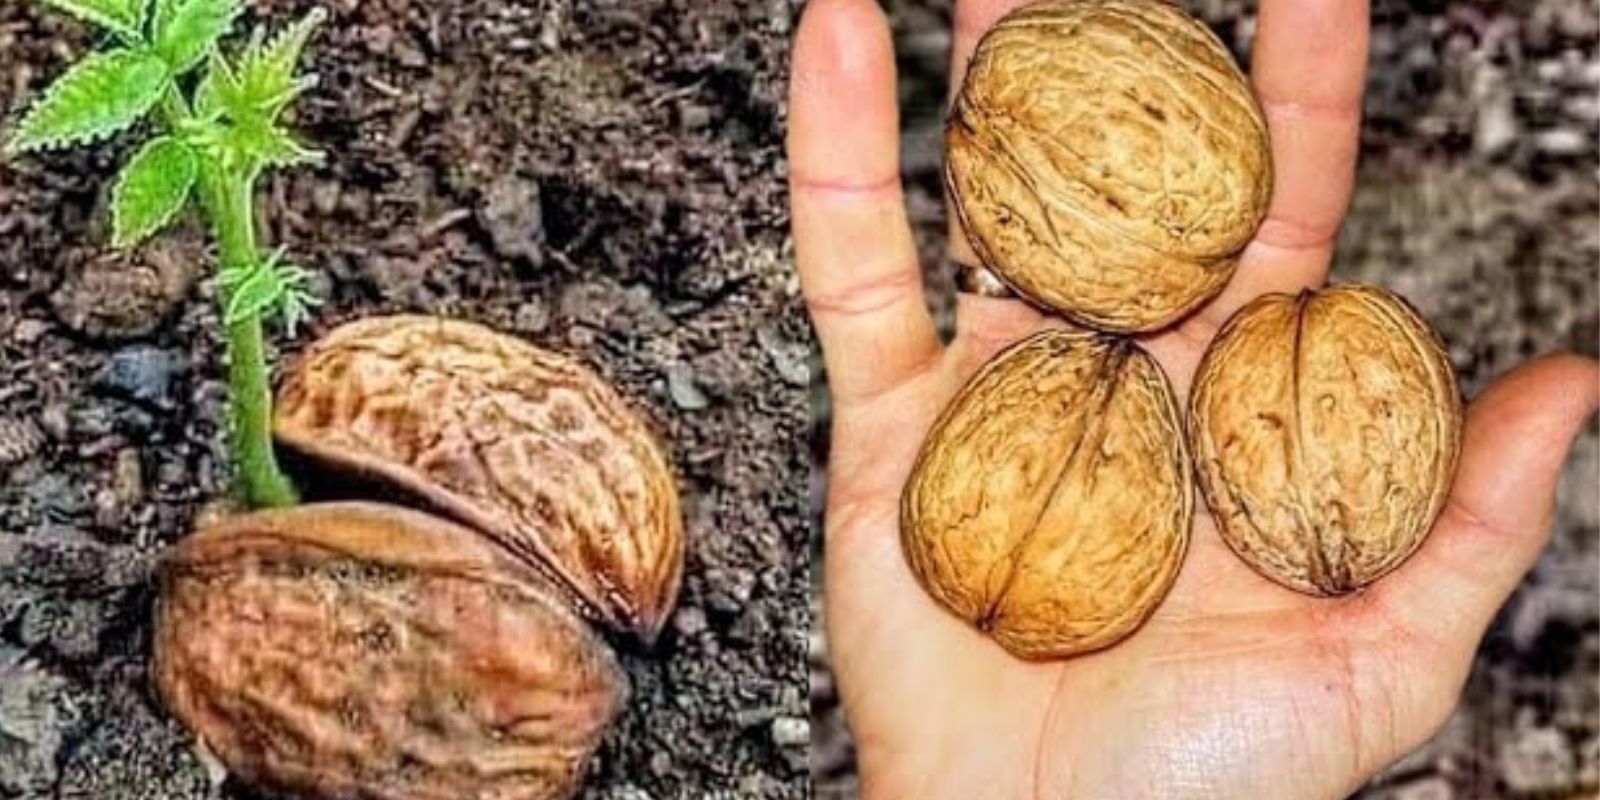
After the cold stratification period, remove the seeds from the refrigerator and inspect them. Look for small roots or sprouts emerging from the seeds. These early signs of germination indicate that the seeds are ready for planting.
3.2. Dealing with Non-Germinated Seeds
If you don’t see any sprouts, the seeds may need more time. Return them to the refrigerator for an additional 2-4 weeks, then check again. Occasionally, some seeds may not germinate, so it’s a good idea to start with more seeds than you need to ensure successful germination.
4. Planting Sprouted Seeds
4.1. Choosing the Right Containers
Select pots or seed trays with drainage holes to prevent waterlogging. Use containers that are at least 6 inches deep to accommodate the developing root system.
4.2. Soil Preparation
Fill the pots with a well-draining soil mix, such as a combination of peat moss, perlite, and compost. This ensures good aeration and drainage, which are crucial for healthy root development. Moisten the soil before planting.
4.3. Planting the Seeds
Plant the sprouted seeds about 2 inches deep into the soil. Gently press the soil around the seed to ensure good contact and stability. Water the soil lightly to settle it around the seed. Avoid overwatering, as this can lead to root rot.
5. Caring for Walnut Seedlings
5.1. Optimal Growing Conditions
Place the pots in a sunny location where the seedlings can receive at least 6-8 hours of direct sunlight per day. If growing indoors, consider using grow lights to provide adequate light.
5.2. Watering and Fertilizing
Keep the soil consistently moist but not soggy. Water the seedlings when the top inch of soil feels dry. As the seedlings grow, you can begin to apply a balanced, water-soluble fertilizer once a month. Follow the manufacturer’s instructions for dosage.
5.3. Transplanting
Once the seedlings reach a height of 6-12 inches and have developed a strong root system, they can be transplanted into larger pots or directly into the garden. Choose a location with well-draining soil and full sun exposure.
6. Common Challenges and Solutions
6.1. Seedling Diseases
Monitor the seedlings for signs of diseases such as damping-off, which causes seedlings to wilt and collapse. To prevent disease, ensure good air circulation and avoid overwatering. Use a fungicide if necessary.
6.2. Pests
Watch out for pests like aphids and spider mites that can damage young seedlings. Insecticidal soap or neem oil can help manage pests without harming the plants.
7. Conclusion
Germinating walnut seeds and growing walnut trees can be a rewarding experience for gardeners. By following the steps outlined above—preparing seeds, cold stratification, monitoring for sprouts, planting, and caring for seedlings—you can increase your chances of success. With patience and attention to detail, you’ll be able to grow healthy walnut trees that will provide beauty and produce in the future.
🌰🌱 #WalnutGermination #GrowYourOwnTrees #SeedStartingTips #HomeGardening #TreePlanting #GardeningJourney #GreenThumb #GardenSuccess #PlantingTips