
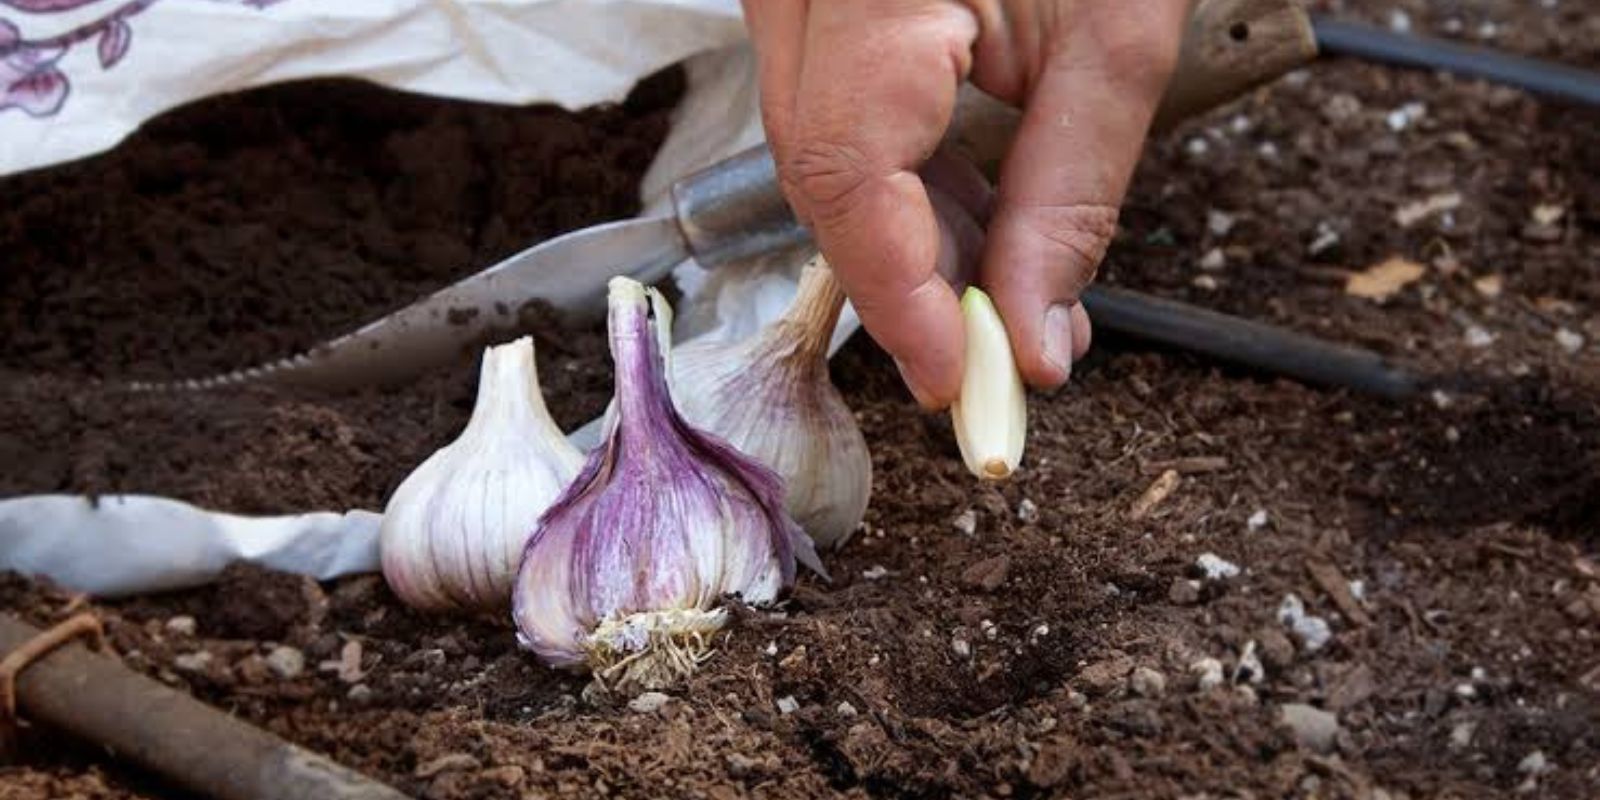
Garlic is a staple in kitchens worldwide, prized not only for its flavor but also for its numerous health benefits. If you’re growing garlic at home, one of the most important things you can do to ensure a successful harvest is fertilizing it correctly. Garlic grows in two distinct stages—leaf development and bulb formation—and each phase requires specific nutrients to produce large, healthy heads. This article will provide a detailed, step-by-step guide on how to fertilize garlic effectively during its growth cycle.
Understanding Garlic Growth Stages
To grow large garlic heads, you must first understand its two main growth stages:
- Leaf Development Stage (Vegetative Growth):
This stage occurs during the first few months after planting. Garlic focuses on developing strong roots and vibrant green leaves. Healthy leaves are essential, as they supply the energy needed to form big bulbs later. - Bulb Development Stage:
In the later stages of growth, garlic shifts its energy toward bulb formation. Leaf growth slows, and the plant begins storing nutrients in the cloves, leading to the final size and quality of the garlic head.
Each stage has unique nutrient requirements, which is why fertilization needs to be adjusted accordingly.
Fertilizing Garlic During Leaf Development
In the early growth stage, garlic relies on the nutrients stored in the clove for initial growth. However, as the leaves and roots expand, the soil’s nutrient supply can quickly deplete. This is where fertilization plays a vital role.
Nutrients Needed:
- Nitrogen: Encourages lush, green leaf growth.
- Sulfur: Promotes strong plant tissue development.
- Magnesium: Strengthens roots and helps the plant absorb essential nutrients.
Fertilizer Recipe:
- 1 tablespoon of ammonium nitrate (a nitrogen-rich fertilizer).
- 1 tablespoon of magnesium sulfate (Epsom salt).
- 10 liters of water.
Application Instructions:
- Dissolve the ammonium nitrate and magnesium sulfate in water.
- Water the garlic plants generously at the root.
- Apply the fertilizer every 2–3 weeks during the leaf development stage.
This mixture ensures that the leaves remain green and vibrant, while the roots grow strong enough to support the plant’s later needs. Be cautious not to overfertilize, as excessive nitrogen can lead to overly leafy plants with underdeveloped bulbs.
Fertilizing Garlic During Bulb Development
As garlic transitions into the bulb development stage, its nutrient requirements change. The focus shifts from leaf growth to building larger bulbs. At this stage, nitrogen should be reduced or eliminated, as too much nitrogen can delay bulb formation and lead to smaller heads. Instead, the plant needs potassium and phosphorus.
Nutrients Needed:
- Potassium: Enhances bulb size and improves the overall quality of the garlic.
- Phosphorus: Strengthens the plant’s ability to store energy, essential for bulb growth.
Fertilizer Recipe:
- 1 cup of wood ash (a natural source of potassium and phosphorus).
- 10 liters of water.
Application Instructions:
- Dissolve the wood ash in water.
- Apply the mixture to the base of the garlic plants.
- Ensure the soil is moist before applying fertilizer to aid absorption.
This nutrient combination supports robust bulb development and increases your chances of a bountiful harvest.
General Fertilization Tips for Garlic
- Avoid Overfertilizing:
Too much fertilizer, especially nitrogen, can harm garlic growth. It’s better to follow a balanced approach and apply nutrients in moderation. - Fertilize Wet Soil:
Always water the soil before applying fertilizer. Wet soil helps nutrients absorb more effectively and prevents root burn. - Create Fertilizer Grooves:
Instead of spreading fertilizer directly on the soil surface, dig shallow grooves near the garlic plants and apply the fertilizer there. This ensures the nutrients reach the roots directly. - Use Organic Options:
For those who prefer organic gardening, compost or