
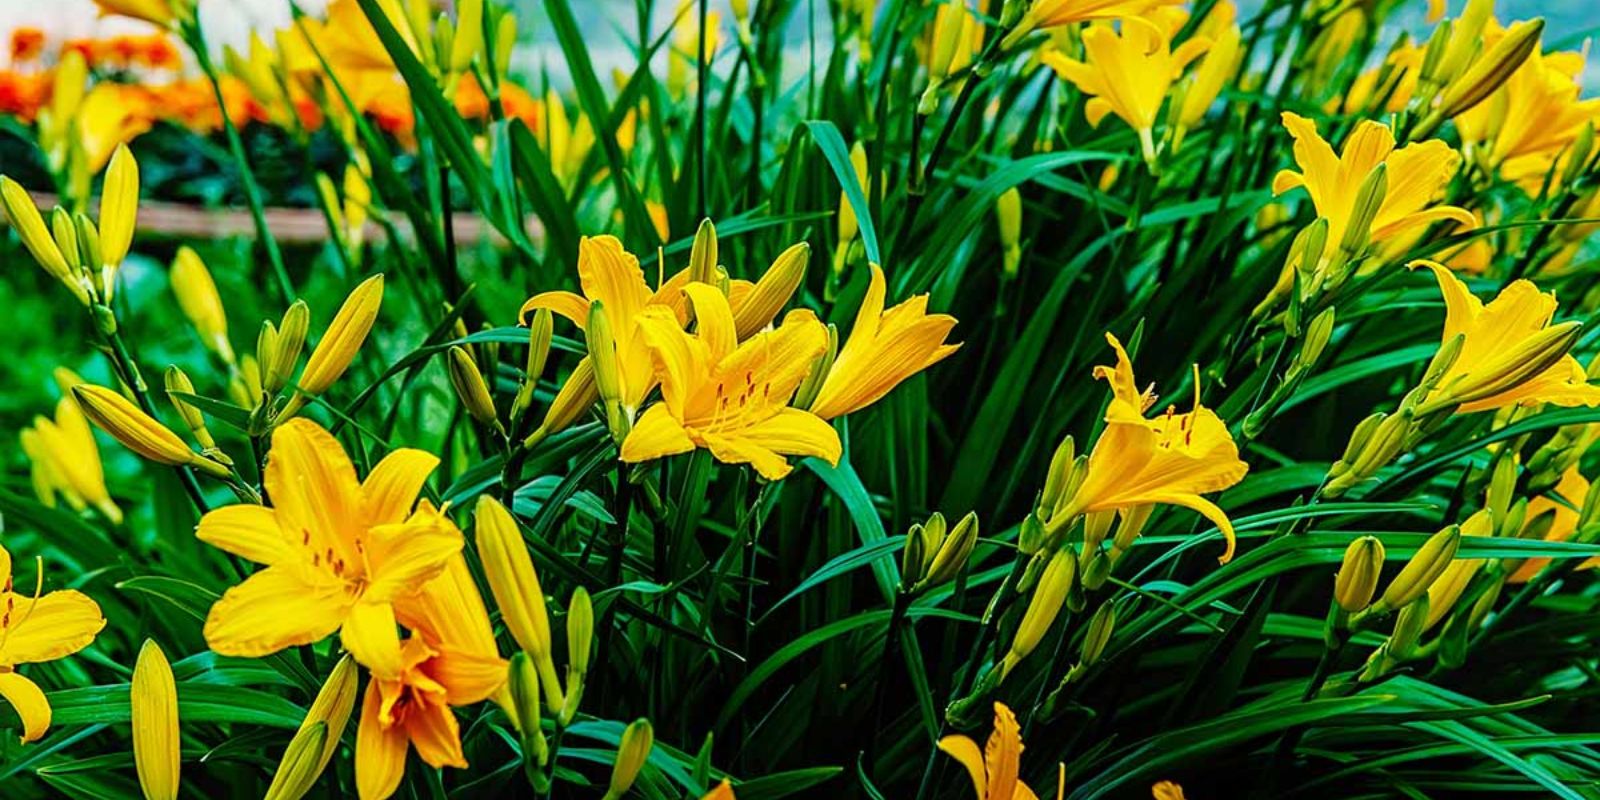
Daylilies are a favorite in many gardens due to their vibrant colors, low-maintenance nature, and ability to bloom year after year. However, over time, daylilies can become crowded and may stop producing the spectacular blooms they’re known for. To ensure your daylilies continue to thrive, dividing them regularly is essential. But timing is everything when it comes to dividing these hardy plants. Knowing the best time to divide your daylilies can make a world of difference, giving them the best chance at a healthy rebirth. This guide will walk you through when and how to divide your daylilies, ensuring a long-lasting and beautiful garden.
Why Dividing Daylilies is Important
Before we dive into the best time and methods for dividing daylilies, it’s essential to understand why it’s necessary in the first place. Daylilies, like many perennials, need to be divided every few years to maintain their health. If left undivided for too long, the center of the plant may become crowded, and the plant may stop producing as many blooms or become susceptible to disease.
Dividing daylilies also helps control their spread. These plants tend to multiply quickly, and their dense root systems can take up more space than you want in your garden. Dividing your daylilies gives you a chance to control the plant’s size and spread, preventing overcrowding and giving neighboring plants more room to grow.
Additionally, dividing daylilies is an excellent way to propagate them. You can use the divisions to start new plants in your garden or even share them with friends and family, creating a thriving network of daylily lovers in your community.
Best Time to Divide Daylilies
The timing of dividing your daylilies is crucial to ensuring their success. If you divide them at the wrong time, you risk damaging the plants or stunting their growth. Generally, there are two ideal times to divide daylilies: early spring and late summer.
1. Early Spring
The best time to divide daylilies is early spring, just as the plants are beginning to emerge from their winter dormancy. During this time, the plant is still in its “sleeping” phase, and the energy is concentrated in the roots rather than the foliage or flowers. Dividing them early in the season gives the plants plenty of time to establish their new roots before the growing season begins.
Early spring division allows the plant to acclimate and start growing new shoots in the soil, making it a great opportunity for a healthy restart. Ideally, this should be done just before the plant starts showing signs of new growth, typically when the first green leaves begin to appear.
2. Late Summer (After Blooming)
The second best time to divide daylilies is in late summer, after they have finished blooming. At this time, the plant’s energy is starting to wind down as it prepares for dormancy in the fall. Dividing daylilies after blooming ensures that you don’t interrupt the plant’s blooming cycle, which could result in fewer flowers the following season.
Late summer division has a few advantages. For one, it allows the plant to establish its roots for the fall and gives you a better view of how crowded the clump has become. Additionally, dividing the plant in late summer allows you to avoid dividing it during the hottest part of the growing season, when the plant might be stressed by heat.
How to Divide Daylilies
Now that you know when to divide your daylilies, it’s time to learn how to do it properly. The process is simple and can be done with a few basic tools. Follow these steps to divide your daylilies with ease.
Tools You Will Need:
- A shovel or garden fork
- A sharp knife or pruning shears
- A garden hose or watering can
- A wheelbarrow or tarp (for easier clean-up)
1. Prepare the New Planting Area
Before you dig up your daylilies, prepare a new area for the divisions. Make sure the soil is well-drained, fertile, and slightly acidic, as daylilies prefer these conditions. If necessary, amend the soil with compost or organic matter to ensure the new plants have a healthy environment to grow in.
2. Dig Up the Daylily Clump
Once your new planting area is ready, use a shovel or garden fork to dig up the daylily clump. Carefully insert the tool about 6 inches away from the base of the plant and gently lift the entire clump from the soil. Be careful not to damage the roots too much, as this could hinder the plant’s ability to recover and establish new growth.
3. Separate the Clump
Once the clump is out of the ground, use your hands or a garden fork to gently pull apart the roots. Daylilies have a fibrous root system, so this step should be relatively easy. Look for natural divisions in the plant, which often occur in a circular or fan-like pattern. You can divide the clump into as many sections as you like, depending on the size of the plant.
Each division should have a healthy portion of roots attached, as this will give it the best chance at surviving and thriving in its new location. If the roots are too large or tangled, use a sharp knife or pruning shears to cut through them.
4. Trim Damaged Roots and Foliage
Once the divisions are separated, trim any damaged or dead roots and foliage. Removing the damaged parts of the plant will help the new divisions focus their energy on healthy growth rather than trying to heal wounds. Use clean, sharp tools to avoid introducing diseases or pests to the plant.
5. Replant the Divisions
Now that you have your new daylily divisions, it’s time to replant them. Dig a hole in the prepared soil that is large enough to accommodate the roots, but not too deep. Daylilies should be planted at the same depth they were growing previously, so make sure the crown (where the roots meet the stems) is level with the soil surface.
Place the division in the hole and fill it in with soil, firming it gently around the roots to remove any air pockets. Water thoroughly after planting to help settle the soil and encourage root growth.
6. Water and Care for the New Divisions
After replanting, water your daylilies thoroughly to help them establish their roots in their new location. Keep the soil consistently moist, especially during dry spells, to ensure the plants don’t become stressed. As the plant begins to grow, you can fertilize it with a balanced fertilizer to encourage new growth and blooming.
Tips for Successful Daylily Division
- Avoid dividing overgrown clumps during the blooming season. Dividing daylilies during their bloom cycle can interfere with the plant’s ability to flower the following year.
- Work with the weather. Choose a day when the weather is mild and overcast. Dividing daylilies in hot, sunny weather can stress the plant and prevent it from establishing properly.
- Give the divisions room to grow. When replanting, make sure to space the new plants at least 18 to 24 inches apart. Daylilies can spread quickly, and giving them enough room ensures they have space to thrive.
Conclusion: Keep Your Daylilies Thriving!
Dividing daylilies is an essential task for any gardener looking to keep their plants healthy, vibrant, and blooming year after year. By dividing them at the right time, you ensure that your daylilies continue to grow strong and beautiful, while also giving yourself the opportunity to propagate new plants for your garden.
Whether you divide your daylilies in early spring or late summer, following these steps will help you achieve the best results. So get your gardening gloves on and dive into the rewarding task of dividing your daylilies—you’ll be rewarded with gorgeous blooms for years to come!