
Growing strawberries is a delightful endeavor for both novice and experienced gardeners. Not only do strawberries add a burst of color and sweetness to your garden, but they also provide a bountiful harvest that can be enjoyed fresh, in desserts, or preserved for later use. This comprehensive guide will take you through every step of creating a strawberry bed, from selecting the right variety to harvesting your delicious berries.
1. Understanding Strawberry Varieties
Before you start your strawberry bed, it’s important to understand the different types of strawberries available, as each has its own growing requirements and harvesting times.
A. June-Bearing Strawberries
These strawberries produce a single large harvest in late spring to early summer. They are perfect for gardeners who want a lot of strawberries at once for canning or freezing. Popular varieties include ‘Honeoye,’ ‘Chandler,’ and ‘Cavendish.’
B. Everbearing Strawberries
Everbearing strawberries yield two to three harvests throughout the growing season, typically in late spring, summer, and early fall. They are ideal for those who want fresh strawberries for a longer period. Varieties like ‘Quinault’ and ‘Ozark Beauty’ are popular choices.
C. Day-Neutral Strawberries
These strawberries produce fruit continuously throughout the growing season, regardless of day length. They thrive in a wide range of temperatures, making them versatile for different climates. Varieties like ‘Albion’ and ‘Seascape’ are excellent options for day-neutral strawberries.
2. Choosing the Right Location
The success of your strawberry bed largely depends on selecting the right location. Here are a few key factors to consider:
A. Sunlight
Strawberries require at least 6-8 hours of direct sunlight each day. Choose a spot in your garden that receives ample sun, especially during the morning hours.
B. Soil Quality
Strawberries prefer well-drained, sandy loam soil with a pH level between 5.5 and 6.8. Test your soil before planting, and amend it as necessary to improve its structure and nutrient content.
C. Accessibility
Consider the accessibility of your strawberry bed. Make sure it’s easy to reach for regular maintenance, watering, and harvesting.
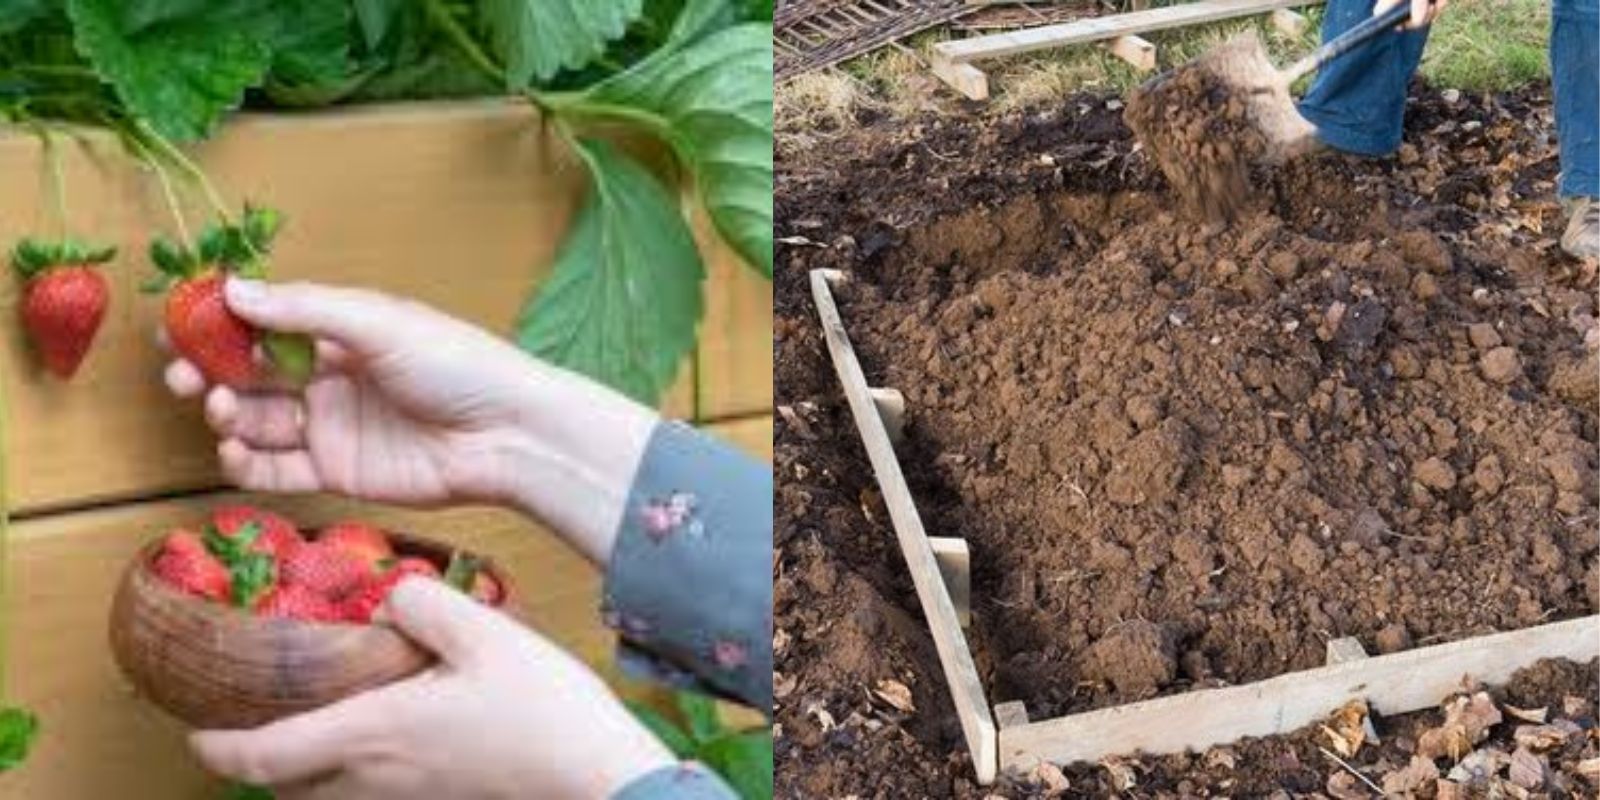
3. Preparing the Soil
Once you’ve selected the perfect location, it’s time to prepare the soil for planting:
A. Clearing the Area
Remove any weeds, rocks, or debris from the planting area. A clean bed will help prevent competition for nutrients and reduce pest habitats.
B. Tilling the Soil
Loosen the soil to a depth of about 12 inches using a garden fork or tiller. This helps improve drainage and allows roots to penetrate the soil more easily.
C. Amending the Soil
Mix in organic matter, such as compost or well-rotted manure, to enrich the soil with nutrients. This amendment will enhance soil structure and improve moisture retention.
D. Fertilizing
Before planting, apply a balanced fertilizer (like a 10-10-10) according to the package instructions. This initial feeding will help give your strawberry plants a strong start.
4. Planting Strawberry Plants
A. Timing
The best time to plant strawberries is in the spring, after the last frost date in your area. If you live in a warmer climate, you may also plant in the fall.
B. Spacing
When planting, space the strawberry plants about 12-18 inches apart in rows that are 3-4 feet apart. This allows for adequate airflow and reduces the risk of disease.
C. Planting Technique
Dig a hole large enough to accommodate the root system. Place the plant in the hole, ensuring that the crown (the point where the stem meets the roots) is level with the soil surface. Backfill the hole gently and water thoroughly.
5. Watering and Mulching
A. Watering
After planting, water the strawberry plants thoroughly. It’s crucial to keep the soil consistently moist, especially during flowering and fruit development. Strawberries typically require about 1-2 inches of water per week.
B. Mulching
Apply a layer of organic mulch (straw, wood chips, or grass clippings) around the plants. Mulching helps retain soil moisture, suppresses weeds, and keeps the strawberries clean as they grow.
6. Maintaining Your Strawberry Bed
A. Regular Monitoring
Keep an eye on your strawberry plants for signs of pests or diseases. Early detection and intervention are key to preventing damage.
B. Fertilization
After the plants are established, feed them with a balanced fertilizer every 4-6 weeks during the growing season. Avoid over-fertilizing, as this can lead to excessive foliage growth at the expense of fruit production.
C. Pruning
Remove any dead or yellowing leaves and trim off runners if you want to control the spread of the plants. Pruning encourages healthy growth and improves air circulation.
7. Protecting Your Strawberry Plants
A. Pest Control
Strawberries are susceptible to pests like aphids, spider mites, and slugs. Use organic pest control methods such as insecticidal soap or neem oil to manage infestations.
B. Disease Management
Common strawberry diseases include powdery mildew, gray mold, and root rot. To prevent these issues, ensure proper spacing for air circulation, avoid overhead watering, and remove any infected plant material immediately.
8. Harvesting Strawberries
A. Timing
Strawberries are ready for harvest when they are fully colored and slightly soft to the touch. This typically occurs about 4-6 weeks after flowering, depending on the variety.
B. Harvesting Technique
Use scissors or garden shears to cut the stem just above the fruit, avoiding damage to the plant. Be gentle to prevent bruising the berries, and harvest early in the morning when they are cool and firm.
C. Post-Harvest Care
After harvesting, store strawberries in a cool, dry place. Avoid washing them until you’re ready to eat them to prolong freshness.
9. Extending the Strawberry Season
A. Covering Plants
In colder climates, consider using row covers or tunnels to protect your strawberries from frost and extend the growing season.
B. Succession Planting
To ensure a continuous harvest, plant strawberries in succession every few weeks during the planting season. This method allows you to enjoy fresh strawberries from early summer through fall.
10. Enjoying Your Strawberry Harvest
Once you’ve successfully grown your strawberries, it’s time to enjoy the fruits of your labor. Fresh strawberries are delicious on their own, but they can also be used in a variety of recipes, including:
- Strawberry shortcake
- Smoothies
- Jams and jellies
- Salads
- Desserts and pastries
Conclusion
Growing strawberries can be a fulfilling and enjoyable experience. By following these steps, you can create a thriving strawberry bed that yields delicious, homegrown fruit. Remember to be patient, as it may take a season or two for your plants to reach their full potential, but the rewards will be well worth the effort. Whether you’re snacking on them fresh or using them in your favorite recipes, the taste of homegrown strawberries is unparalleled. So grab your gardening gloves and get started on your strawberry journey today!
Are you excited to start your own strawberry bed? Share your gardening tips and experiences! #StrawberryGarden #HomeGrownDeliciousness #GardenLife #PlantingJoy #BerryLovers