
Introduction
In the world of gardening, efficient watering is key to healthy plant growth. With changing weather patterns and water conservation becoming increasingly important, many gardeners are turning to drip irrigation systems. These systems provide a precise and efficient way to deliver water directly to the root zone of your plants, reducing waste and improving growth. This article will guide you through the process of creating your very own DIY drip irrigation system for your gardens and raised beds.
Why Choose Drip Irrigation?
Drip irrigation is the most efficient watering method available. Unlike traditional overhead watering, which can lead to evaporation and runoff, drip systems deliver water directly to the roots of plants. Here are some of the benefits:
- Water Efficiency: Drip systems can save up to 50% more water compared to traditional methods, which is crucial during dry spells.
- Weed Control: By directing water to the roots, you limit moisture in the surrounding soil, reducing weed growth.
- Disease Prevention: Drip irrigation minimizes wet foliage, reducing the risk of fungal diseases.
- Better Plant Health: Consistent moisture levels support optimal growth and yield, resulting in healthier plants.
Planning Your Drip Irrigation System
Before you start building your drip irrigation system, proper planning is essential. Here are the steps to consider:
Step 1: Assess Your Garden Layout
- Size and Shape: Measure the area you want to irrigate. This includes the dimensions of your garden beds and the spacing between plants.
- Plant Needs: Consider the water requirements of different plants. Some may need more water than others, so grouping plants with similar needs can optimize your system.
Step 2: Choose the Right Components
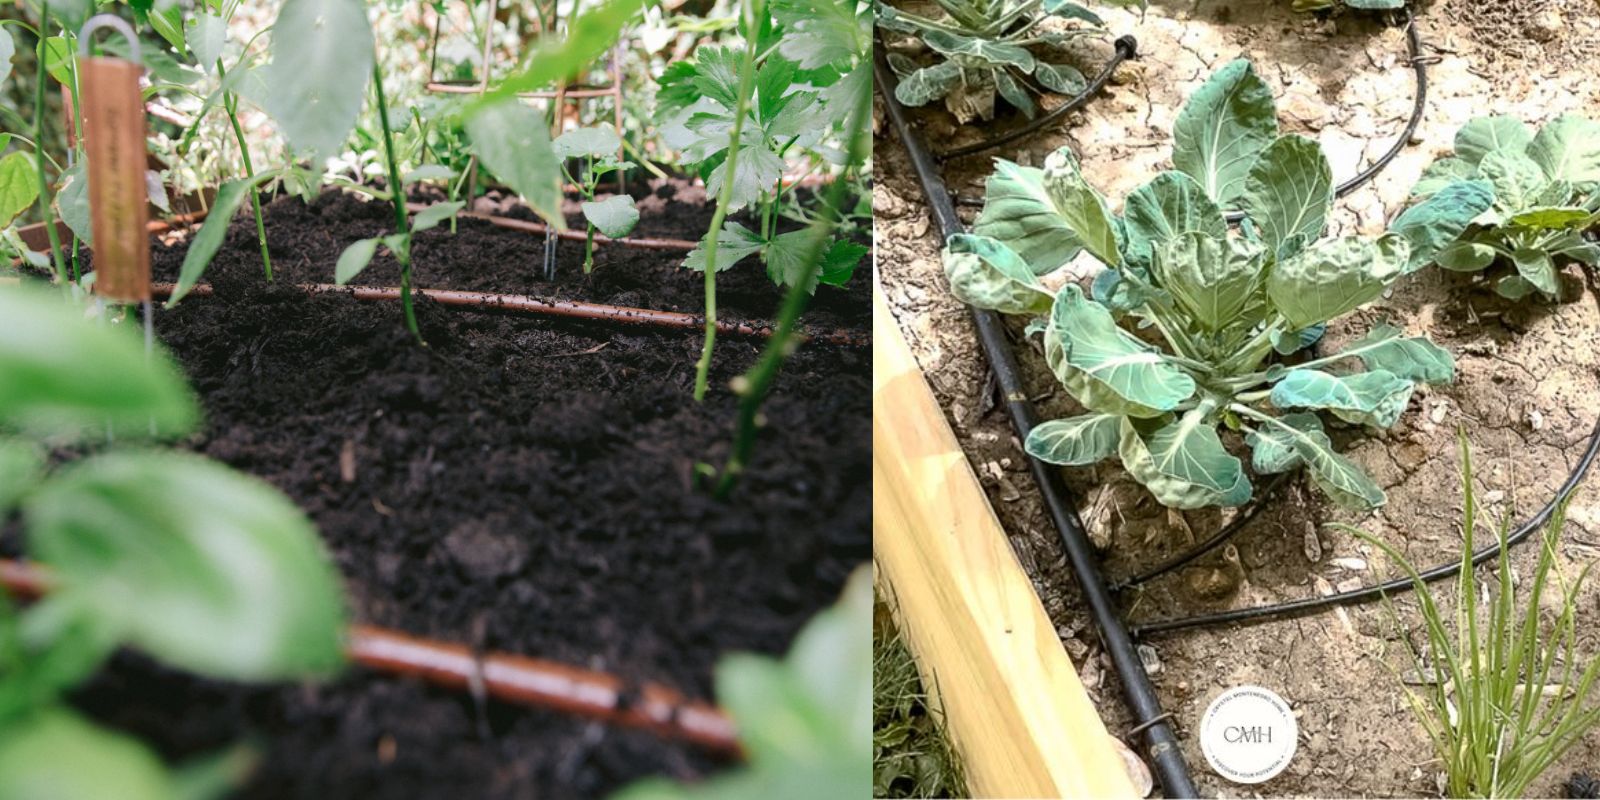
A typical drip irrigation system consists of several key components:
- Mainline Tubing: This is the backbone of your system, typically made from polyethylene. Common diameters are 1/2 inch for residential gardens.
- Drip Emitters: These devices deliver water to your plants. Choose adjustable emitters for flexibility or fixed-rate emitters for consistent flow.
- Connectors and Stakes: These hold your tubing in place and connect different components of the system.
- Filter: A filter is crucial for preventing debris from clogging your emitters.
- Pressure Regulator: This device helps maintain a steady pressure, preventing damage to your system.
Step-by-Step Guide to Building Your Drip Irrigation System
Step 1: Gather Your Materials
Here’s a list of what you’ll need:
- 1/2 inch mainline tubing
- Drip emitters (choose the right flow rate for your plants)
- Connectors (barbed connectors for tubing)
- Stakes or anchors (to hold tubing in place)
- Hose cutter or sharp scissors
- Optional: Filter and pressure regulator
Step 2: Design Your System Layout
- Create a rough sketch of your garden. Identify where you’ll place the mainline tubing and where the emitters will go.
- Plan for one emitter per plant or a cluster of plants that have similar water needs.
Step 3: Install the Mainline Tubing
- Lay Out Tubing: Start by laying out the mainline tubing along the rows of your garden or around your raised beds.
- Cut to Length: Use a hose cutter to cut the tubing to the required length, allowing for any turns or bends in your garden layout.
- Secure the Tubing: Use stakes to secure the tubing in place. This will help prevent movement and keep it close to the soil.
Step 4: Attach Drip Emitters
- Create Emitter Holes: Using a hole punch or a sharp object, create holes in the mainline tubing where you want the emitters to be placed. Space the holes according to your planting layout.
- Insert Emitters: Push the emitters into the holes you’ve created. Ensure they are securely inserted to prevent leaks.
Step 5: Connect to a Water Source
- Attach Filter and Pressure Regulator: If using a filter and pressure regulator, connect them to your water source first. This will help ensure your system works efficiently.
- Connect Tubing to Faucet: Use a hose connector to attach the mainline tubing to your outdoor faucet or garden hose.
Step 6: Test Your System
- Turn On the Water: Slowly turn on the water and check your system for leaks.
- Adjust Emitters: Ensure each emitter is delivering water to the plants as intended. Adjust the flow rate if needed.
Step 7: Monitor and Maintain
- Check for Clogs: Periodically inspect your system for clogs or debris in the emitters.
- Adjust Emitters: As plants grow, adjust the placement and flow of emitters to ensure they receive adequate water.
- Seasonal Maintenance: Before winter, remove and clean the system to prevent damage from freezing temperatures.
Tips for Maximizing Your Drip Irrigation System
- Use Mulch: Apply mulch around your plants to retain moisture and reduce evaporation.
- Water Early or Late: Watering during cooler parts of the day (early morning or late afternoon) can reduce evaporation.
- Monitor Soil Moisture: Use a moisture meter to check soil conditions and adjust your watering schedule accordingly.
- Consider Automatic Timers: If you have a busy schedule, consider adding a timer to your system for automated watering.
Conclusion
Creating a DIY drip irrigation system is a rewarding project that can significantly enhance the efficiency of your gardening efforts. By implementing this system, you’ll conserve water, reduce labor, and promote healthy plant growth. Start planning and building your drip system today to enjoy the benefits of more fruitful and thriving gardens!
Call to Action
Have you built a drip irrigation system before? Share your experiences, tips, and photos in the comments below! Let’s inspire each other to create beautiful and sustainable gardens! 🌱💧 #DripIrrigation #GardeningTips #SustainableGardening #WaterSmart #GreenThumbs #DIYGarden #GardeningHacks